Travel Tips | Money Abroad

I’ve travelled all over the world and one important travel topic everyone always asks me about is how I handle money when I am abroad. I hope the tips I share below help you. Enjoy the journey!

Here are the most frequent questions I get and my answers:

Should I take cash? If so, how much and where do I get local currency before I travel?

  • Yes, you need a little local currency, but I mostly use credit cards.
  • Banks in other countries aren’t necessarily plentiful and aren’t open extended hours. In Italy, we had a hard time finding any open at all given they open late, take a long lunch and close early. They work to live not live to work!
  • Only use an ATM that is inside and part of a bank. Lots of fraud out there at those ATMs in convenience stores and out on the street. Plus, the opportunity for thieves to approach you are higher on the street than if you are in the locked bank ATM booth.
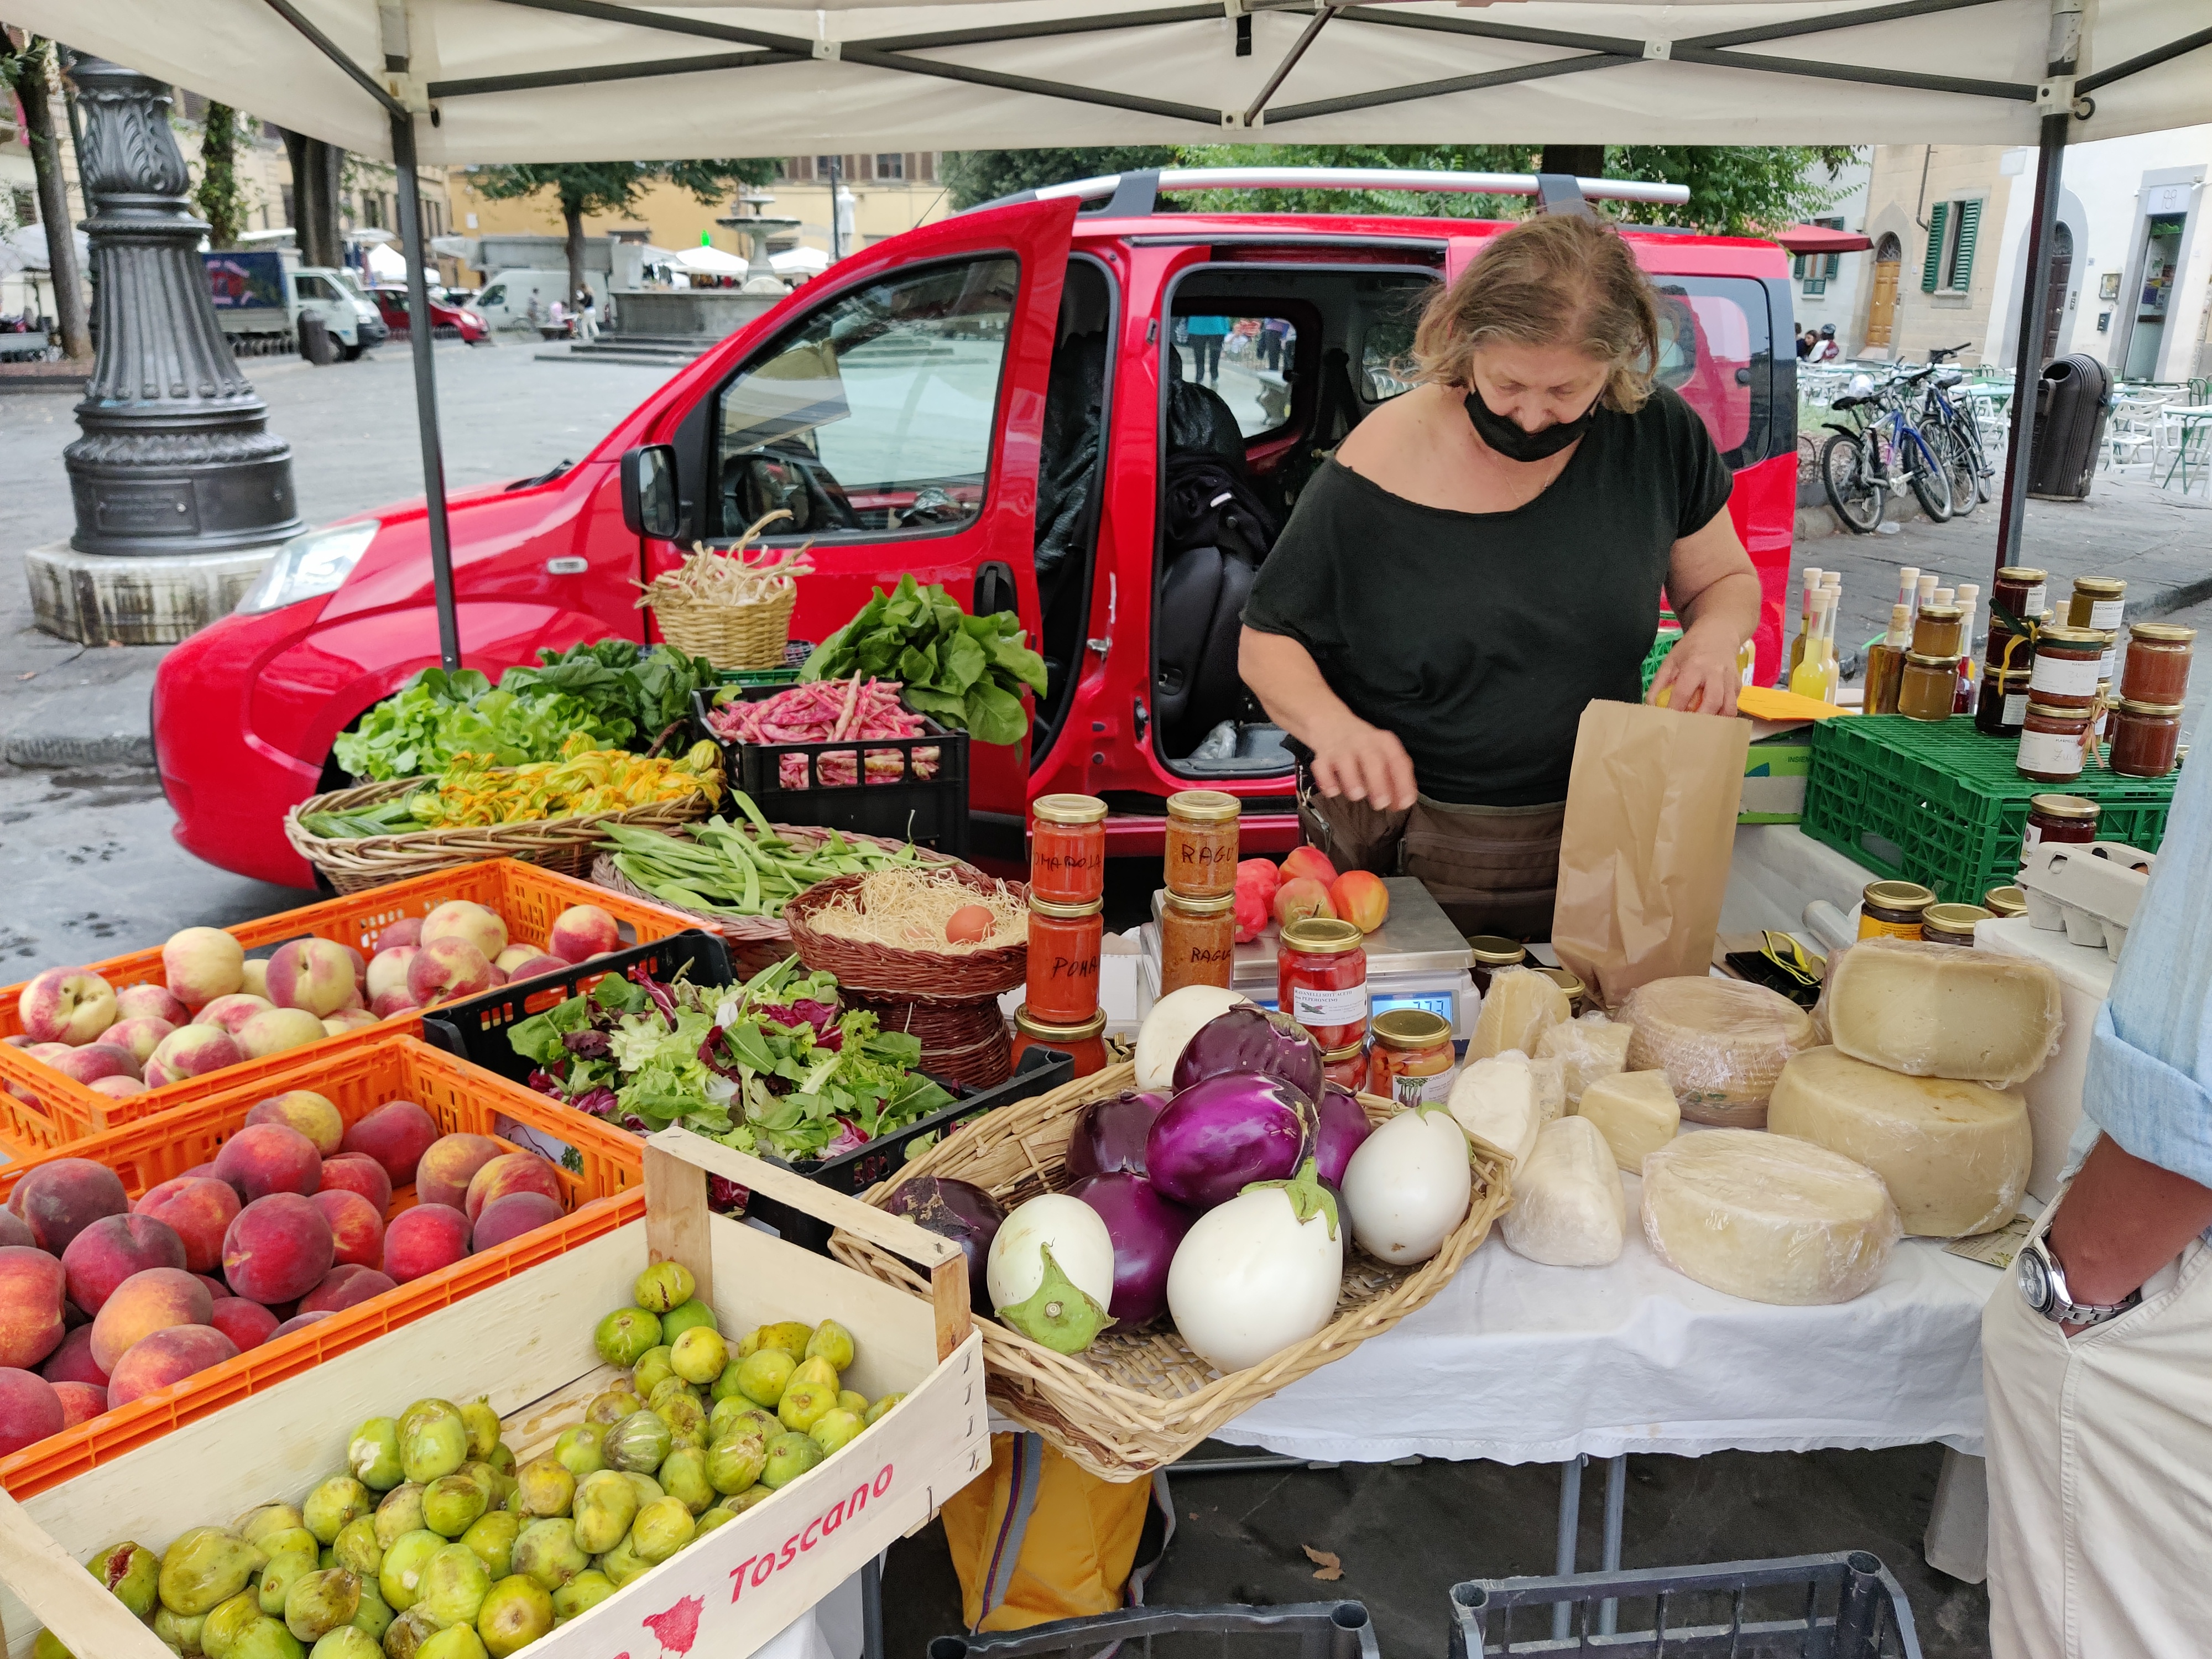
  • I have a local bank in the US that carries most currencies (and can order what they don’t have). I usually like to bring at least $100 in local currency to mostly use at local shops/farmer’s markets. In Italy, you can’t add a tip onto your bill so you need cash to tip. You also need cash to tip any tour guides. You will probably need local coins to use the public bathrooms. If you end up needing more cash while you are traveling, go to the bank ATM.
    • Customers with Bank of America checking and savings accounts can order foreign currency through Online Banking or the Mobile Banking App. Customers with credit cards only can order currency at a financial center. Exchange and Order Foreign Currency from Bank of America
    • I opened up a checking account with a debit card at a different bank (the one that has local currency) to avoid fees when I get US cash exchanged for other currencies and also because that way if the debit card is compromised while travelling, it doesn’t link to my main checking/savings account which is at another bank. Yes, I’m cautious! I keep a minimum balance in this account-just enough to get $100-200 more out when travelling and then I deposit more for the next trip.

What credit card(s) do you use?

  • I take two different credit cards.
  • I carry a VISA and an American Express. Both earn me points for more travel! Some places do not take AMEX, so you need to have another option. Make sure any credit card you travel with doesn’t charge you foreign transaction fees. Those fees can really add up.
  • My preferred way to pay is to use “tap to pay” with my smart watch that is set up with GooglePay with a VISA as the payment option. This works beautifully in most countries for use with public transportation (UK uses tap to pay for subways and buses) and cafes/shops. This way you are not pulling out a credit card that could possibly get left behind-it happens to all of us!
  • When travelling with my husband, he takes one VISA and one AMEX, and I take a different VISA and AMEX. That way if one of us gets our wallet stolen, we cancel the credit cards that the one person was travelling with and we still have the other person’s cards that are different accounts. Be prepared for the worst situation so it doesn’t spoil your vacation.

Do I need to call my credit card company before I travel?

  • Probably not but policies vary by company.
  • Often banks will tell you that they don’t need to be notified but my travel companions and I have all had issues with using credit cards being declined due to security concerns the first time we use them abroad. One of my credit card has the following notification on their site (search “travel notification” on your credit card site):
    • You no longer need to let us know when you travel. We monitor your accounts and will send automatic alerts if we detect suspicious activity. Should you need us while traveling, call the number on the back of your card anytime.
    • I would recommend you go to each of the credit card sites that you plan to use and just check what they say about “travel notifications”.

Now, you are ready to go have a great adventure and not worry about the logistics of spending money abroad. Cheers!
Travel Tips | Paris Public Transportation

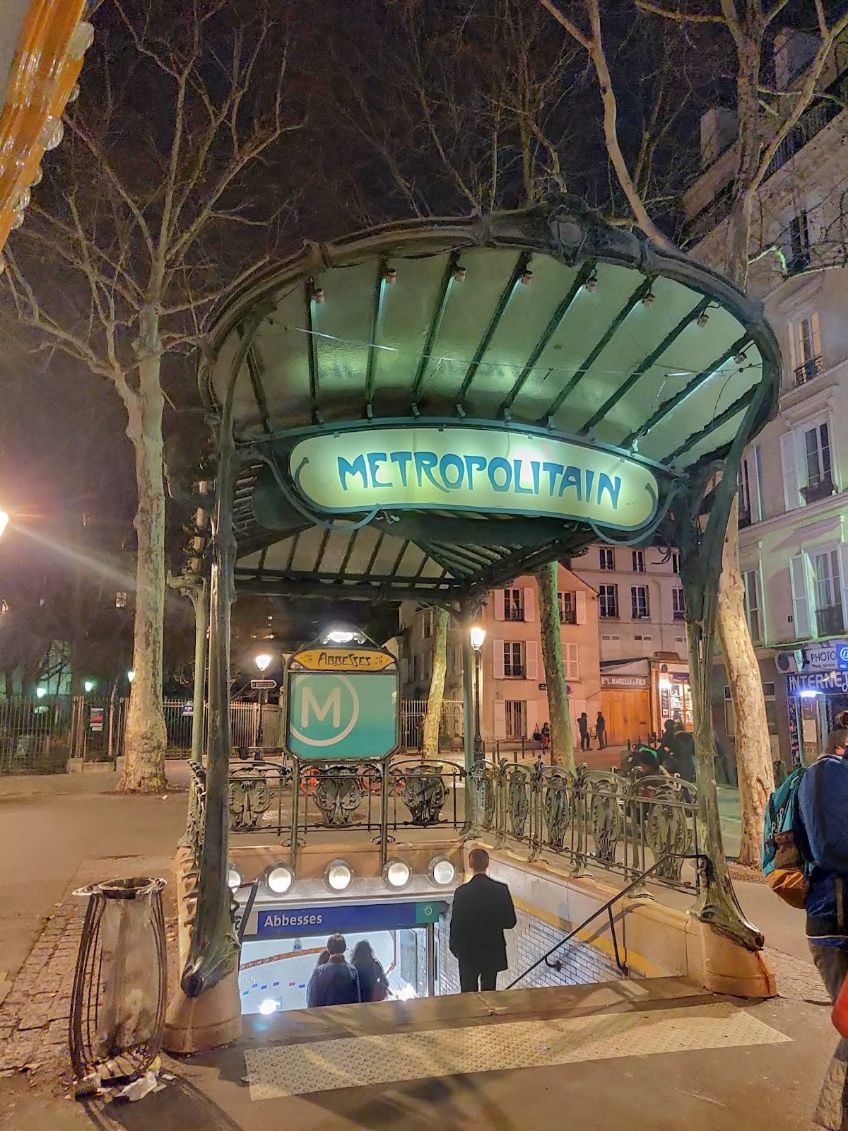
There is SO much to see and do in Paris that you should put together a plan for your transportation needs BEFORE you arrive. Oh, and pack your most comfortable shoes because walking is the easiest way to get around Paris. What I love so much about seeing Paris by foot is that you never know what you may find around every corner-a musician, street art, or who knows?? Enjoy the journey!

For our Girls’ Trip 2023, I researched the easiest and most cost-effective ways to use public transportation to supplement our walking just so we don’t get shin splints on our first day! I average about 10 miles a day walking when I’m in Paris but unfortunately, I don’t get that level of exercise at home in Boise where we have to drive everywhere. We are in Paris for a full six days for our Girls’ Trip so, while we will no doubt walk ALOT, we will also want to use the excellent bus and Metro system to supplement getting around Paris. Surface traffic on the busy Paris streets is terrible as it is in most cities. Why waste time (and money!) being stuck in car traffic when there are cheaper and faster alternatives in the form of buses and Metros available all over Paris. I usually only use Uber as a last resort and getting taxis can be very difficult in Paris.

Two Public Transportation Payment Card Options to Consider:

NAVIGO DECOUVERTE CARD:

WHAT IS IT?

  • A multi-use public transportation card (like the Oyster card in London) that covers all of Metro Paris and can be used for unlimited use during a specific time frame on the Metro (subway), RER trains (including to the airport, Disneyland and Versailles), buses (great way to get around and see Paris quicker than taking a car because buses have their own designated street lanes), trams and even the Montmartre funicular unless you want to walk up the 300+ steps

WHO NEEDS IT?

  • Tourists who plan to use public transportation in Central Paris alot and don’t care about getting any discounts on local attractions (see Visite card below for that) 

WHERE DO I BUY?

  • Purchase the Navigo Decouverte card at any Metro, RER station or the airport at the Billets Paris et Ile-de-France train ticket window that normally sells tickets and passes
  • You have to provide a color headshot photo 3cm tall x 2.5cm wide (passport photo size) that goes on the card itself.
  • You have to choose a validity zone when you purchase it. To get around the center of Paris, the one for zones 1-2 is perfect.

HOW MUCH DOES IT COST?

  • 30€ for a week pass which runs from Monday through Sunday plus 5€ fee (non-refundable) for the physical Navigo card itself (no children pricing)

HOW DO I USE IT?

  • At Metro and RER stations, hold the card against the purple reader zones on the turnstiles or barriers to open fare gates. Keep the card against the scan zone until you hear a sound indicating it has been read correctly to validate
  • As you enter a bus, you will see a Navigo reader machine to tap your card against in order to validate your ride.
  • Failure to validate your ticket every time you use it could result in a fine (I’ve seen 50€ fines!) by security officers who routinely check passengers for validated cards/tickets

FOR MORE INFO ON NAVIGO CARD GO HERE: Navigo monthly and weekly travel passes | RATP

VISITE CARD:

    WHAT IS IT?

    • A multi-use public transportation card that covers all of Metro Paris and can be used for unlimited use during a specific time frame on the Metro (subway), RER trains (including to the airport, Disneyland and Versailles), buses (great way to get around and see Paris), trams and even the Montmartre funicular
    • Purchase passes for different period of 1, 2, 3, or 5 days. It is valid from midnight on the first day and ends at midnight on the last day.

    WHO NEEDS IT?

    • Tourists who may only need public transportation for a day or two and would use discount on attractions that come with the card like for the Opera Garnier, sightseeing cruises on the Seine or a bus tour, etc.

    WHERE DO I BUY?

    • Purchase the Visite card at any Metro, RER station or the airport at the Billets Paris et Ile-de-France train ticket window that normally sells tickets and passes. After you buy it, you must write your first and last name on it along with the starting and ending dates of validity. No photo is needed.

    HOW MUCH DOES IT COST?

    • Pricing is by day and by zone and ranges from 1 day in zones 1-3 for $15 US to 5 days in zones 1-5 for $74. Zones 1-3 will all you to travel around the city. Zones 4-5 will get you to Disneyland, Versailles and the airports.
    • There is children pricing with this pass. See online site for more details.

    HOW DO I USE IT?

    • At Metro and RER stations, hold the card against the purple reader zones on the turnstiles or barriers to open fare gates. Keep the card against the scan zone until you hear a sound indicating it has been read correctly to validate
    • As you enter a bus, you will see a reader machine to tap your card against in order to validate your ride. Failure to do so could result in a fine by security officers who routinely check passengers for validated cards or tickets

    FOR MORE INFO ON VISITE CARD GO HERE: Paris Visite travel pass | RATP

    Transportation apps

    • G7 for taxis-have used with some success
    • Uber-works pretty well in Paris
    • Paris Metro for subway
    • Citymapper to get around town-I use this app for walking guidance, but it does show other transportation options as well
    • Rome2Rio for transportation to show all options to get from Point A to Point B-my preferred app

    Helpful links below from RATP (Régie autonome des transports parisiens aka in English as Parisian Autonomous Transport Administration), which is the state-owned public transportation operator.

    RATP site Paris Public Transportation PDF maps:

    Travel Tips | Medical Care Abroad

    Plan for the unexpected! You don’t want to be googling for the nearest hospital or how to call an ambulance during a medical emergency when visiting a foreign country. Trust me-been there, done that!

    When Thom and I both got Covid while in Florence on a trip, the first thing I did was start researching local medical care. I was surprised that they didn’t have the urgent care centers like we do in the US where you can just walk in and see a doctor with no appointment. In Florence, if you need immediate medical care, you have to go to the emergency room at the hospital. Some cities will have medical clinics, some won’t. However, pharmacists are very helpful in European countries. They will talk to you, ask about symptoms, and suggest medications. In Florence, I was able to get several meds that helped us with our mild Covid symptoms. I did have to buy a thermometer and an oximeter in Italy, both of which I now travel with on all our trips.

    After travelling to Vietnam from our home base in China during my work assignment there, we started travelling with a robust first aid kit. Thom rolled his ankle stepping off a curb our first night in Hanoi on a vacation. We quickly found out that there is no ice in Vietnam, at least none that we could find, so he held a cold Coke can to his ankle to reduce the swelling. The pharmacies were not stocked well like Europe, but we finally found a wrap and he hobbled around on our Halong Bay cruise. Now we travel with an instant ice pack and that wrap.

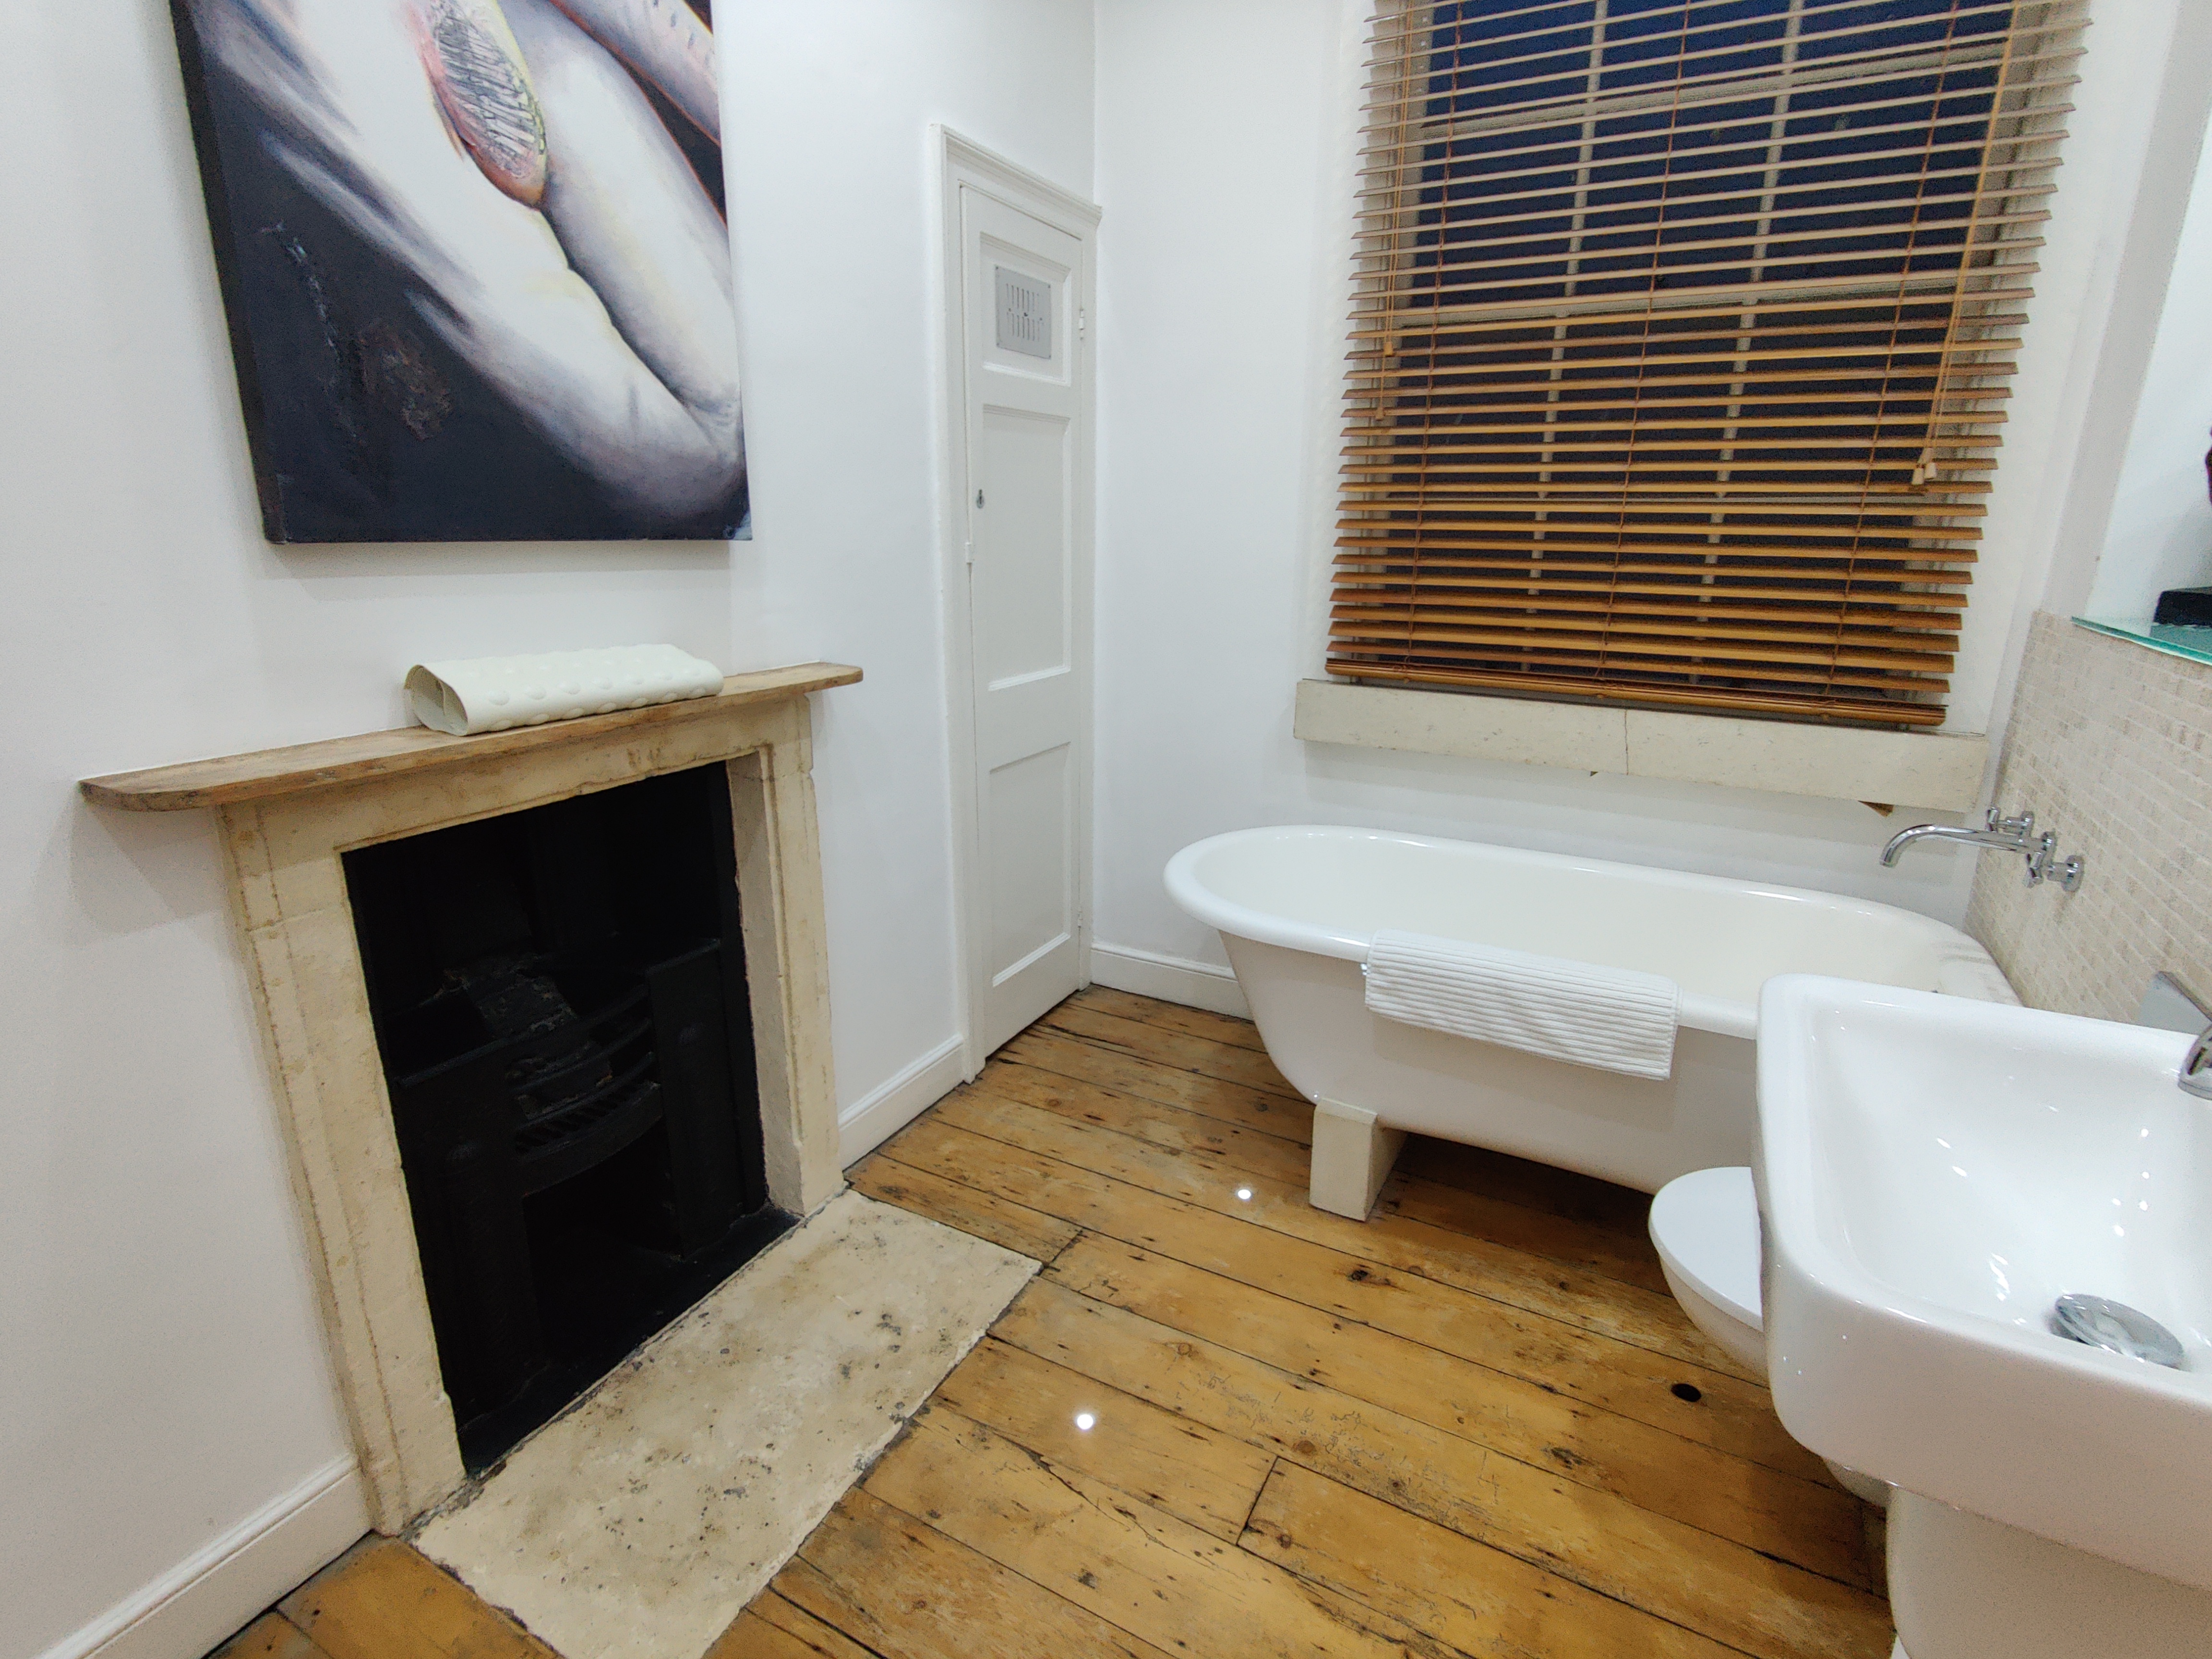
    I decided to write this post to help others when we stayed last month at a quaint Swiss hotel in Chur that was a wood beam concussion obstacle course (see pic above) waiting to happen. If/when Thom knocked himself out after running into a beam, I wondered what I would do. Did I want to depend on the night help that may or may not be staffing the hotel front desk? Do they even have a hospital here in the middle of the Alps? Luckily, we didn’t hurt ourselves on those charming low beams but next time I travel, I will be better prepared and research in advance so if, God forbid, something happens, I can quickly take the appropriate action. I put together the following list to help me and now you to prepare for possible medical issues you may encounter when you travel.

    Practical tips when you are travelling:

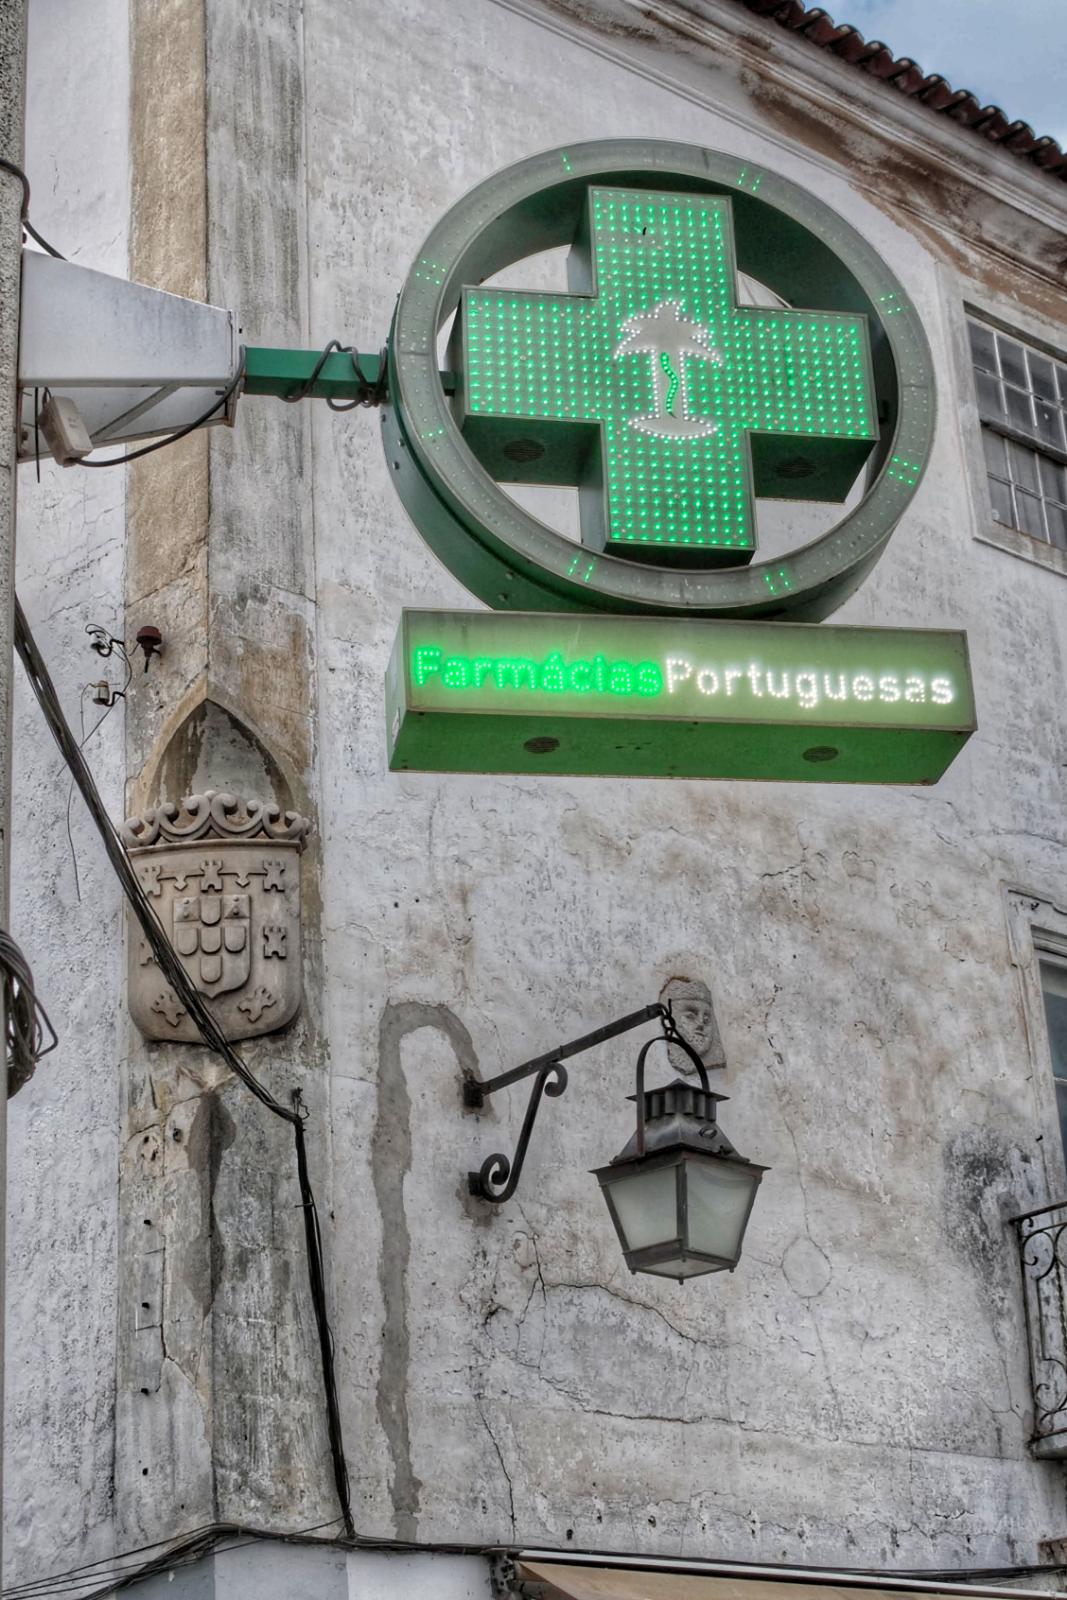
    1. Go to the nearest pharmacy (look for green cross sign-see pictures above) but don’t expect them to be open 24/7 like in the US. European pharmacists act like doctors in many regards and will talk with you, ask questions and can diagnose and prescribe medicine for many simple medical issues like sore throats, muscle pain, migraines, etc. My husband got what he needed from a pharmacist in Basel, Switzerland on a recent trip-easy and cheap! The pharmacist interviewed Thom and gave him meds for a persistent cough.
    2. Call 112 in most European countries for urgent medical assistance (the US 911 equivalent) or call an Uber/taxi yourself and go directly to the nearest hospital if the condition warrants it. House calls might be possible. If you are staying at hotel or an Airbnb, ask the front desk/host to assist you in finding a doctor who can come and see you.
    3. Handling medical costs-Nearly all European countries have a universal health care system. Each country will have different payment arrangements for health care, and it is not all “free” for travelers as some might assume. However, the costs are minimal compared to medical costs in the US for the uninsured. You may be asked to pay out of pocket for any medical treatment. Check your medical insurance policy before you travel. You may not be covered when you are outside the US. If you are on Medicare, it doesn’t cover healthcare during international travel. However, some Medicare Advantage (like Part C) plans may cover certain emergencies if they occur outside the United States. Check out any travel insurance plans and compare before you buy. Notify the company immediately that you purchased travel insurance from if you have to use it for an injury. They can work directly with the hospital/doctor to get bills paid-here are some sites to research:

    Travel Insurance Quotes Online – TravelSafe

    Buy Now | iTravelInsured Travel SE – IMG (imglobal.com)

    Travel Medical Insurance (betins.com

    TRAVEL MEDICAL PACKING LIST

    Prescription meds (preferably packed in labeled original containers) If you forget them, ask the pharmacist for them even if you don’t have a prescription on you-they may give them to you or, better yet, take a picture of your prescription and show it to the pharmacist. Certain drugs in Europe are over the counter and don’t need a prescription like they do in the US. Make sure to follow new directions given as some meds may be stronger than the US version. The pharmacist in Paris gave me prescription thyroid meds that I forgot on a trip and didn’t need any documentation to prove I was taking it. Pack extra meds in case you are delayed.

    Over The Counter Meds:

    Nyquil/Dayquil

    Cough suppressant

    Saline nasal spray-good for preventing bloody noses

    Tylenol or Advil PM (helpful to aid sleeping while adjusting to time zones)

    Suntan lotion and sunburn relief (aloe vera gel)

    Pain reliever: Tylenol and/or ibuprofen

    Benadryl

    Imodium

    Tagamet

    Laxatives or stool softeners

    Motion sickness meds

    Eye drops

    Medical help:

    Antibacterial wipes (clean that airplane seat space)

    Hand sanitizer (so handy when using public transportation)

    Self-adhesive wrap

    Tiny scissors to cut gauze, etc.

    Instant cold pack

    Antibiotic ointment

    Antiseptic to clean wounds

    Band-Aids (all sizes)

    Moleskin (to cover blisters)

    Gauze

    Medical tape

    Calamine lotion

    Tweezers (removing splinters, etc.)

    Thermometer

    Oximeter

    Covid tests

    Face masks-handy for areas with bad AQI and crowded spaces

    Dental:

    Travel Fixodent

    Dental repair kit

    Back issues:

    Blow up pillow for hard seat (trains, concerts, etc.)

    Back brace

    Hair ties to make Denny roll out of towels (for back issues)

    Walking stick (collapsible)

    Salon PAS

    CBD cream

    Knee brace

    Plug in heating pad (after long day of walking, we fought over who got this first)

    Be safe with your travel emergency kit:

    • Make a list of all your prescription meds and take a doctor’s note that explains any prescription opioids or medications with needles. You never know when TSA may ask questions.
    • If you are travelling with kids, keep the first aid kit out of reach and locked.

    With some planning and preparations before you travel, any emergency that comes up that is minor can be handled with your travel emergency kit. For serious illnesses and injuries, seek out medical care immediately. Enjoy a healthy and safe journey!

    Key sites to check out before you travel:

    Go to the US embassy’s site and select where you are travelling and look under the “US Citizens Services” section for medical services information.

    France/Paris https://www.angloinfo.com/how-to/france/paris/healthcare/emergencies/emergencies-in-paris and https://en.parisinfo.com/practical-paris/useful-info/health-in-paris

    General https://wwwnc.cdc.gov/travel/page/health-care-during-travel

    My Top Phone Tips for Traveling Abroad

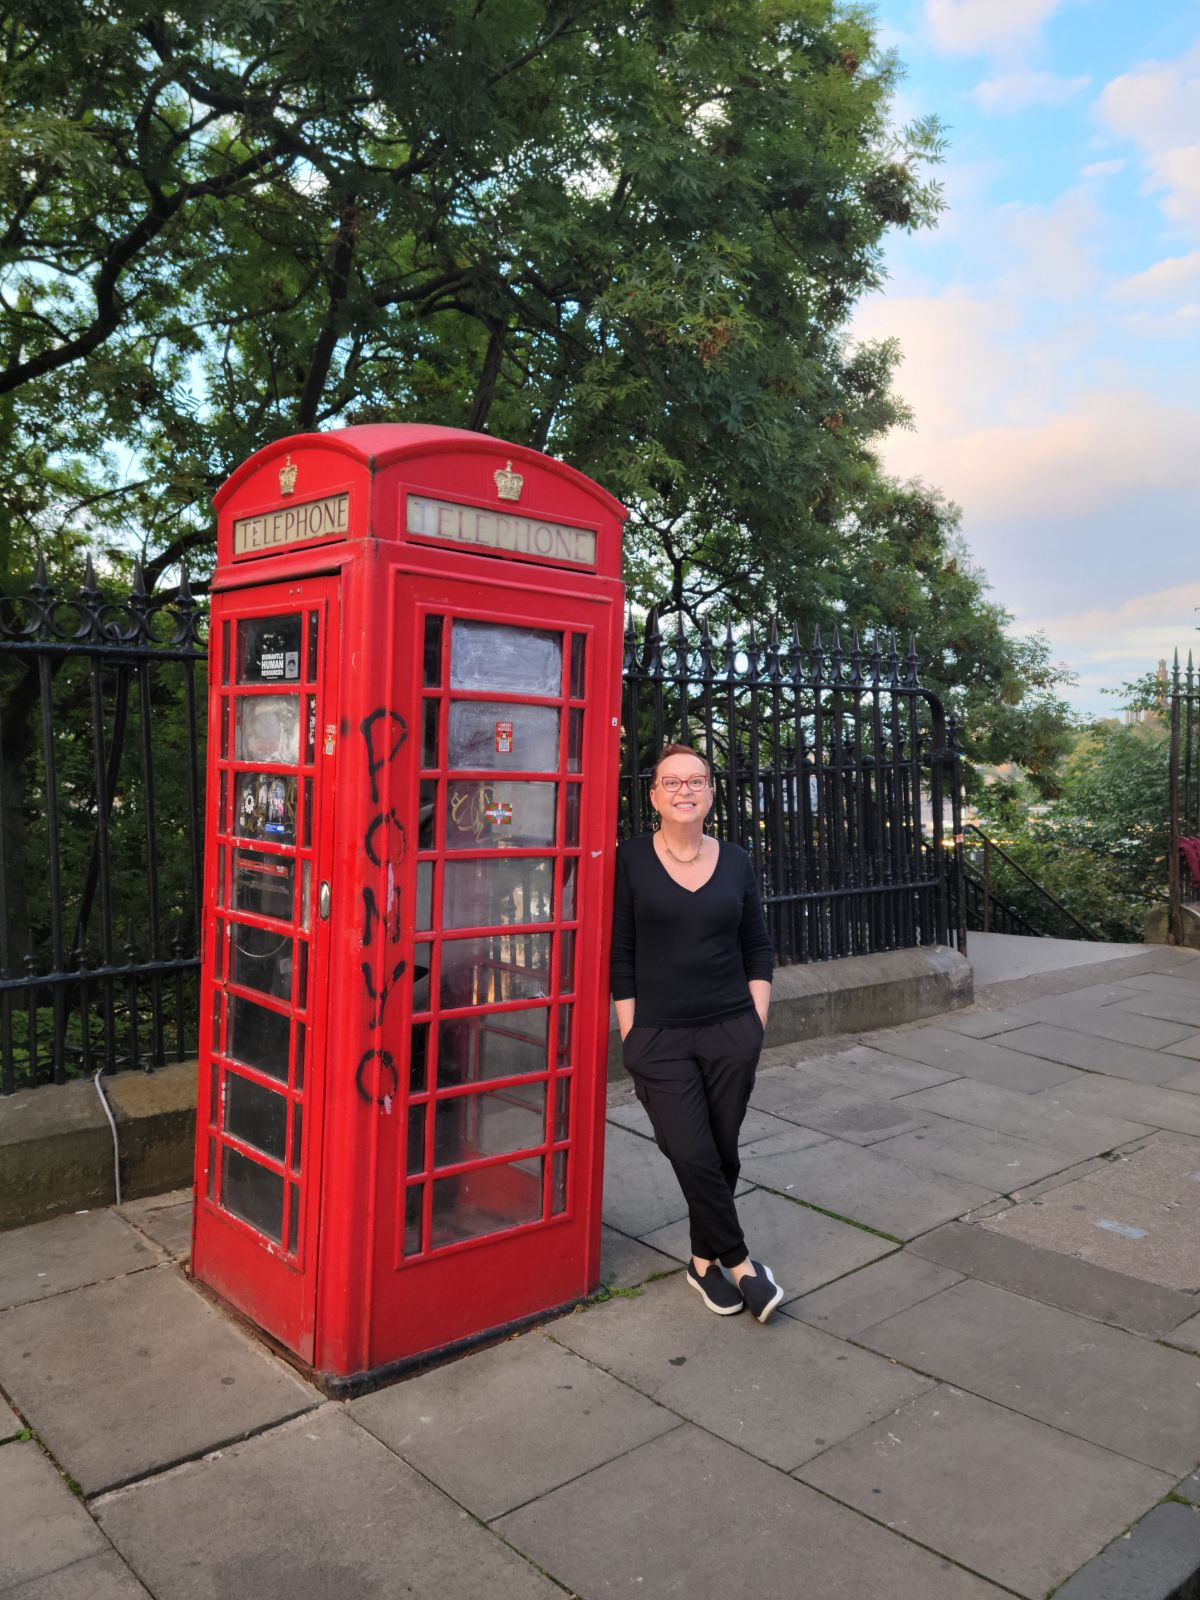
    As much as you might dream of getting away from it all while travelling and not using your laptop or mobile device, the reality is that these devices are really a vital part of our lives now. There are so many phone apps just to make travel easier! I want to share my top phone tips for travelling abroad based on my experience so you can be better prepared for your next trip. The classic red phone booths in the UK are great for picture taking but don’t count on them to phone home. Enjoy the journey!

    How do I use my phone when I travel outside the U.S.?

    • WhatsApp–You can message, chat and video chat for free. Just make sure whomever you want to connect with back home also has the app downloaded and, of course, you will need to be connected to WiFi to use it but it’s free! This has worked great for people I know who want to avoid any additional expenses when travelling.
    • Physical SIM card– If you have an unlocked phone, bring along a SIM remover tool (safety pin works too). Assuming your phone meets the usability criteria, you can purchase a SIM card when you land (most airports have kiosks selling these but they are usually cheaper once you get in a local neighborhood and can go to a convenience store). Check for:
      • How many GB? Local phone #? Lasts for how many days/months? Includes texts, phone calls and internet? Example of cost: 10£ for 21g of data.
      • You switch out your SIM card (keeping it safe somewhere while you travel) and pop in the new SIM card to have mobile access while there.
      • Safety tip: if a cell phone or any store offers to unlock your phone for you and install the SIM or asks you to leave your phone so they can do it, do not let them. All kinds of scams with that type of service. Do it yourself.
    • eSIM cards are another option to get a local number without having to hunt down a physical SIM card after you arrive. You can purchase and download an eSIM on your phone to connect to cell networks and get data. Tons of providers sell eSIMs online with options and prices depending on where you’re going and how much you’ll need to use your phone. I would recommend going to Amazon and search “international esim card” to see the options. So, make sure to dig around and check reviews before purchasing.
    • International plan activated on your mobile device-this is what I use. For my AT&T phone, it costs $10/day to use. When traveling with your family that are on your cellular account, if everyone is using the International Day Pass, one line is $10 a day and any additional lines are charged at 50% off (so my husband would be charged $5 a day).  Most carriers have similar services and fees. Very easy-you will automatically get charged the international fee when you use data, talk or text in another country and off you go! I use my mobile to call, text, tap to pay (very popular in Europe as way to use public transportation and pay for everything) and leverage Google directions to get around. On your next cell bill, you will see the charges. If there is a day you don’t use the mobile, you won’t get charged for that day. Other tips for international plan usage:
      • To use cellular data, make sure Data Roaming is turned on in your device settings.
      • To call or send a message to the U.S., dial +1 followed by the 10-digit number. The “+” sign usually appears if you press and hold the “0” key on your dial pad.
      • To call or send a message to another country, dial + (country code) followed by the local phone number.
      • Some devices have settings that automatically add the correct prefix or country code when you’re calling numbers in your contacts. For iOS, turn on Dial Assist in your device Settings.
    • Note: T-Mobile has a $100 International Monthly Plan that includes 250 minutes, unlimited texts and unlimited data for 30 days. This would be a good plan for trips of 10 days or more.

    What do I do if misplace or lose my phone? (test these before you go so you know what to do)

    • Android: Use a laptop and go to “Find My Device (google.com)” With this feature, you can:
      • Locate where it is-map is displayed
      • Play a sound (to help you find it-we used this feature when my husband’s phone fell out of his pocket at the playground when we were with the grandkids-it works!)
      • Secure your device-locks the phone and signs you out of your Google account. You can also display a message or phone number on your lock screen so that if someone finds your phone, they can contact you. You can still track device if you do this action.
      • Erase all content from the device. Only do this if you know you aren’t getting it back. You can’t locate it once you take this action.
    • iPhone: Use your Apple device to track your iPhone, iPad, iPod touch, Apple Watch, Mac, AirPods, AirTag) Sign in to iCloud.com/find or use the Find My app on another Apple device that you own. With this feature, you can:
      • Locate where it is-map is displayed
      • Play a sound
      • Lock the device
      • Mark it as lost: When you mark your device as lost, you remotely lock it with a passcode, keeping your information secure. This also disables Apple Pay on the missing device. And you can display a custom message with your contact information on the missing device.
      • Report your missing device to local law enforcement. Law enforcement might request the serial number of your device and you can find it through the link above.
      • File a Theft and Loss Claim here on this site.
      • Remotely erase everything if you don’t think you’ll get it back.
    • For both Android and iPhone, report your missing device to your wireless carrier (AT&T, T-Mobile, etc.) asap. Ask the carrier to disable your account to prevent calls, texts, and data use.  Here are some of the major carriers contact info:
      • AT&T: 1-800-331-0500
      • T-Mobile: 1-877-746-0909
      • Verizon: 1-800-922-0204

    I hope these tips have been helpful and allow you to enjoy the journey!

    Revisiting Sydney, Australia

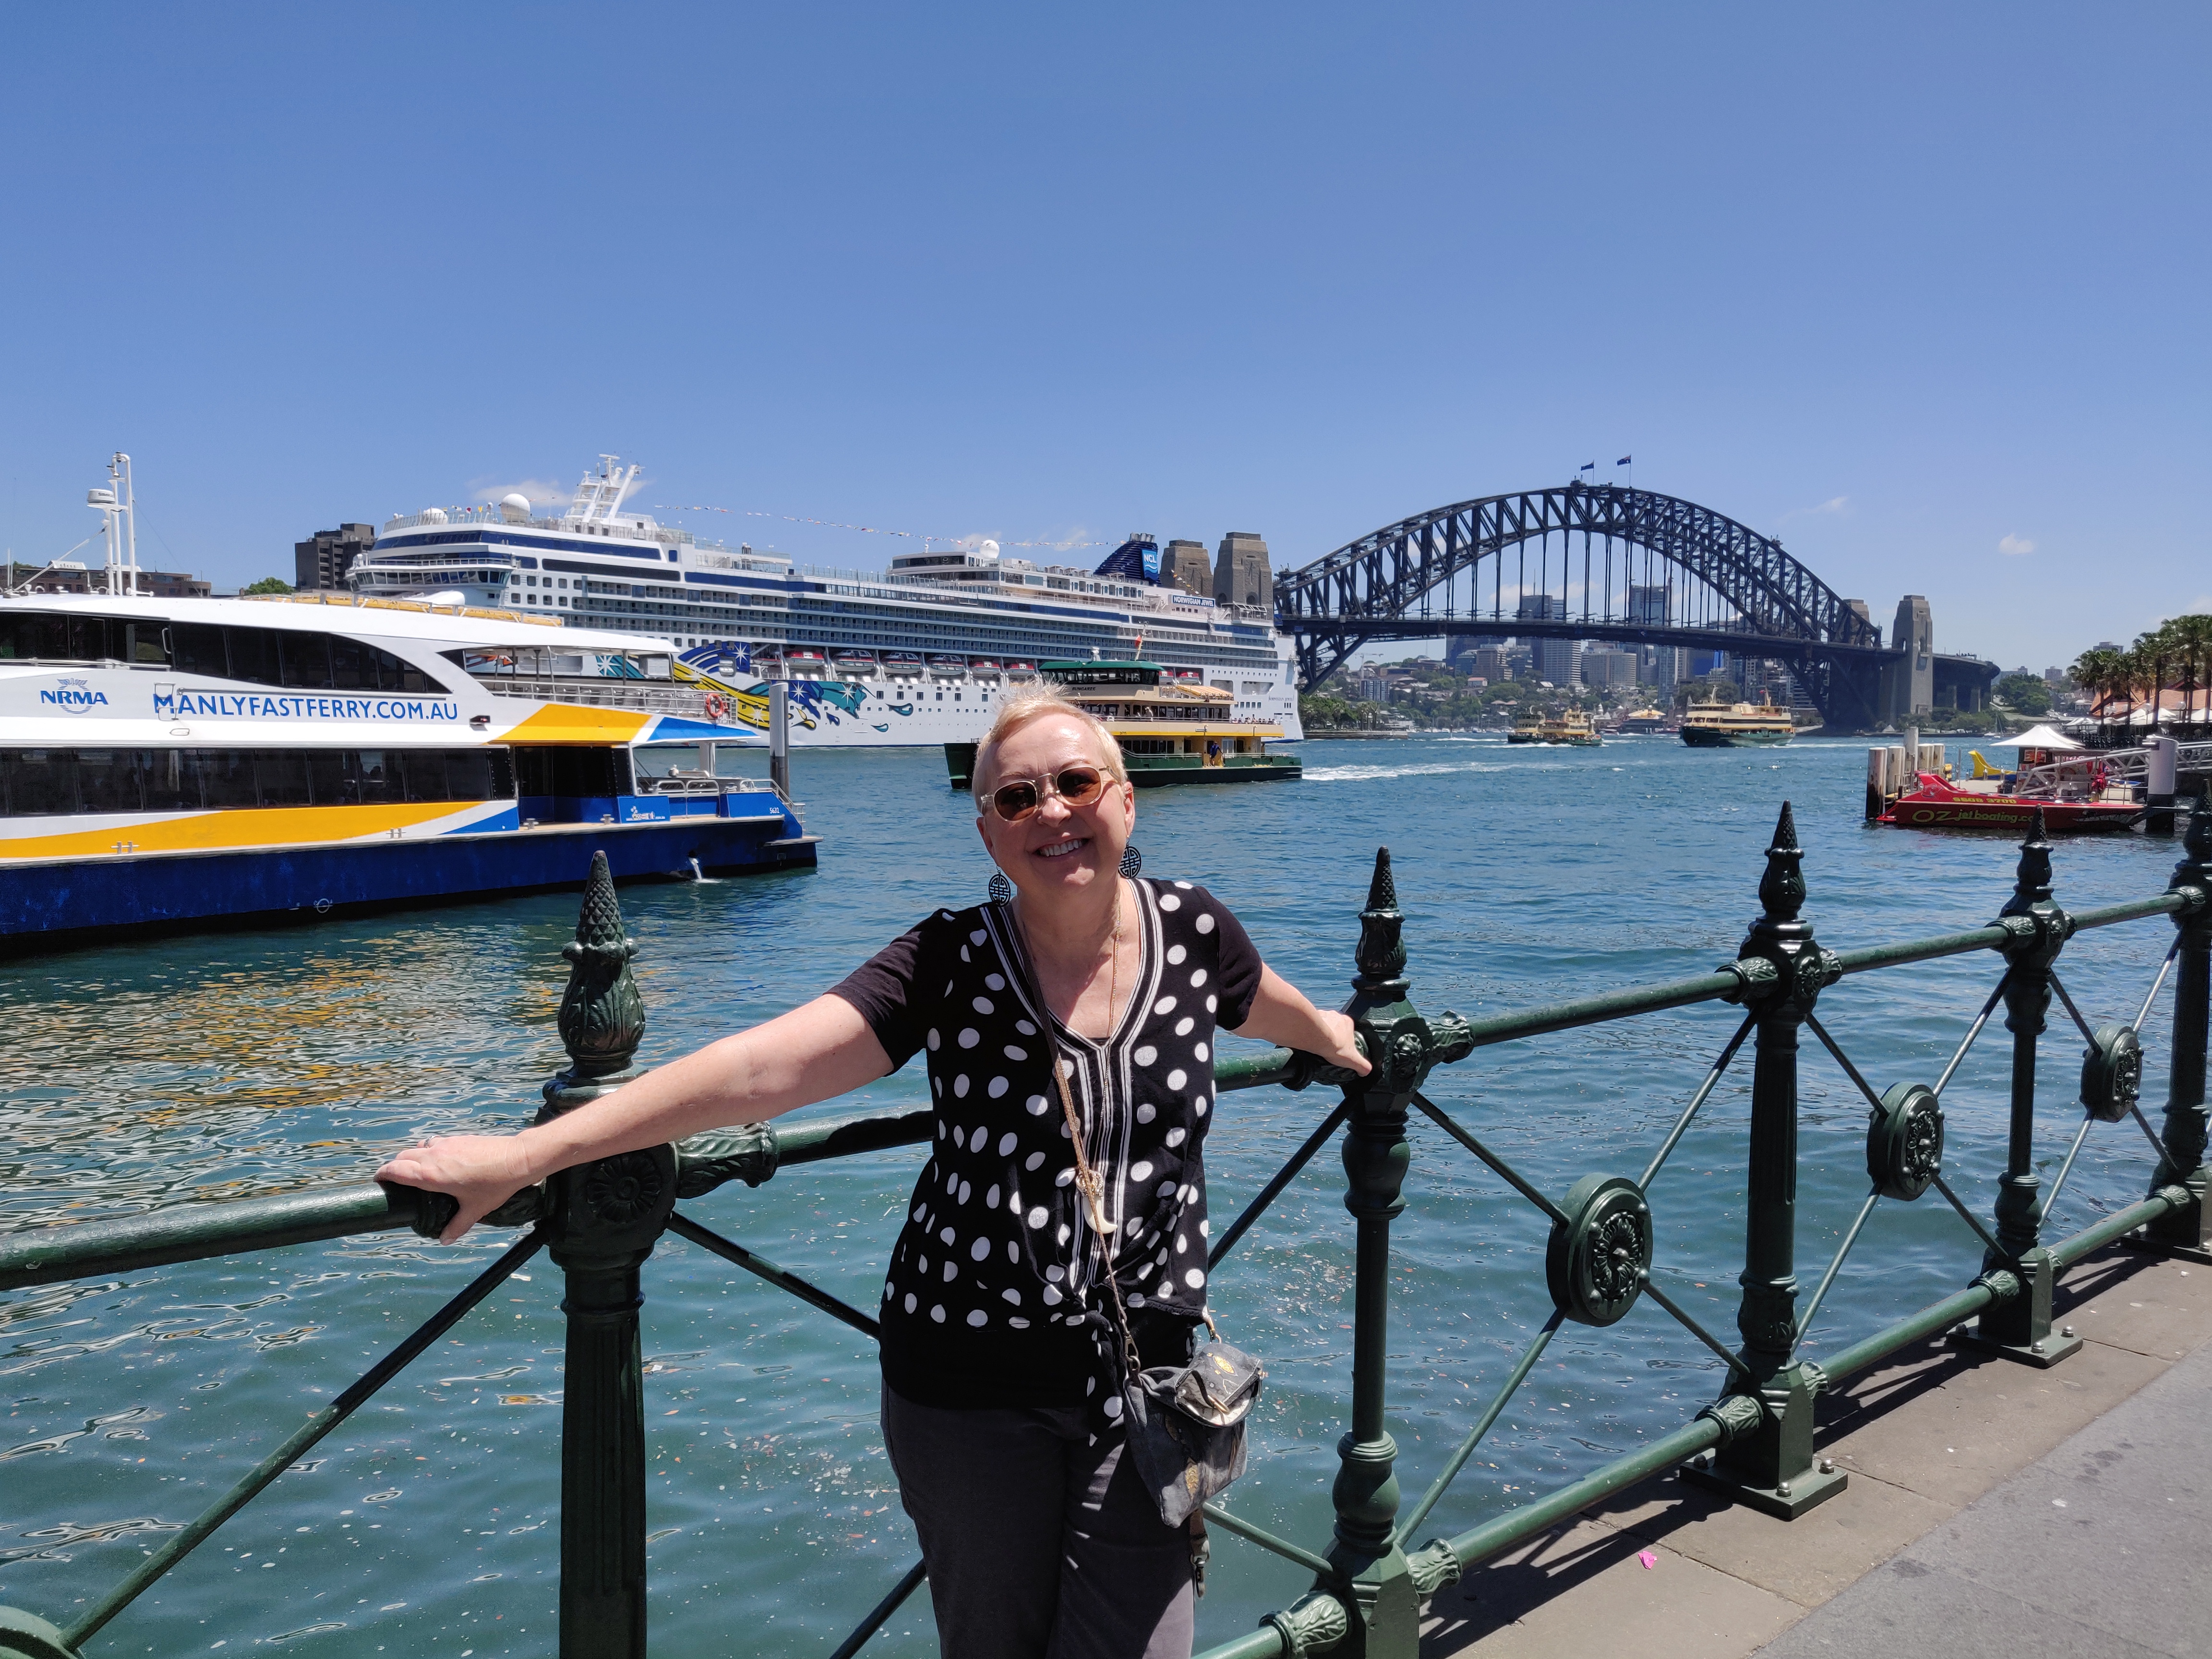
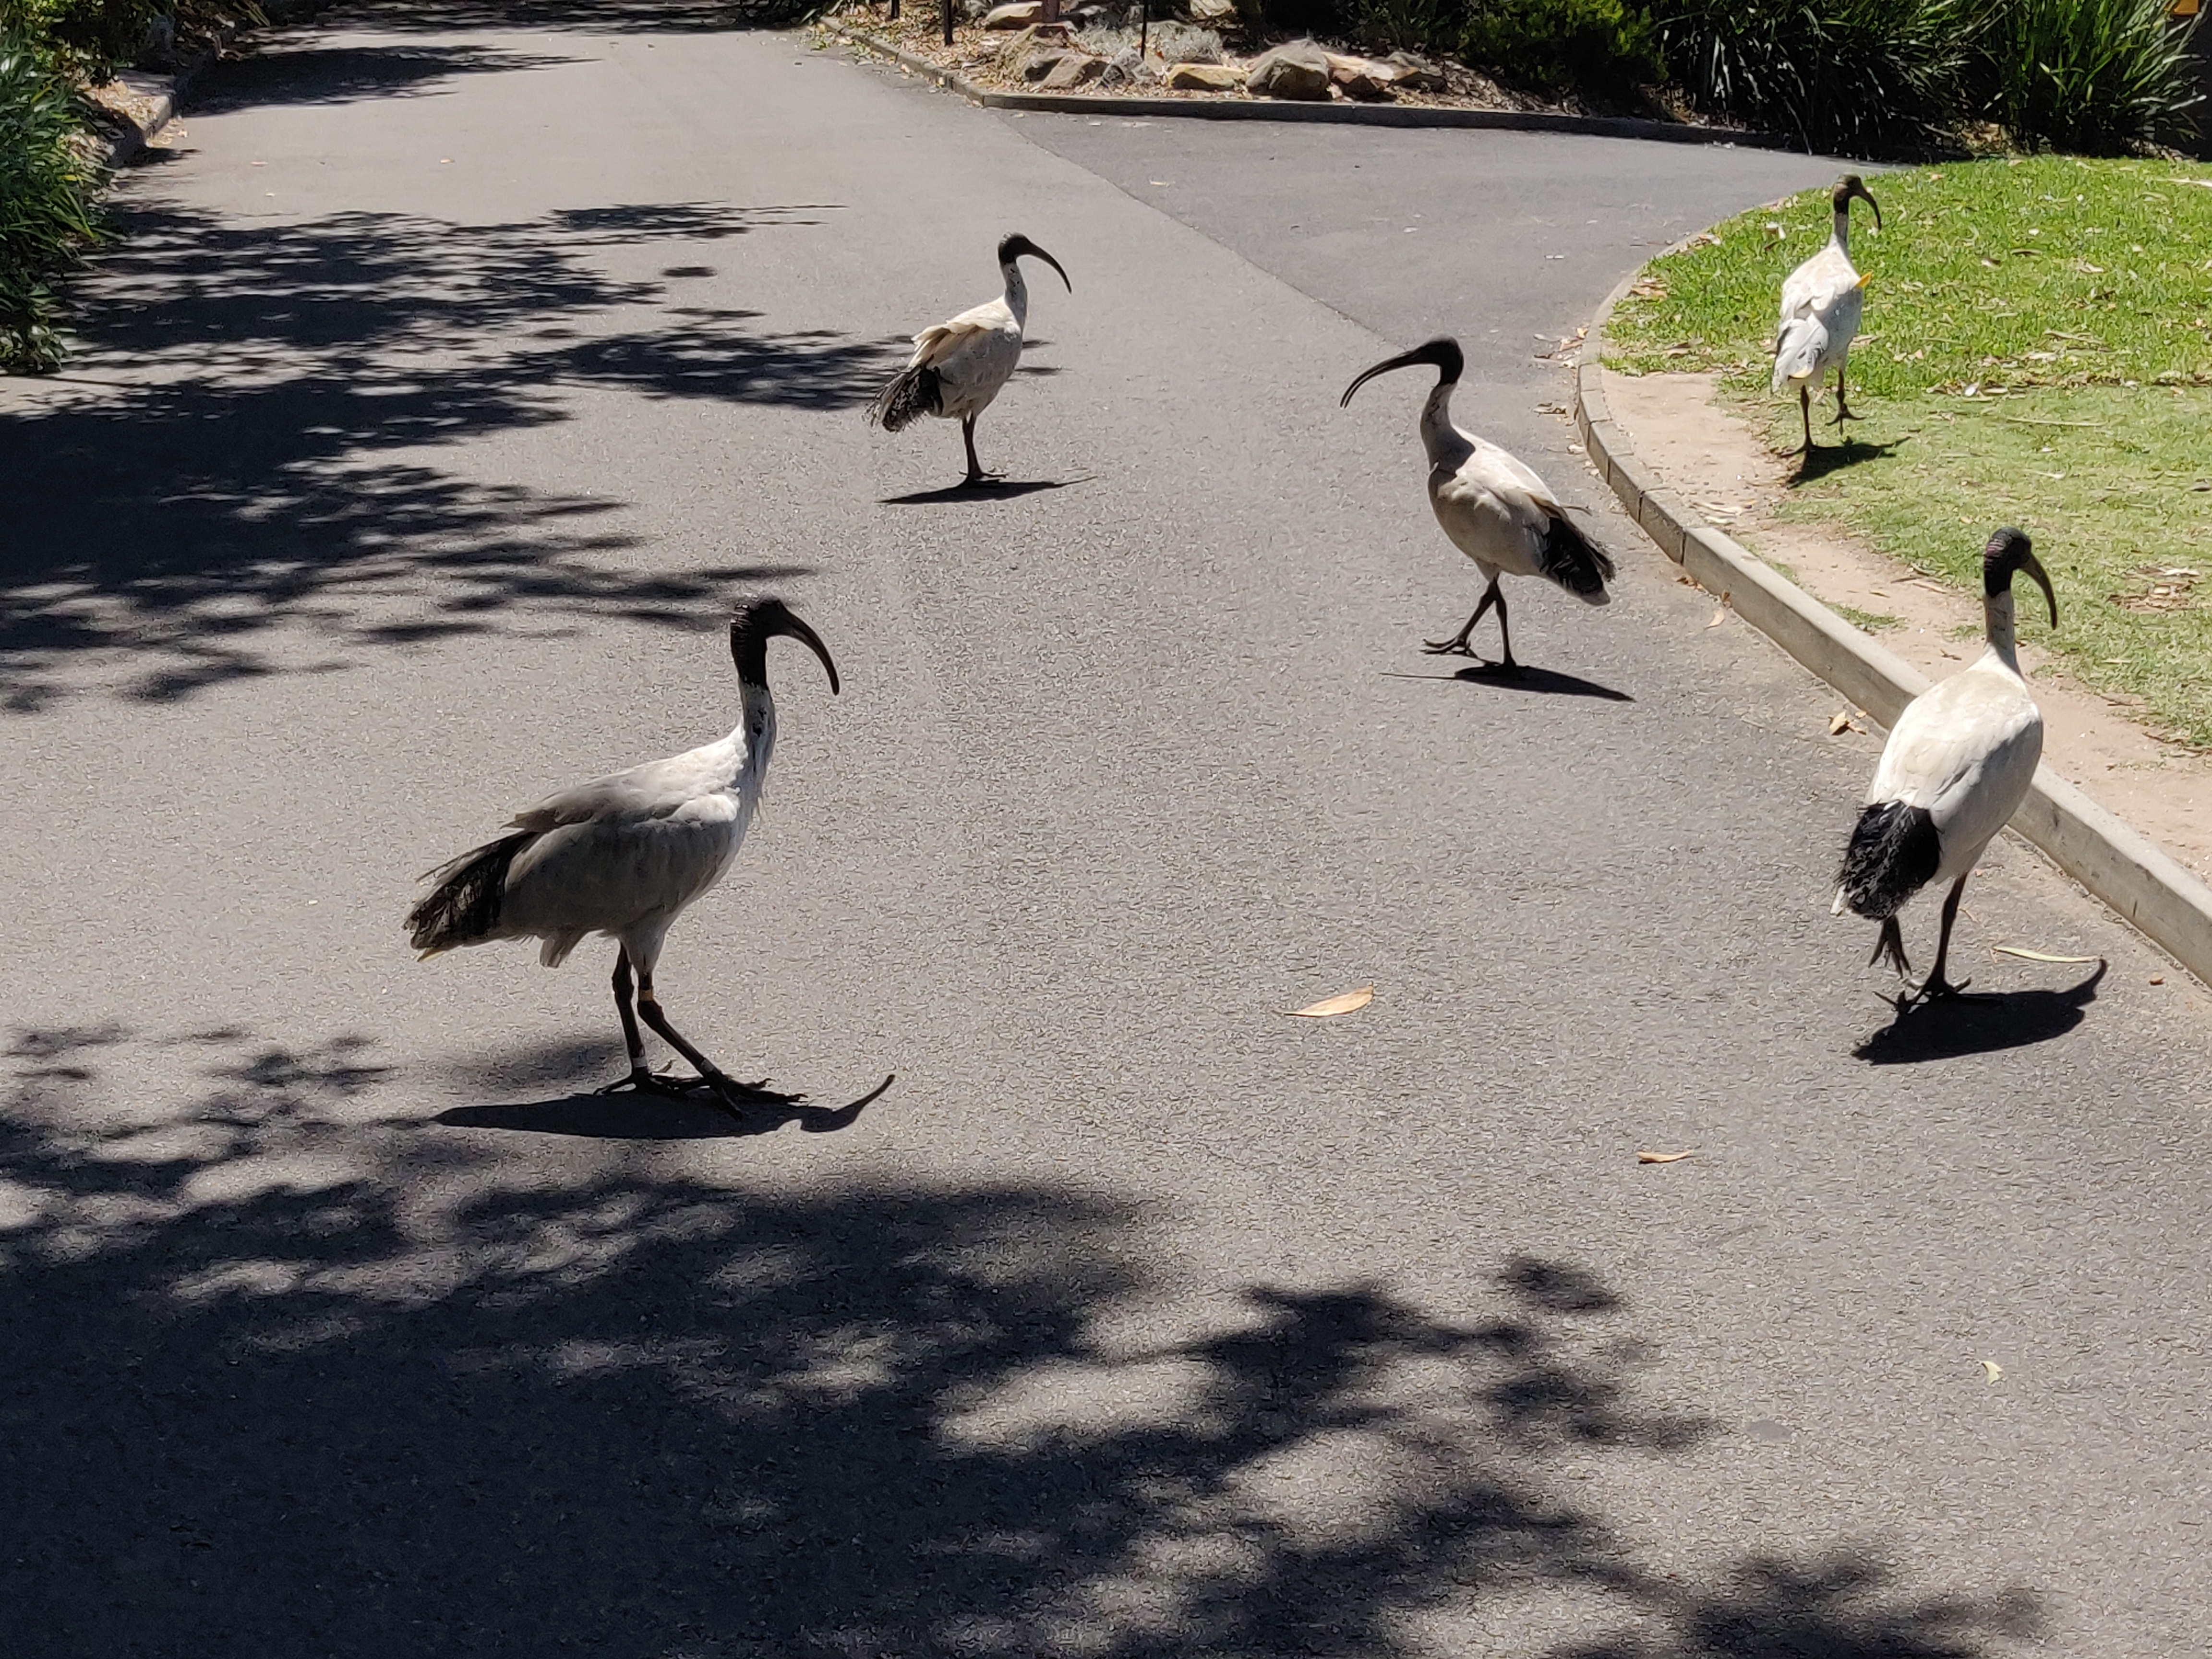
    As I started to plan my next trip to Australia and New Zealand, I realized I hadn’t ever written a blog post about the first time I visited Sydney, Australia a few years ago. Sydney was my first stop on a long business trip that took me from Sydney to Singapore to Tokyo-all fabulous and very different cities. I had a few days off in Sydney after the work was complete and I’ll try to recall all the fun things I did. My lasting impressions were of a clean and diverse city where the waterfront views were stunning, and the most amazing birds wandered the busy downtown streets and city parks.

    Taronga Zoo Sydney | Taronga Conservation Society Australia is perched on a hilltop across the harbor from the core Sydney downtown. This ferry ride was fast, easy and cheap, allowing me to admire the variety of boats up close in the harbor as we dodged them to arrive at our destination. Leaving the ferry, you have to take a gondola up the hill to the zoo, again providing amazing views of the harbor, Sydney Opera House and the downtown.

    Since experiencing the koalas was an absolute must do for me, I went straight to the gift shop to sign up for the Koala Encounter | Taronga Conservation Society Australia. You couldn’t book just a single ticket when I was there, so I paid for a group of three and invited the young couple standing behind me to join me for free. They accepted and off we went to commune with the koalas and learn all about their habitat. It was a sunny December day (summer there at that time!) so the animals were a little sleepy. I got up close and personal and they were just as cute as I thought they would be. I kissed a koala, and I liked it!

    The zoo is very spread out so wear your comfy shoes and be ready to get very close to the wildlife. One little park area that you could walk around and just be with the animals had kangaroos. Not a zoo employee in sight so they are very trusting of both the zoo tourists and the animals. Animals and human visitors are much more segregated in US zoos, so this was definitely a unique experience to see the animals so close up.

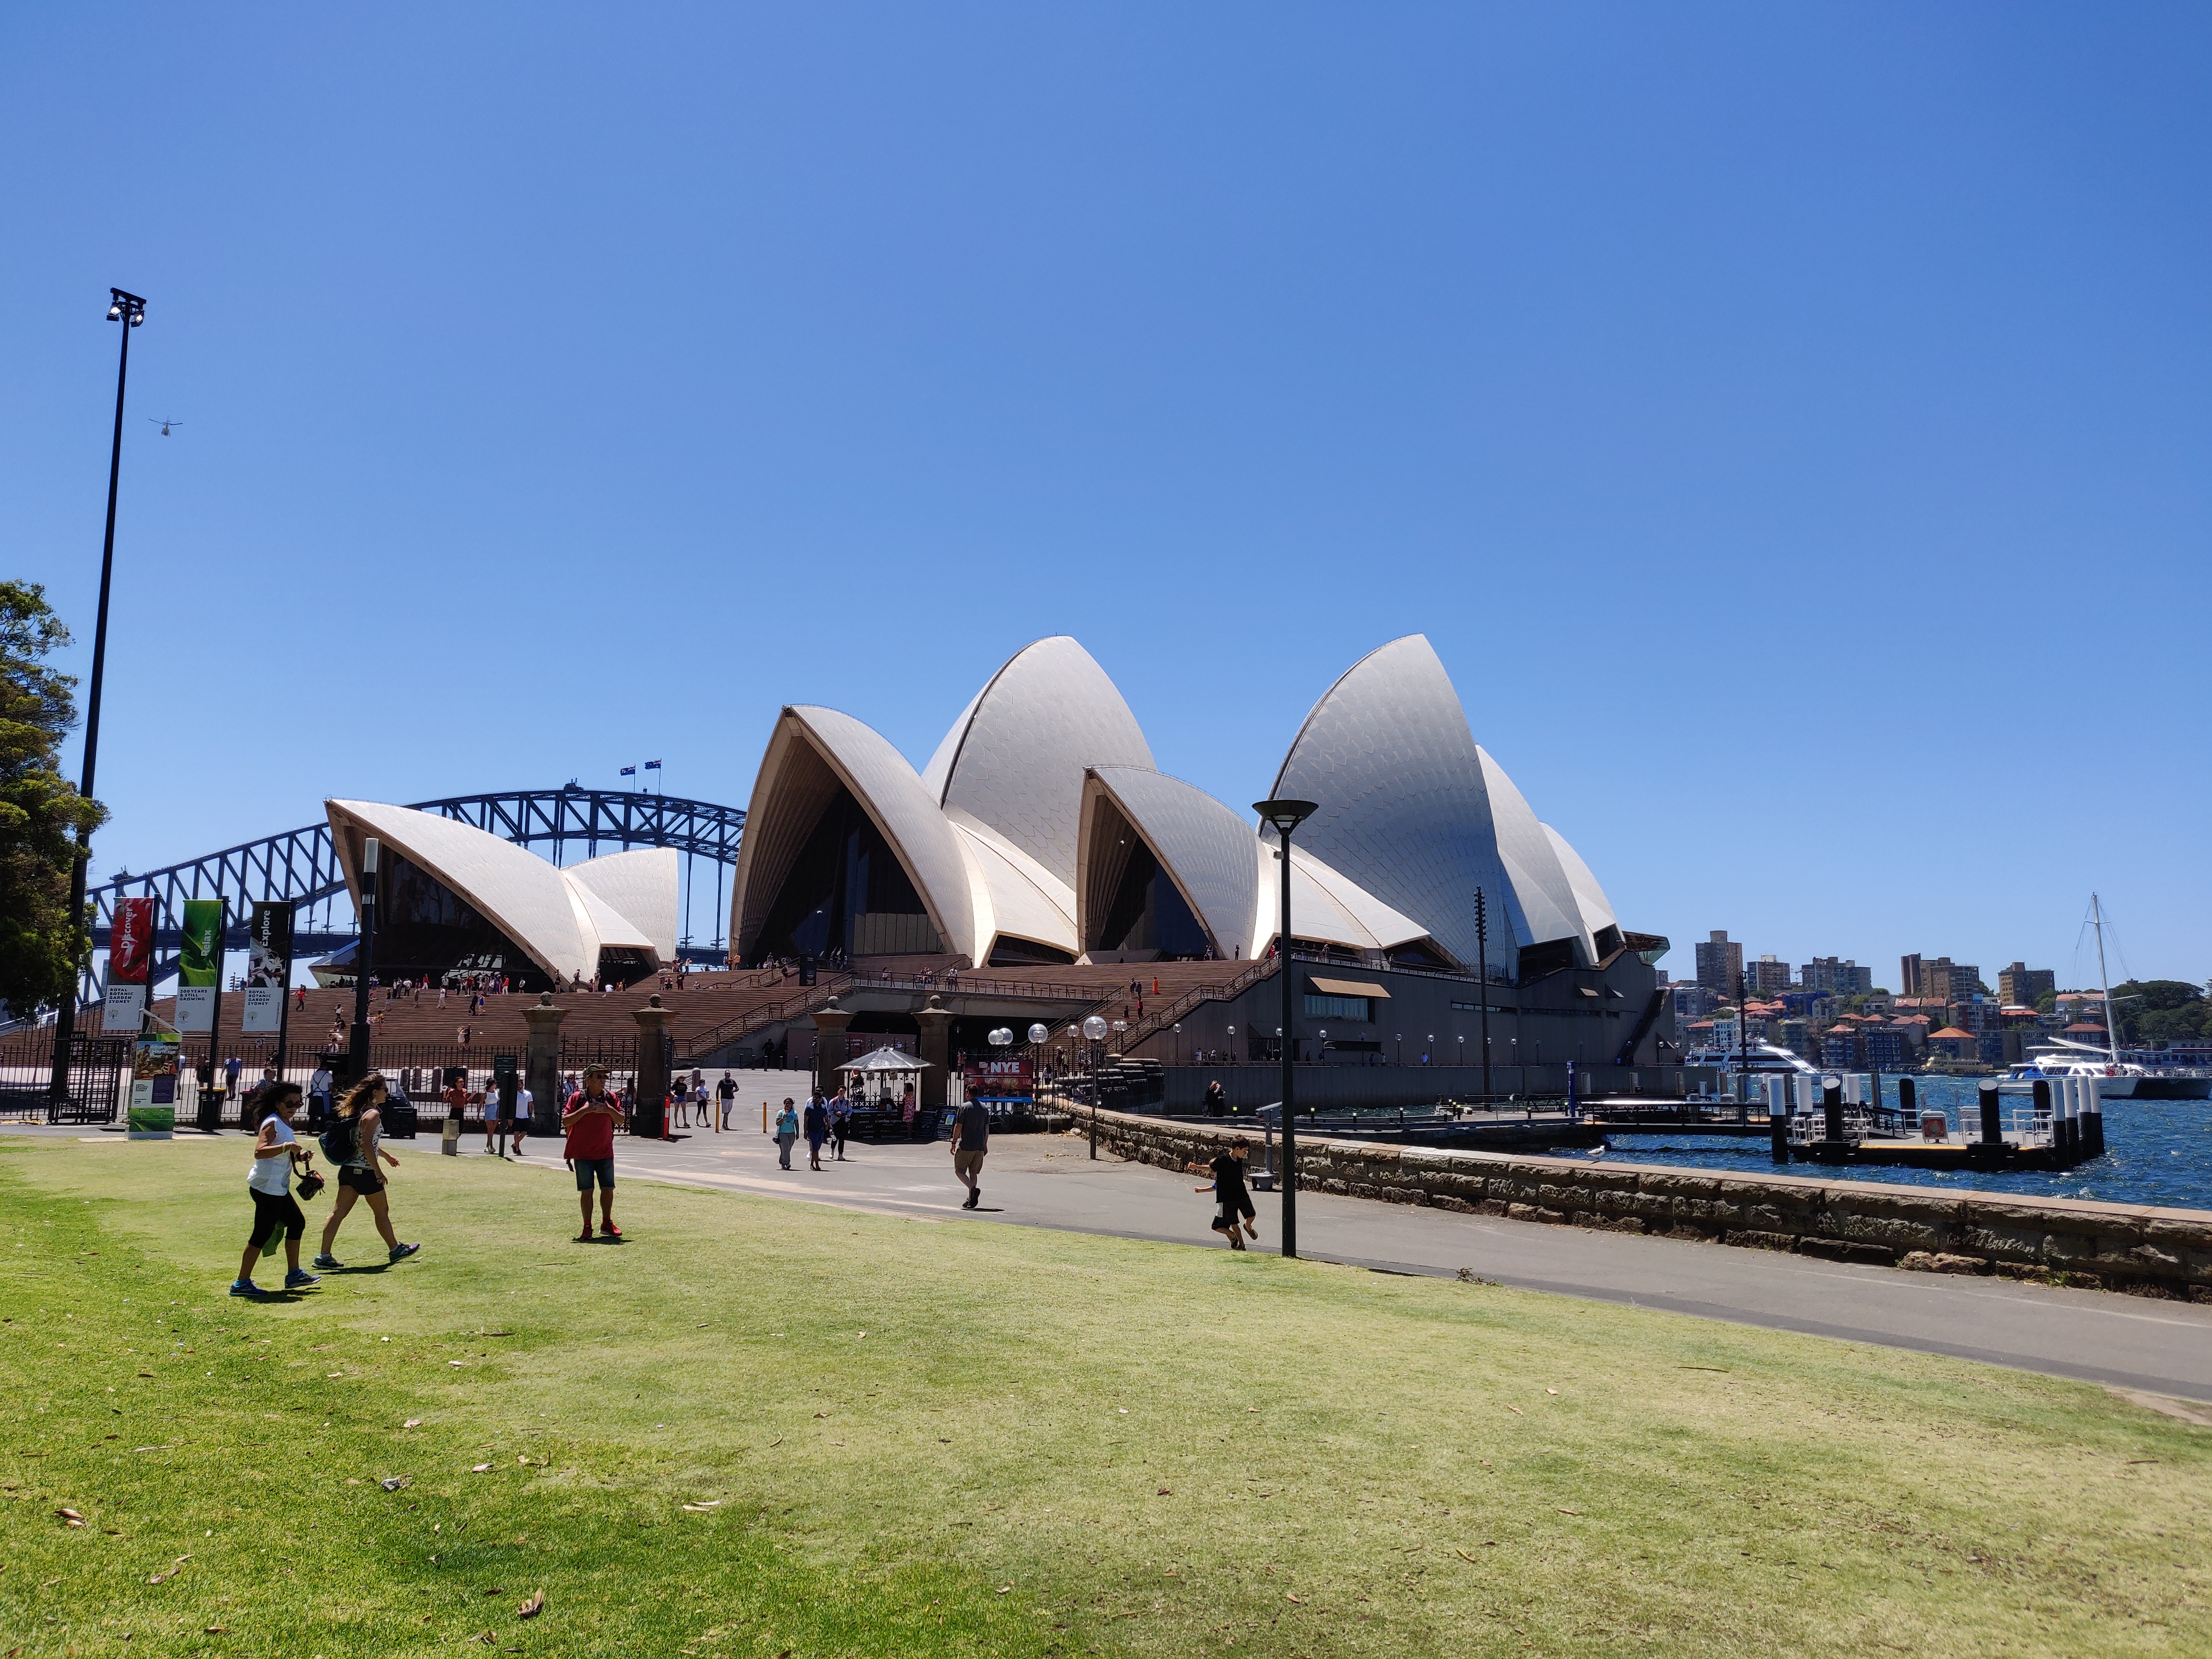
    Sydney Opera House | Home is another “must see” in Sydney. Famous for it’s “sails” architecture, I took the time for a The Sydney Opera House Tour for a behind the scenes look at this iconic landmark. I would highly recommend taking the tour as you will not only learn all about the history but also get to see all throughout the interior of the building. I regret that I wasn’t able to attend a performance while I was there, but I will definitely rectify that when we go back next year. Once you are done with the tour, spend some time hanging out on the promenade surrounding the Opera House and have a cocktail with a view!

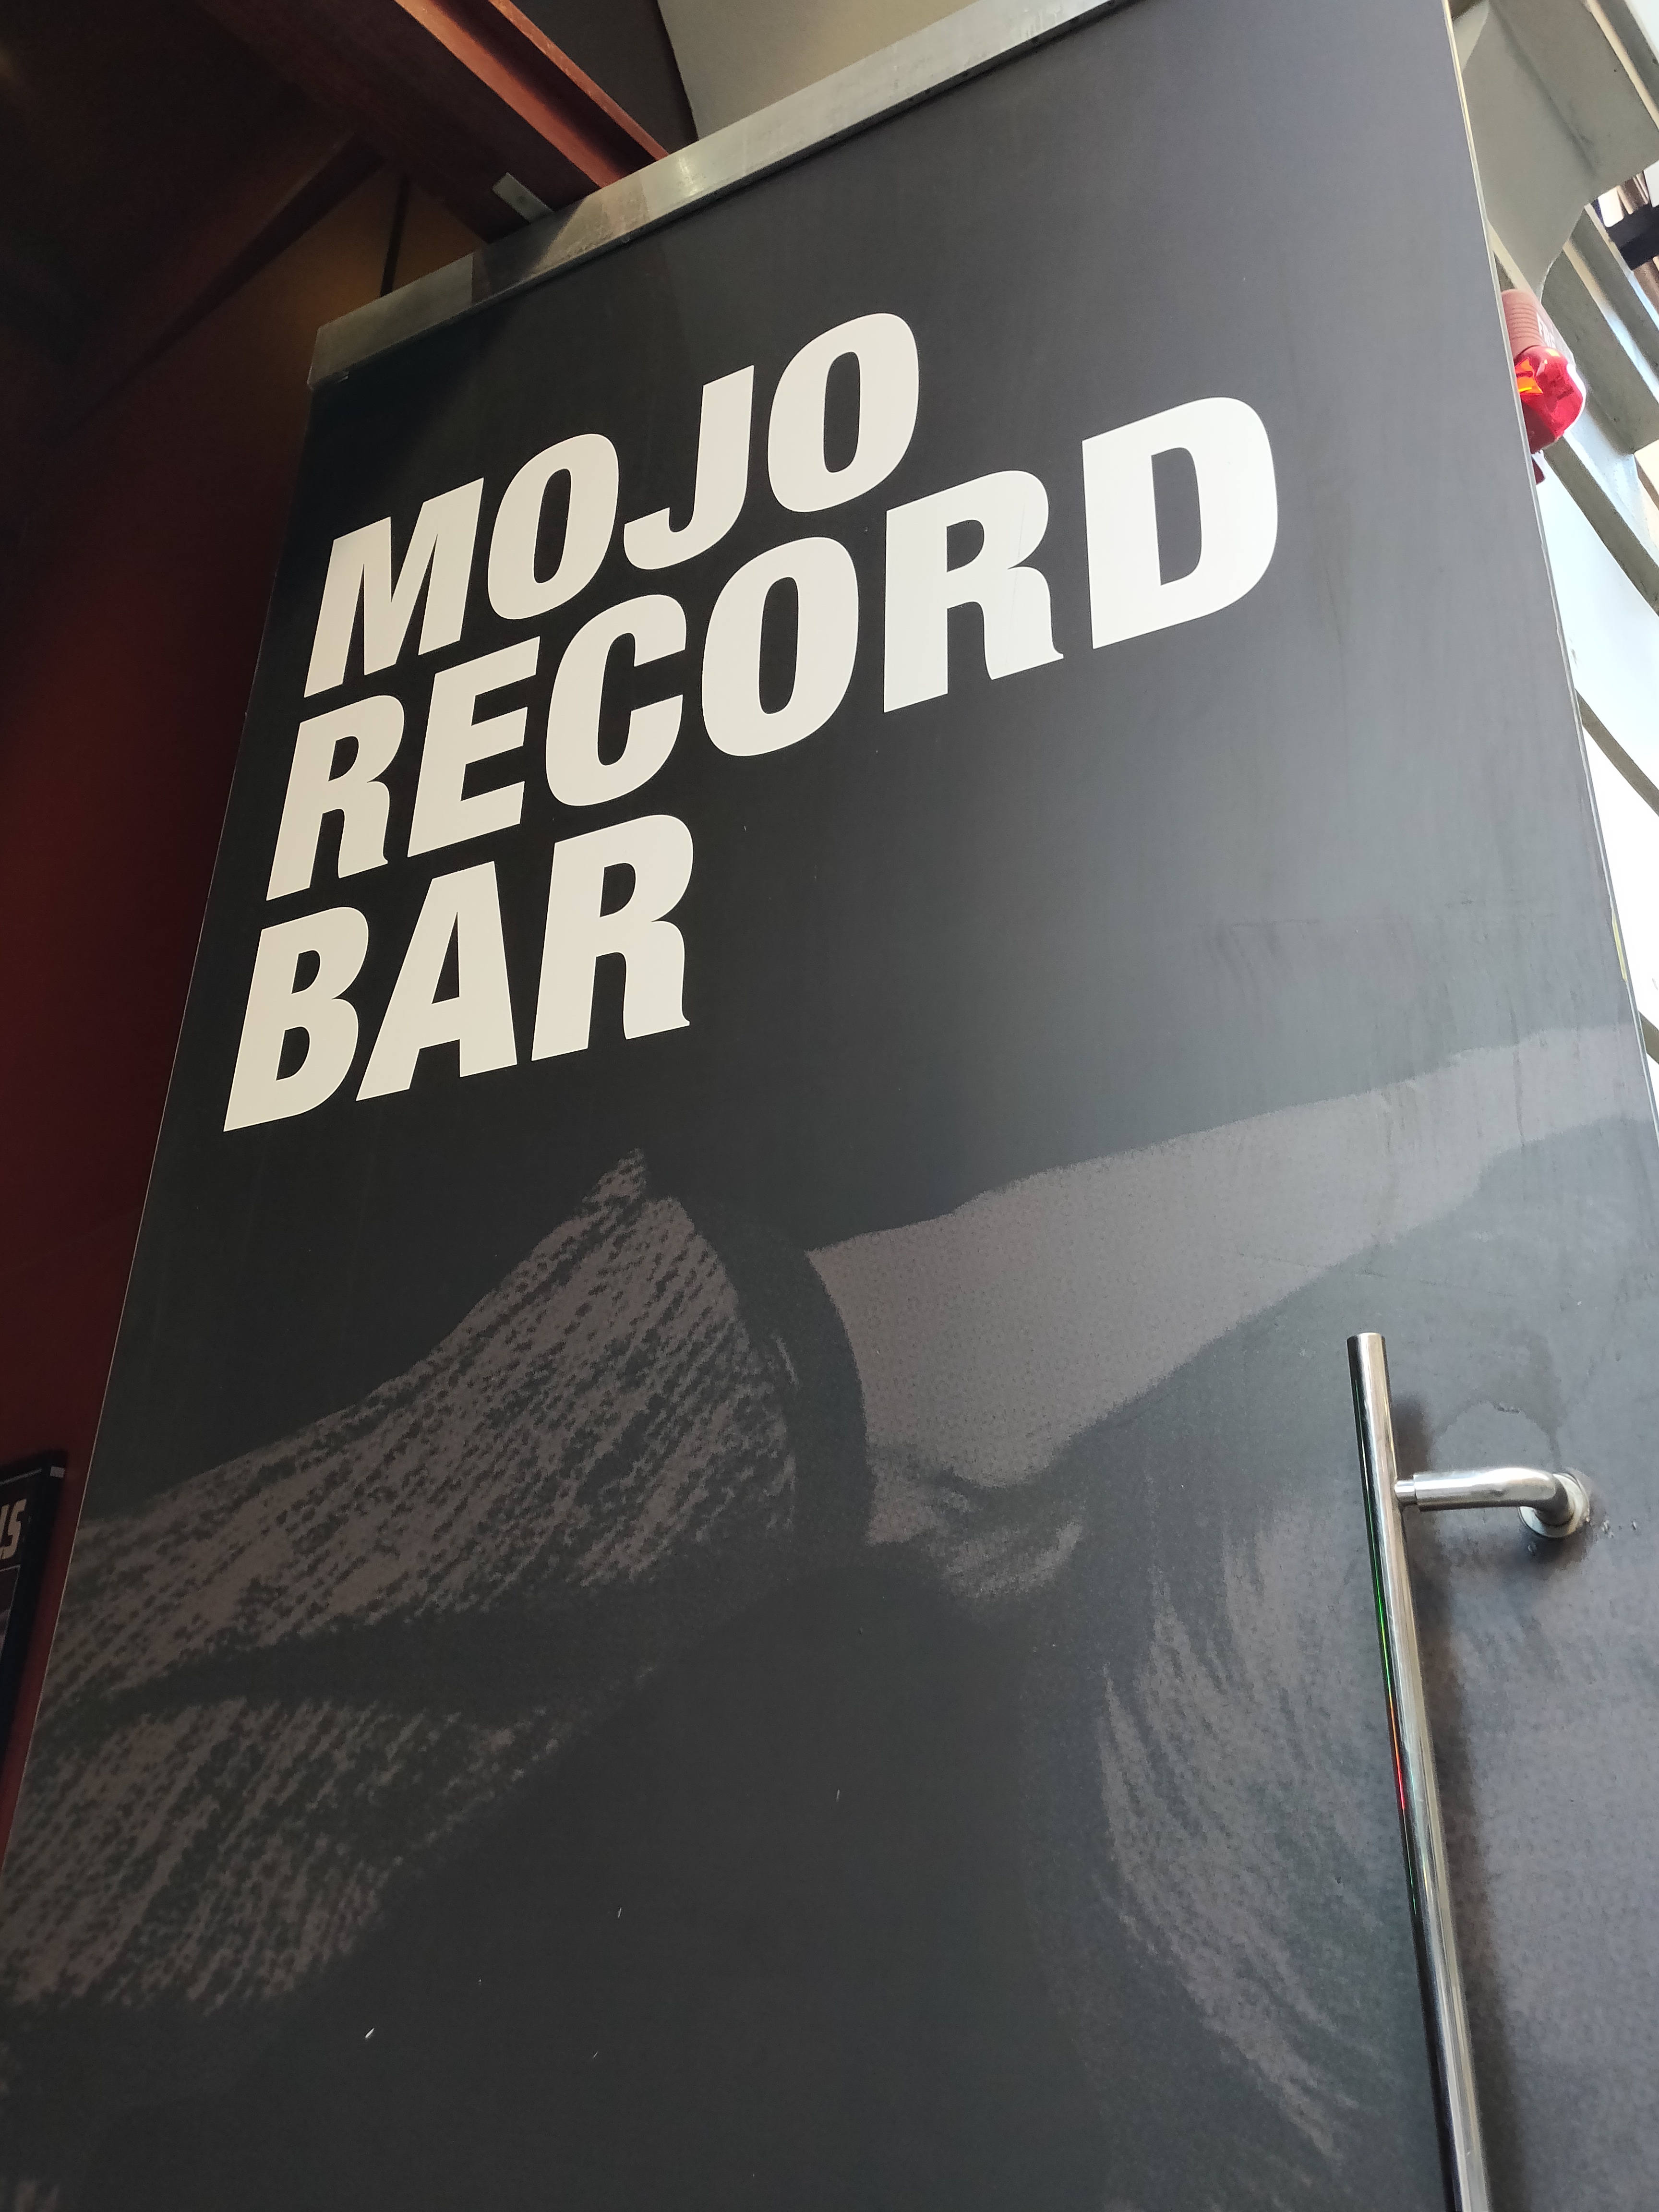
    After work, my teammates and I would check out all the wonderful restaurants in Sydney. As it was summer, we would often sit outside on patios to enjoy the diverse and yummy offerings. There were places tucked away in alleyways lit up by overhead patio lights that were just charming. We visited a vinyl bar, Mojo Record Bar, where we ate, drank and bought vinyl while admiring the eclectic decorations. Of course, vinyl was on playing and it was a perfect night on the town in Sydney!

    We stayed downtown Sydney at the Hotel in Sydney, Australia | Sheraton Grand Sydney Hyde Park (marriott.com). If you are a Marriott loyalist like me, you will appreciate their gorgeous lobby and the members lounge at this hotel. Within easy walking distance of all the shopping, cafes and also the harbor, this was the perfect location for my business/pleasure trip.

    Travel Souvenir Ideas

    Who doesn’t love to bring home souvenirs both for yourself and others-but what to get??? Before every trip, I make a list of possible items to seek out to purchase while I am there. Depending on where I am going, I research what the place is known for (think Florence=leather) and who do I need to buy stuff for besides myself. If I’m going on a girls trip, I better be bringing home something good for my husband, which is usually vinyl because he collects it. Always, I need to bring home good gifts for the grandkids. I try to bring home unique Christmas gifts for the family. You get the idea!

    One new tradition that I started with our last trip to the UK, Paris and Italy was to send myself the most beautiful post card I could find from every place we went. When we got home, we had a great memory of our trip waiting for us and we ended up framing them.

    So, make a list of the who, what and where for your souvenir list and then do a little research. Looking for vinyl-go to Yelp in advance for the city you are going to and read the reviews/check store hours and put it on your agenda. Don’t wait till the last minute to get your list checked off as other priorities can come up during a trip and then you leave with regrets that you weren’t able to get what you wanted-it has happened to me several times and I learned. Below are some suggestions for you based on my travels.

    KIDS

    • Stuffed animals local to the area: I found a wild boar that roars in Florence-so unique! We have a shelf for the grandkids with all these animals for them to play with when they visit. Oh, the fun they’ve had enacting stories with the panda bear I got at the Great Wall in China taking on the koala and kangaroo from Australia. Hint-the bear wins.
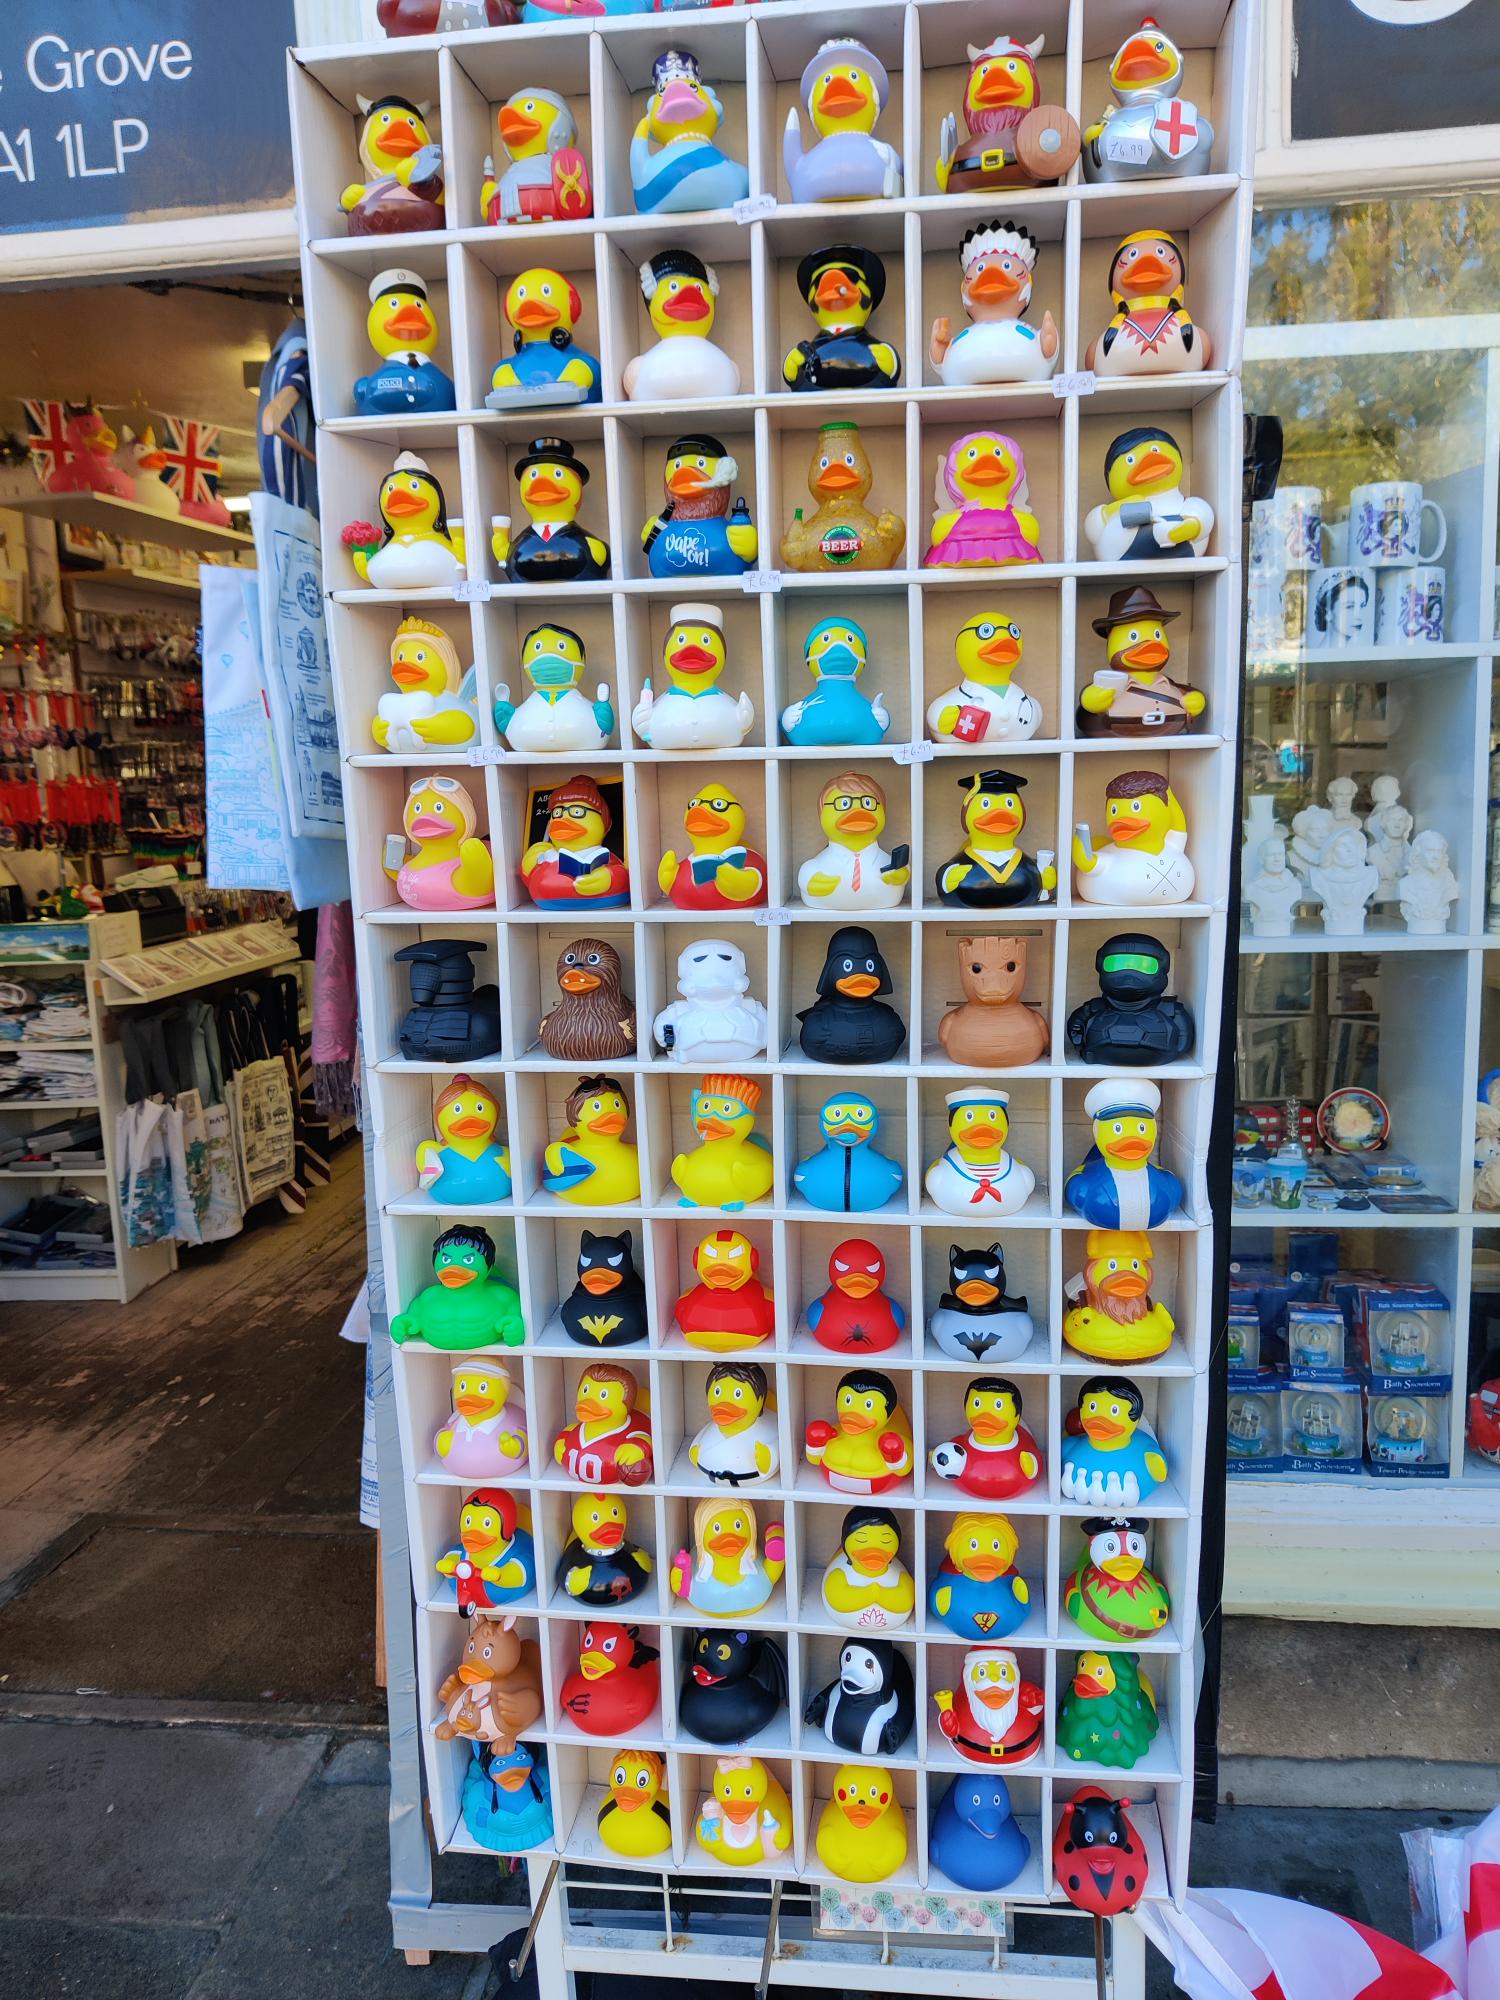
    • Ducks for the bathtub: our prize collection of ducks from around the world for our grandkids range from Vincent Van Gogh duck from Paris (look for these at museums!) to Roman Soldier duck (Bath-from the Roman Baths there but there was also a specialty store that had so many to choose from!) to Queen Duck that we got in Liverpool on the day that she died. I hope that after our grandkids grow out of creating elaborate stories playing with them in the bathtub, we will store them until their kids are ready.
    • Placemats: We started this tradition when we were in Paris and placemats were easily found in many gift shops. When I got to Florence, I looked everywhere for them and finally found one. My sister took photos from our trip and had several placemats made for me too. I let the grandkids pick one every time they come over to eat (see picture below of placemats from our girls’ trip to Bath, England). This way we can talk about the places we’ve been and encourage a love of travel in them early on. Oh, the places you’ll go!

    CHRISTMAS GIFTS

    • Christmas tree ornaments: good for those who celebrate. My sister bought handblown ornaments for her entire office staff and had them shipped from the store in Bath. I love our NYC landmark building ornaments that we bought. Buy bubble wrap at a local stationary or postal store to carefully pack anything fragile.
    • Custom products: make all kinds of cool stuff with trip photos. For our girls’ trip, I took pictures from our trip and had them made into coasters and luggage tags for the ladies and myself. I use Shutterfly to create items like this but there are lots of online companies to pick from.

    ITEMS ANYONE WOULD LIKE

    • Food specialty items: think coffee beans (Hawaii) or tea bags (UK); Just remember that you will have to pack these items away in your checked bag or, if you are like me and only travel with a carry-on, they will have to be small to stay within liquid restrictions. Anything that smears is considered a liquid so that would include jams, honey, etc. in Europe.
    • Booze: buy what the locals drink-Scottish whiskey; Tuscany wine. Again, with liquid restrictions, you may want to see if the place will ship the booze home for you. I tried that with wine from a vineyard we visited in Tuscany and almost all the bottles made it but we did have one bottle break and shipping took two months.
    • Scarves: whether it’s designer (Milan) or handwoven (Ireland) both men AND women like scarves for fashion and to keep warm. No worries about the fit/size and super lightweight and easy to pack. Perfect gift!
    • Leather: eyeglass case, makeup case, handbag, bookmark, etc. We have purchased lots of items from the Florence Leather School because the students make the items there at the school and they offer free engraving.
    • Magnets: easy to find at any tourist store and so many people love these to post items on the fridge.

    STUFF I LIKE TO BUY

    • Pillow covers: My home is filled with pillows from everywhere in the world from China to Italy and all places in between. Many places sell the pillow cover, and you can get the pillow insert from Amazon when you return home. Easy to pack into a full carry-on, pillow covers can even be used to wrap and protect other souvenirs you buy like jewelry. We bought fabric at Liberty of London and Patti used it to make us pillow covers for Christmas presents since we couldn’t find any pillow covers to buy on our girls’ trip to London.
    • Kitchen towels: most places you can find kitchen towels. My favorites are from museums and Parliament gift stores (we have visited both the Scottish and UK Parliaments) They are light and won’t break and I use them every day in my kitchen.
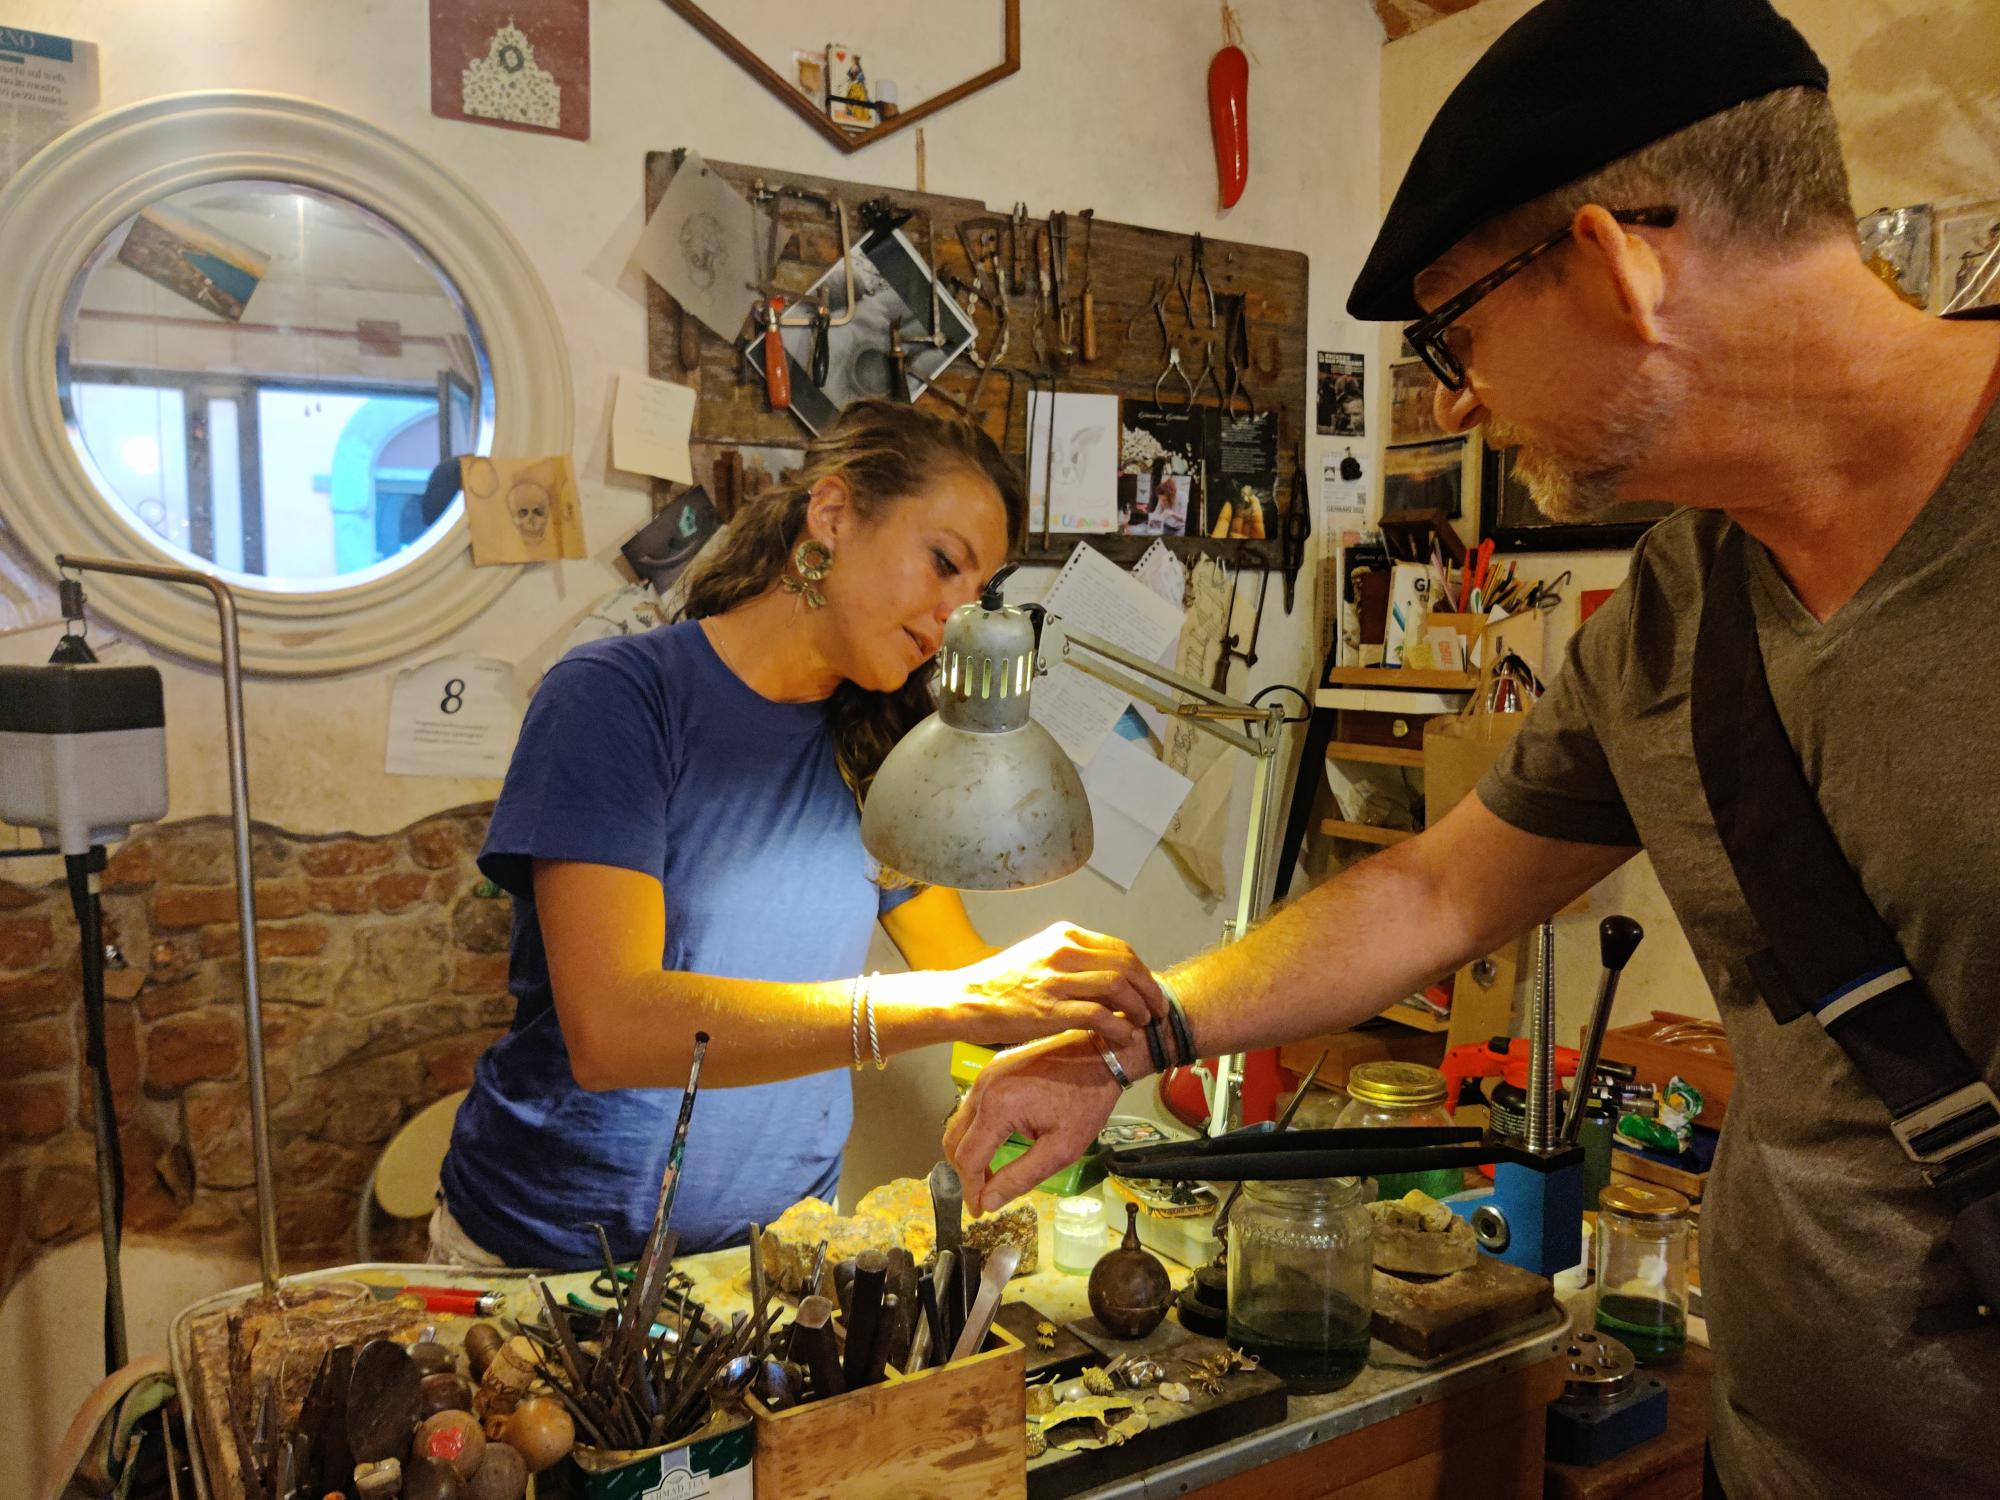
    • Jewelry-I love to seek out unique jewelry pieces to bring home. They are easy to pack and every time I wear them, I have such fond memories of the trip. I have several jewelry artists that I’ve met on my travels and that I collect jewelry from now. It’s so special when you have seen the artist in action and then get to wear one of their pieces. Here are some favorites of mine:
    • Starbucks city mugs: I know, they are heavy and fragile and thus terrible items to pack, but I just love them and have collected them for years. From Moscow to Paris to Shanghai, I’ve got them and have wonderful memories of seeking them out wherever we are. On the last girls’ trip to London, we scored the original version of the London mug from a Starbucks we just happened to find when we got lost. This particular style with the raised images has been discontinued and run about $80 each on eBay so we all bought one and I drink my tea (also from the UK) in it. Next trip up is Milan in June. They have a Starbucks roaster fancy café so I’m hoping the mug selection is broad and that means I’ll be hauling it all over Italy/Switzerland for a few weeks before I return home, hopefully with it in one piece.
    • Local art: Walk the streets of Montmartre in Paris and you’ll find local artists sketching away and selling their art. We discovered a street artist in Florence who goes by the name Blub and then stumbled upon a limited edition print of Blub’s art in a local store. We were thrilled and bought a cardboard tube and had the studio roll it up for me to pack. It is now framed and hanging on our wall at home and is a fabulous reminder of our time spent hunting down Blub’s street art in the quaint streets of Florence.
    • Eyeglass frames: get the frames and bring home to get the lenses put in by your local optical place. I’ve had success with Costco. My frame collection is growing, and I now have two pairs from Florence and one from Tokyo.

    I hope you can find awesome souvenirs next time you travel that will remind you of your adventures. Enjoy the journey!

    Top 5 tips to book an Airbnb stay

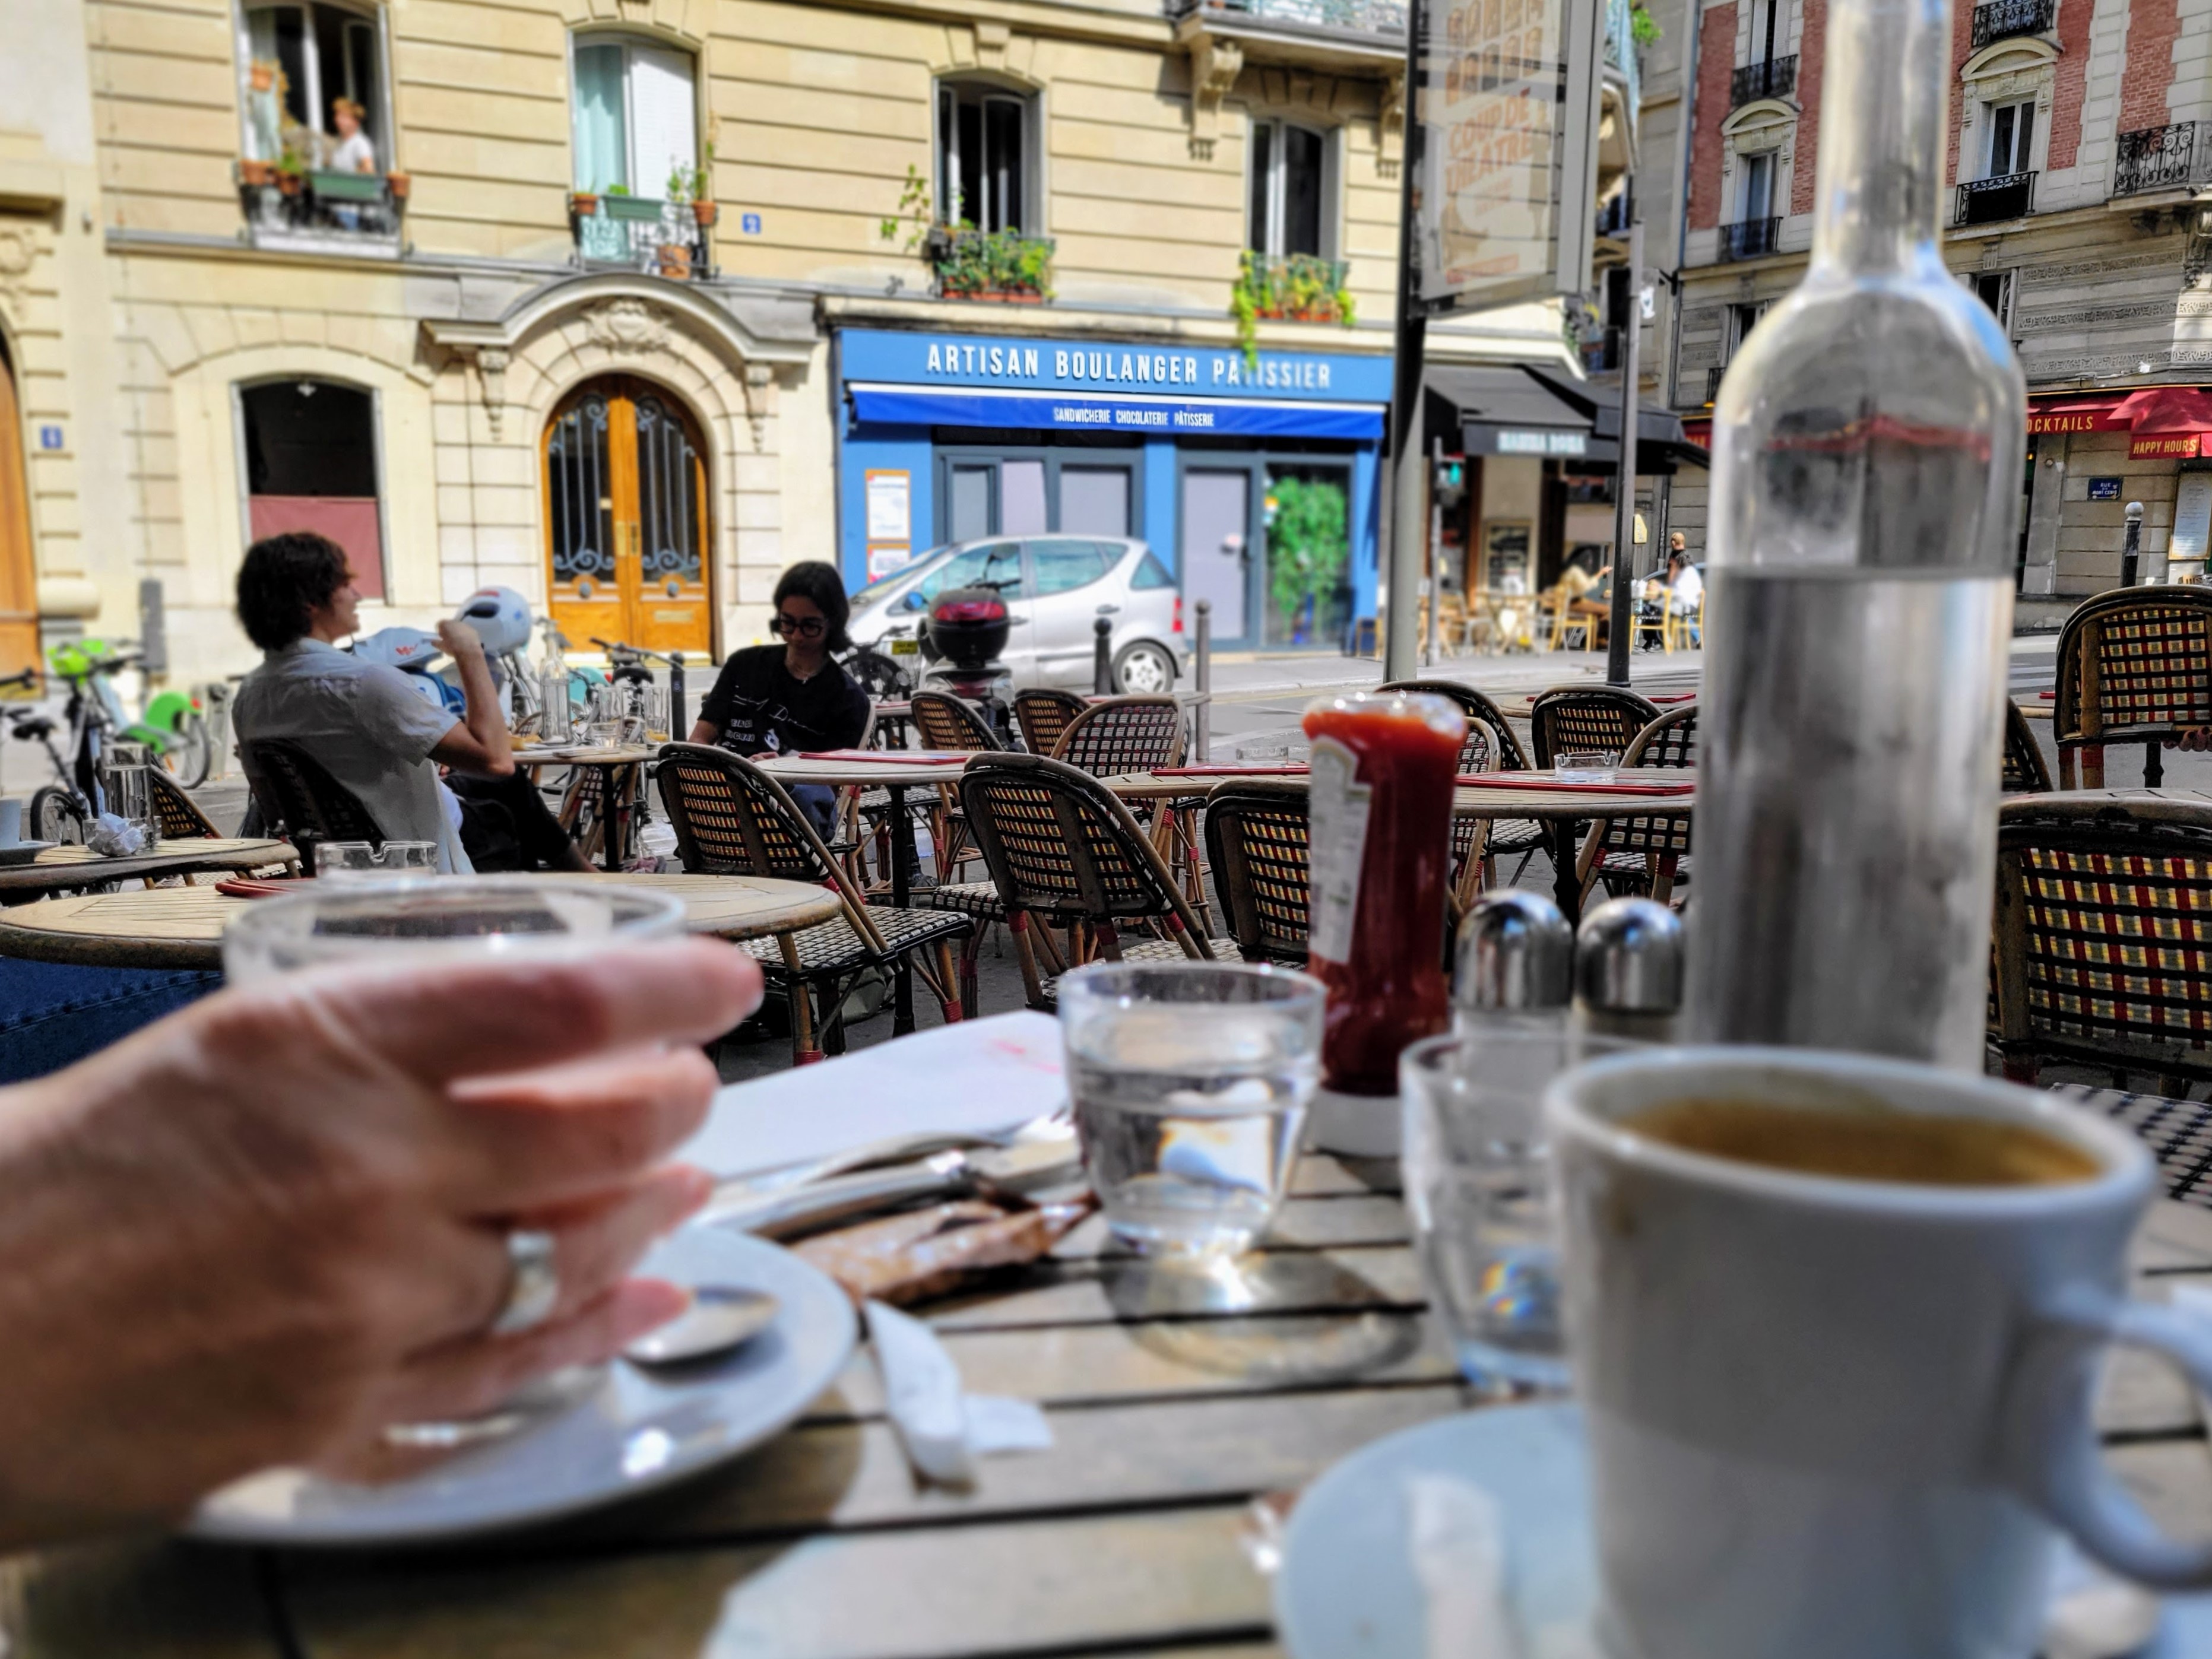
    Gazing out the window at the lively Montmartre cafes, I truly felt a part of the Parisian culture on a recent trip. This is one of the reasons I book an Airbnb for our stays that are a week or more. While I love my Marriott hotel stays, those work best for just a few days. An Airbnb is great for longer term stays and for groups like for our girls’ trips because we need more bathrooms and beds than a hotel room can provide. In Florence, we rented out an apartment in a villa (see top left pic below) where the family lived in one section, and we enjoyed three levels of living in a separate wing of the building. When my husband and I travel, often I will be working remote for a month or longer, so having strong Wi-Fi and a washer are necessary. I just booked our stay in an apartment in Strasbourg, France for a month, where I’ll be working remote during the week and taking day trips all over France on the weekends. My girls trip this year will be a stay in Paris on the Ile Saint-Louis Island in an amazing Airbnb with a water view. So much to look forward to!

    Doing research before booking your Airbnb is crucial to having a happy stay so please read my tips below before you hit that “reserve” button and enjoy your journey!

    1. Read the reviews. If there are complaints about noise and the beds being uncomfortable, look elsewhere. You need a good night’s sleep when you travel. If there are no reviews, don’t book it. The listing may be new and that’s the reason for zero reviews but let somebody else try it out first. The host should disclose any issues with the rental in the description (one posting I just read stated that “If you are 6-feet +, consider other bookings because one area of the ceiling has a clearance of 5’11”) but sometimes hosts aren’t so forthright so reviews are where you will discover the truth.
    2. Choose a Superhost if at all possible. They will care more about providing a clean, consistent experience because they want good reviews. If something is amiss, they will be more likely to make it right. We checked in to one apartment in London and the cleaners hadn’t shown up yet, so we had to drop our bags and leave once they did come. However, the host gave us a full night’s credit back to our Airbnb account which was absolutely the best outcome of a situation that can happen.
    3. Check out the neighborhood before you book. Some hosts provide the address up front, and others will only show a location in the general neighborhood “exact location provided after booking”. Either way, do your due diligence and investigate. We got a super deal on a place in Lisbon, Portugal but the neighborhood was a little rough, so we didn’t feel comfortable going out at night so now I go to Google maps and look at street view level to get a feel for the neighborhood before I book. Usually, the host will include details in “Getting around” section about what you can walk to like a market and public transportation nearby. Is accessibility an issue for you or members of your group? Is the neighborhood hilly or are there stairs to climb to the local market? All good thinks to know in advance.
    4. Consider the cancellation policy. Cancel policies vary by property so make sure you check. You will usually see for each listing either: “Free cancellation before (insert date)”, which is usually 30 days prior to start of reservation OR “Free cancellation for 48 hours”. Believe me, life can happen and with a restrictive cancel policy you will lose your entire payment. My husband had a heart attack, and we couldn’t go to NYC on a planned trip. Even after explaining the situation to the host, he refused to refund our money and he was within his rights to do so given that apartment’s published cancel policy. I was still upset, and, after that incident, I now refuse to book a place that doesn’t have a more lenient policy where I can get a 100% refund within 30 days of start of reservation.
    5. Check amenities and accessibility. I have stayed in Airbnbs all over Europe. Many places have steep stairs to not only get to the apartment but also within the unit. Elevators are as rare as air conditioning, dishwashers and dryers in many countries. If these are important to you, check to make sure the place you have picked to rent has them. Even small details like having a coffee pot for me are important. One place we rented had nothing but an electric kettle which is fine for tea. We had a lovely time shopping in the local neighborhood for a french press and coffee, leaving it all behind after our week’s stay so the next renter might enjoy it. If you will be working remote and need strong Wi-Fi, check the reviews to see if other renters have had any issues and check with the host. Where we stayed in London recently not only had 5 flights of stairs inside the unit but the Wi-Fi and cell coverage was weak and only worked in a few places inside the unit, which was just inconvenient for us. At our New Zealand cottage on the water, the host provided free use of kayaks and we had an amazing paddle around the bay. Our France rental this fall has use of bikes to get around the city which I am sure we will use on our month-long stay.

    I hope these tips help you book an amazing place. Safe travels!

    Top 5 Travel Packing Tips

    I recommend you pack only a carry-on for whatever length of time you are travelling. Seriously, I went all over Europe last fall for 30+ days with only a carry-on. And this was a multi-purpose trip for me-I work remote, so I had to look business-like on virtual meetings and also had personal time off to enjoy sightseeing with my husband. If I can do it, so can you! Don’t be disappointed by lost baggage or sustain injuries caused by dragging around and lifting heavy luggage. If you follow my best practices, learned from travelling all over the world with only a carry-on, you will thank me. Enjoy the journey!

    Here we go: (downloadable travel checklist here Packing Checklist – Travels with Melinda)

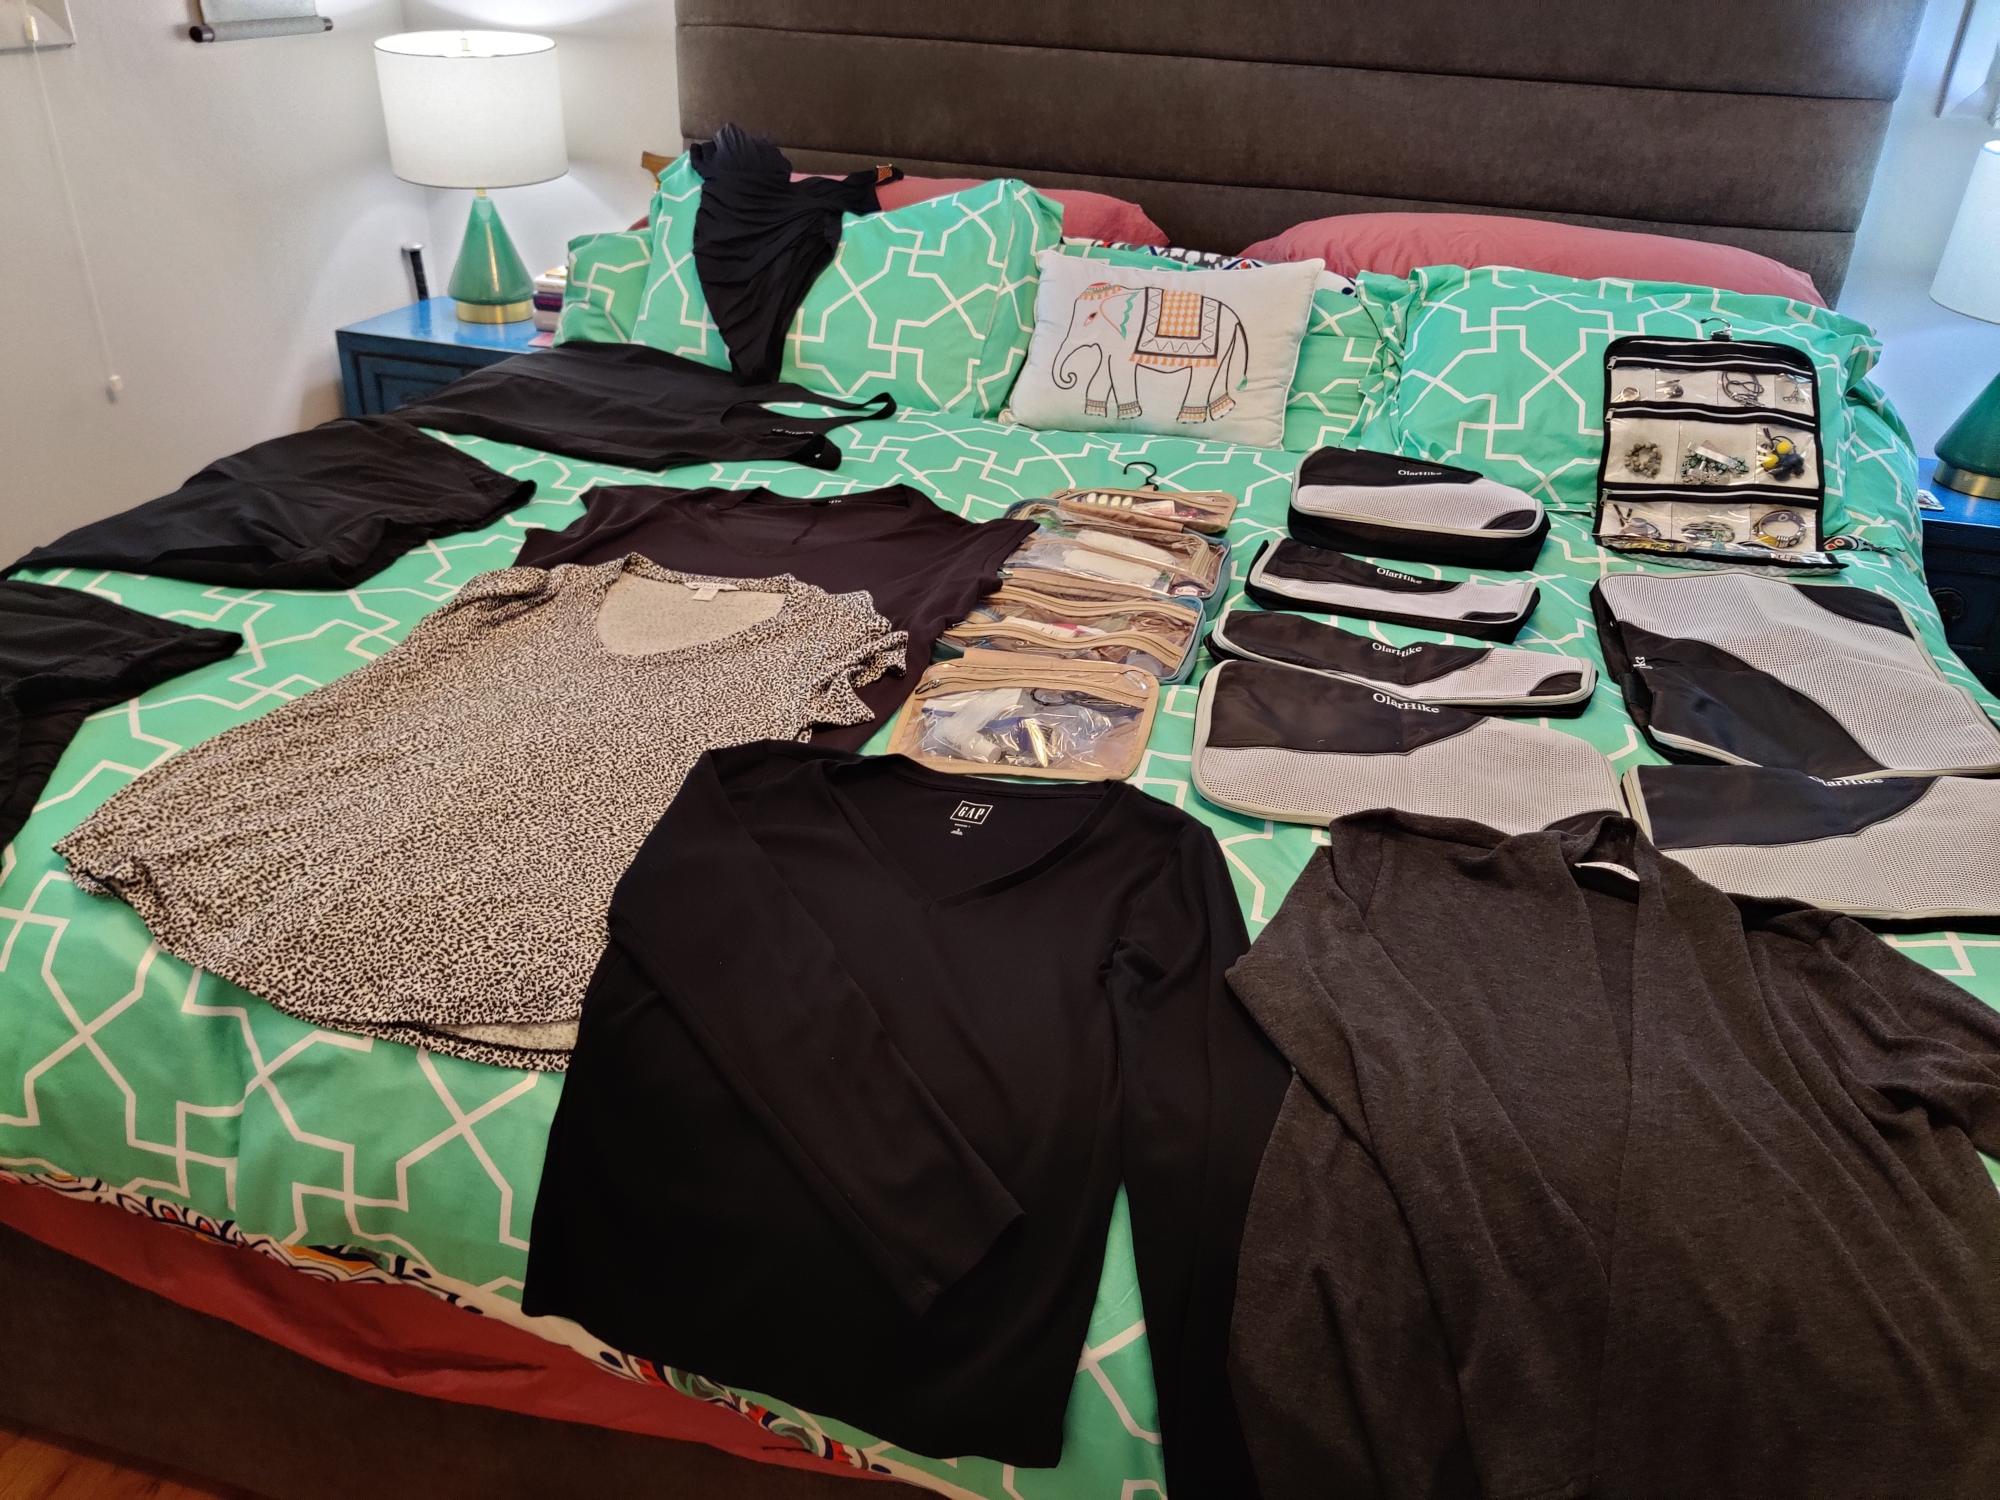
    1. Pick a color palette and coordinate your outfits around it. I use black as the base and plan pops of color with scarves and jewelry. I envy people who can wear white shirts but mine just end up with stains so white is a no go for me.
    2. Try out the clothes in advance of the trip to see if they are comfortable and won’t wrinkle. When you wear them, are they comfortable and do they make you feel good? If so, take a picture to remember the look and put it in your packing list file. I’m a planner and start updating my basic packing list months in advance of any trip depending on where I am going and expected weather conditions.
    3. Lay out your 5 outfits (this is for any length of trip over 5 days) on the bed-tops, bottoms, underwear, socks, jewelry, scarves, etc. Then, see if you can mix and match them to create new looks. When you have your outfits picked, I recommend you roll all your items, sorting them into packing cubes by function, i.e., underwear/socks in one, tops in one, bottoms in another, etc. I use a hanging organizer for my jewelry and a hanging toiletries bag. Any clothing that is heavy or bulky won’t make the cut.
    4. Wash the chosen travel outfits in the sink and hang them to dry to test their worthiness before the trip. If they don’t dry overnight or dry but with terrible wrinkles, don’t pack them. That includes socks and underwear too. You may have the luxury of a washer at an ARBNB, but you probably won’t have a dryer at least in Europe and, if you’re at a hotel, you may be washing in the sink using handy laundry soap sheets that are easy to pack.
    5. Check the weather right before you go and adjust outfits as needed. Don’t need that umbrella and poncho? Great! Do need hat and gloves? Pack them. You don’t want to be cold, wet and miserable, so better to be prepared.

     More details on exact items I recommend for the best travel experience can be found on my website: Travel Essentials – Travels with Melinda.

    New York City-Top 10 Free Things to Do

    New York City is my favorite place in the world. I had the great fortune to live there for six months on a work assignment for Microsoft and have also travelled there extensively over many years for both business and pleasure. I even married a born and bred New Yorker! And while I’ve travelled all around the world, I still have yet to find a city that rivals NYC. Just walking around the various neighborhoods, eating $1 pizza and bagels from the street carts, strolling through Central Park and visiting many famous museums keeps me busy. Most of what I love to do in NYC is FREE! So, I’m going to share with you my favorite free things to do in NYC. Enjoy the journey!

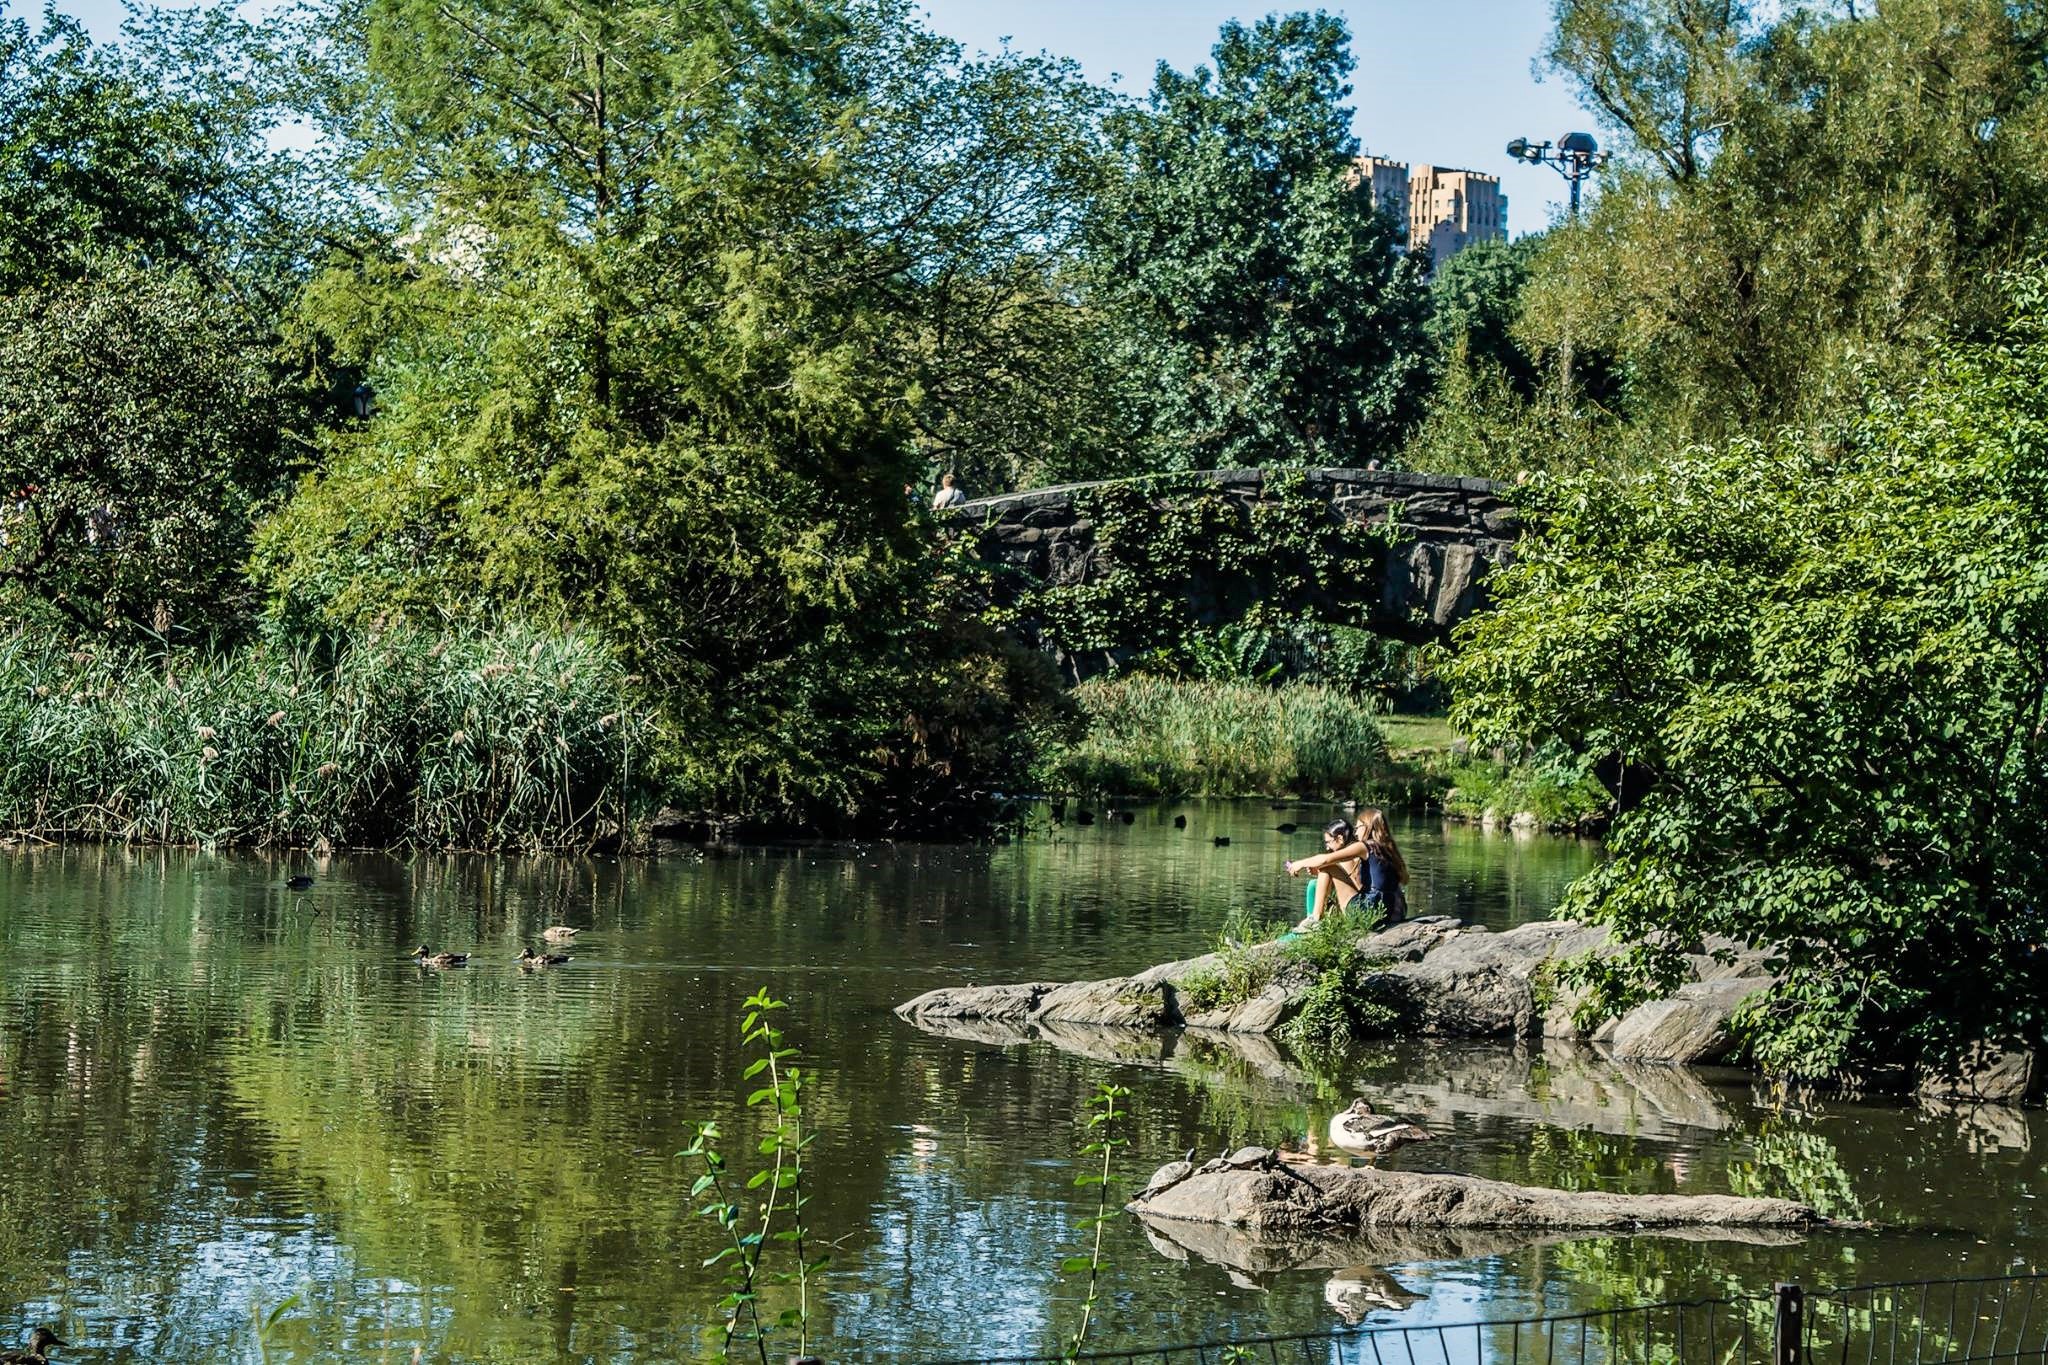
    Central Park (Your Official Guide to Central Park I… | Central Park Conservancy (centralparknyc.org) is where real New Yorkers go to exercise and relax. Check out Belvedere castle, the turtle pond, and the great lawn. Wander around and take care not to get run over by the many bikes, roller bladers, horse carriages, etc. on the roads and pathways. It’s beautiful.

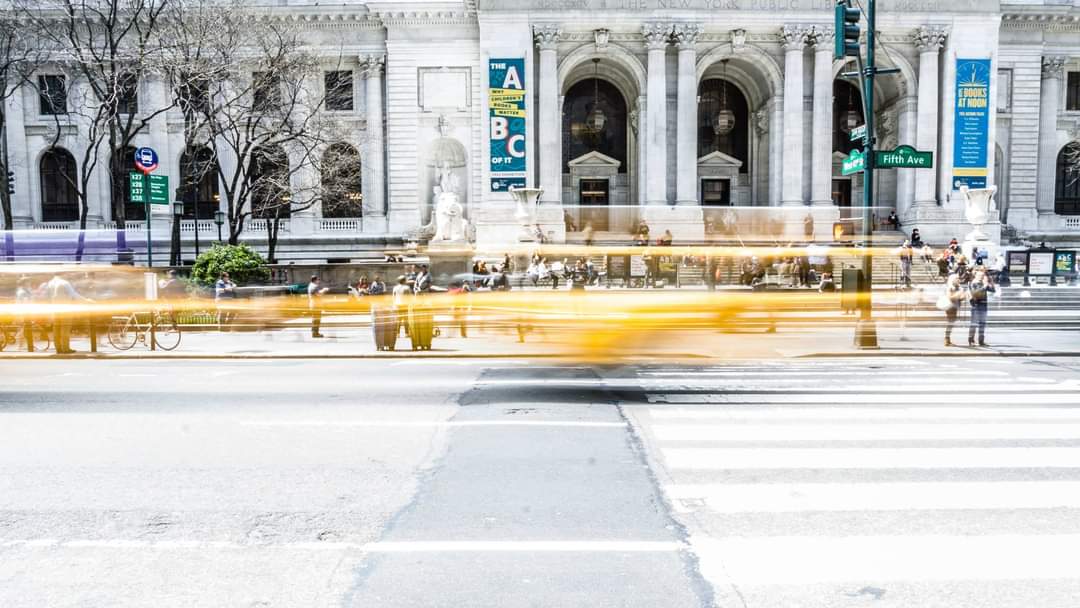
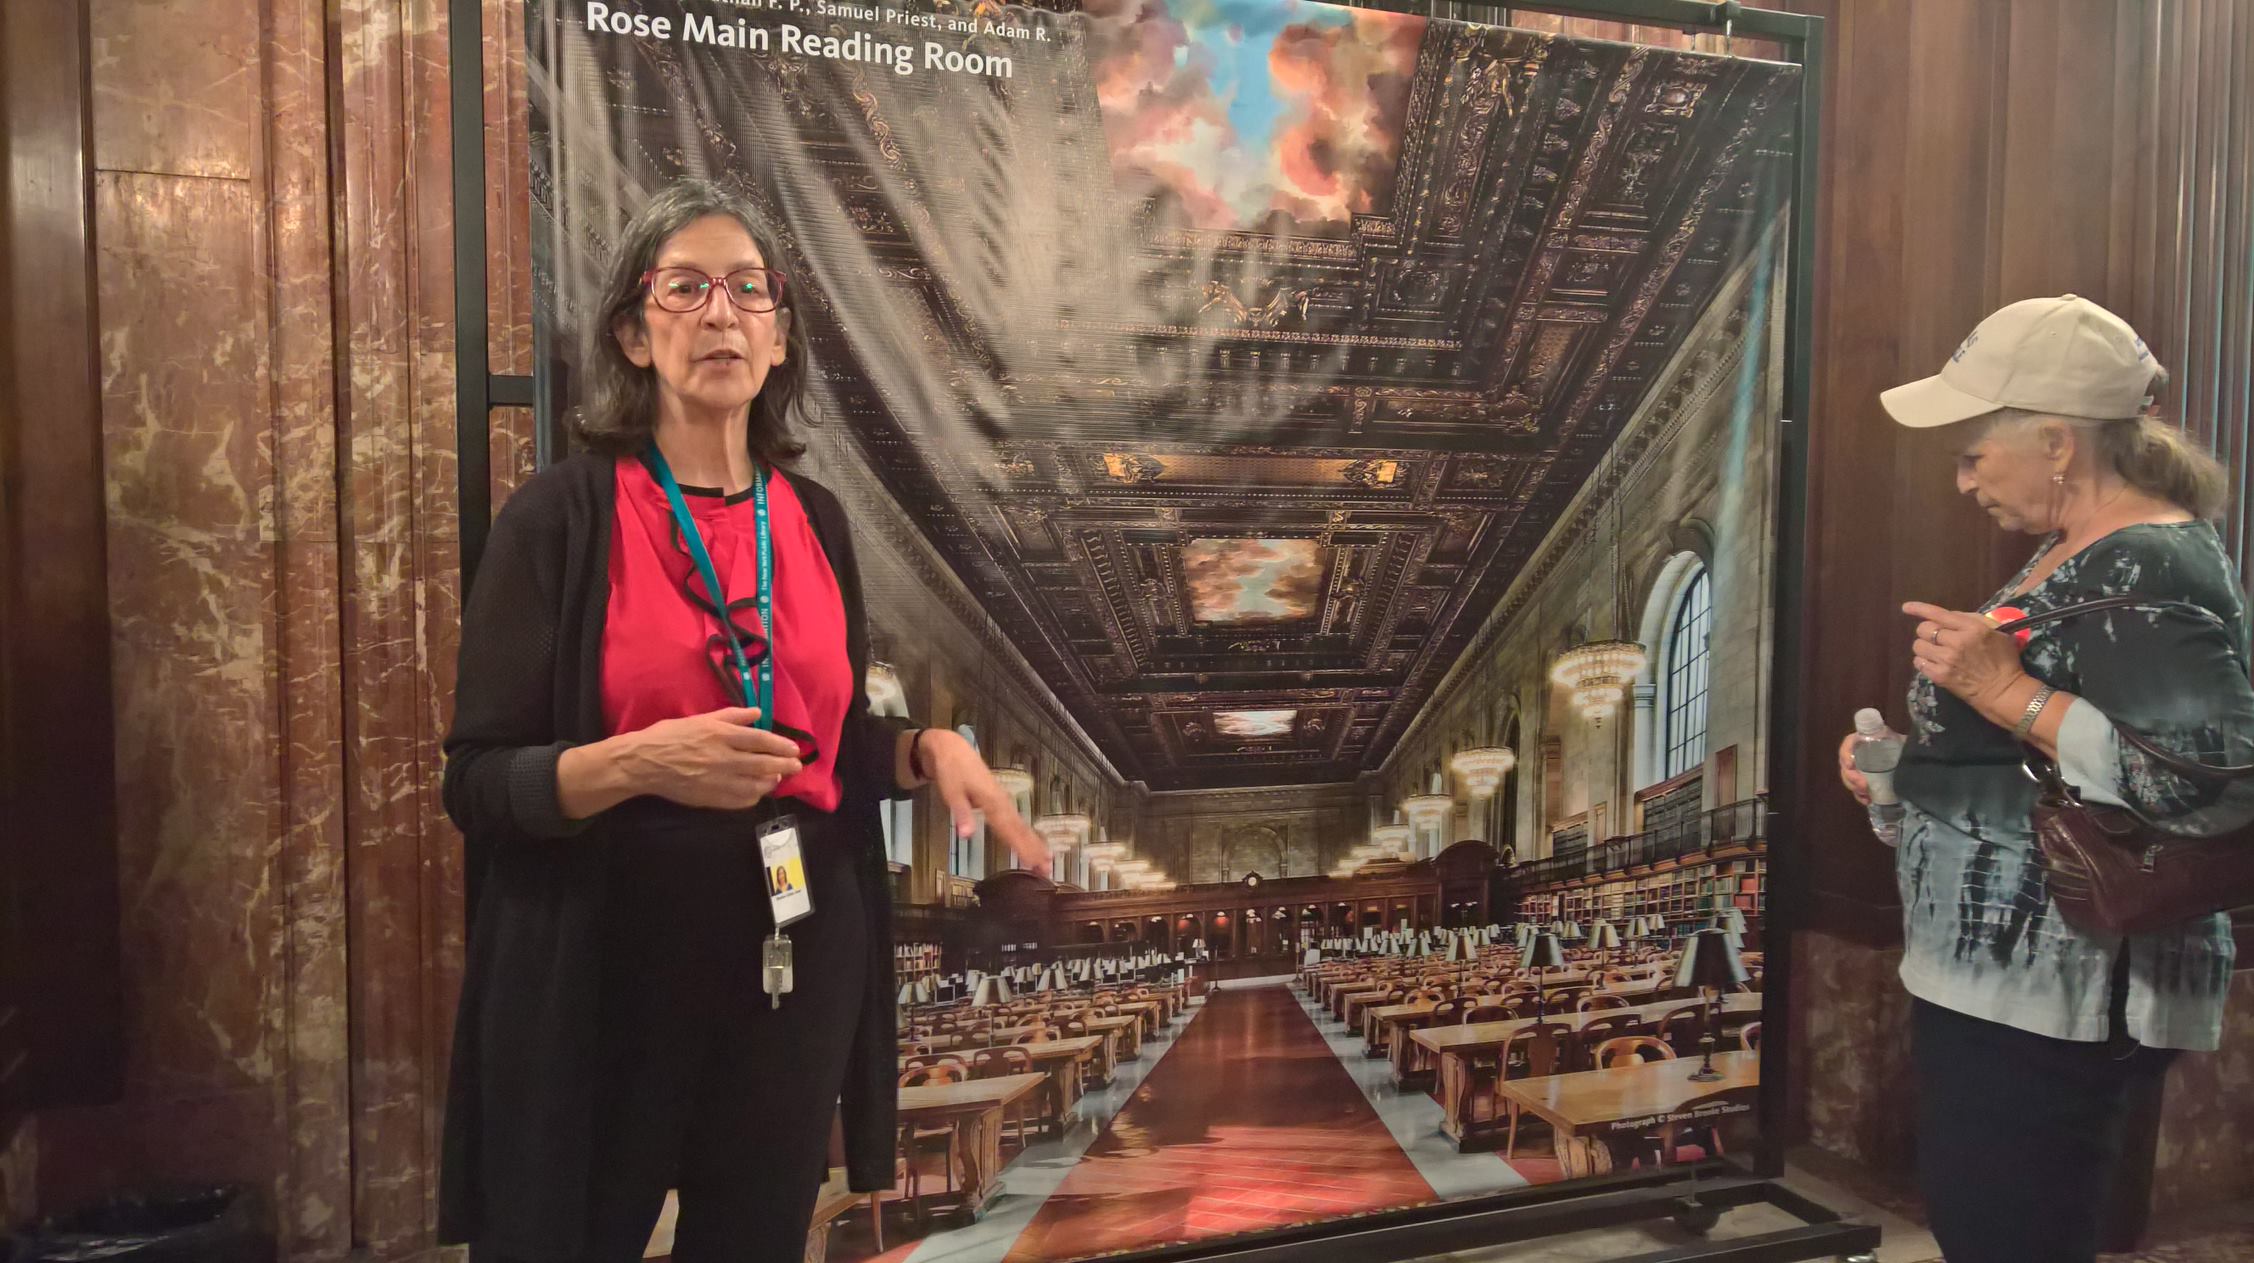
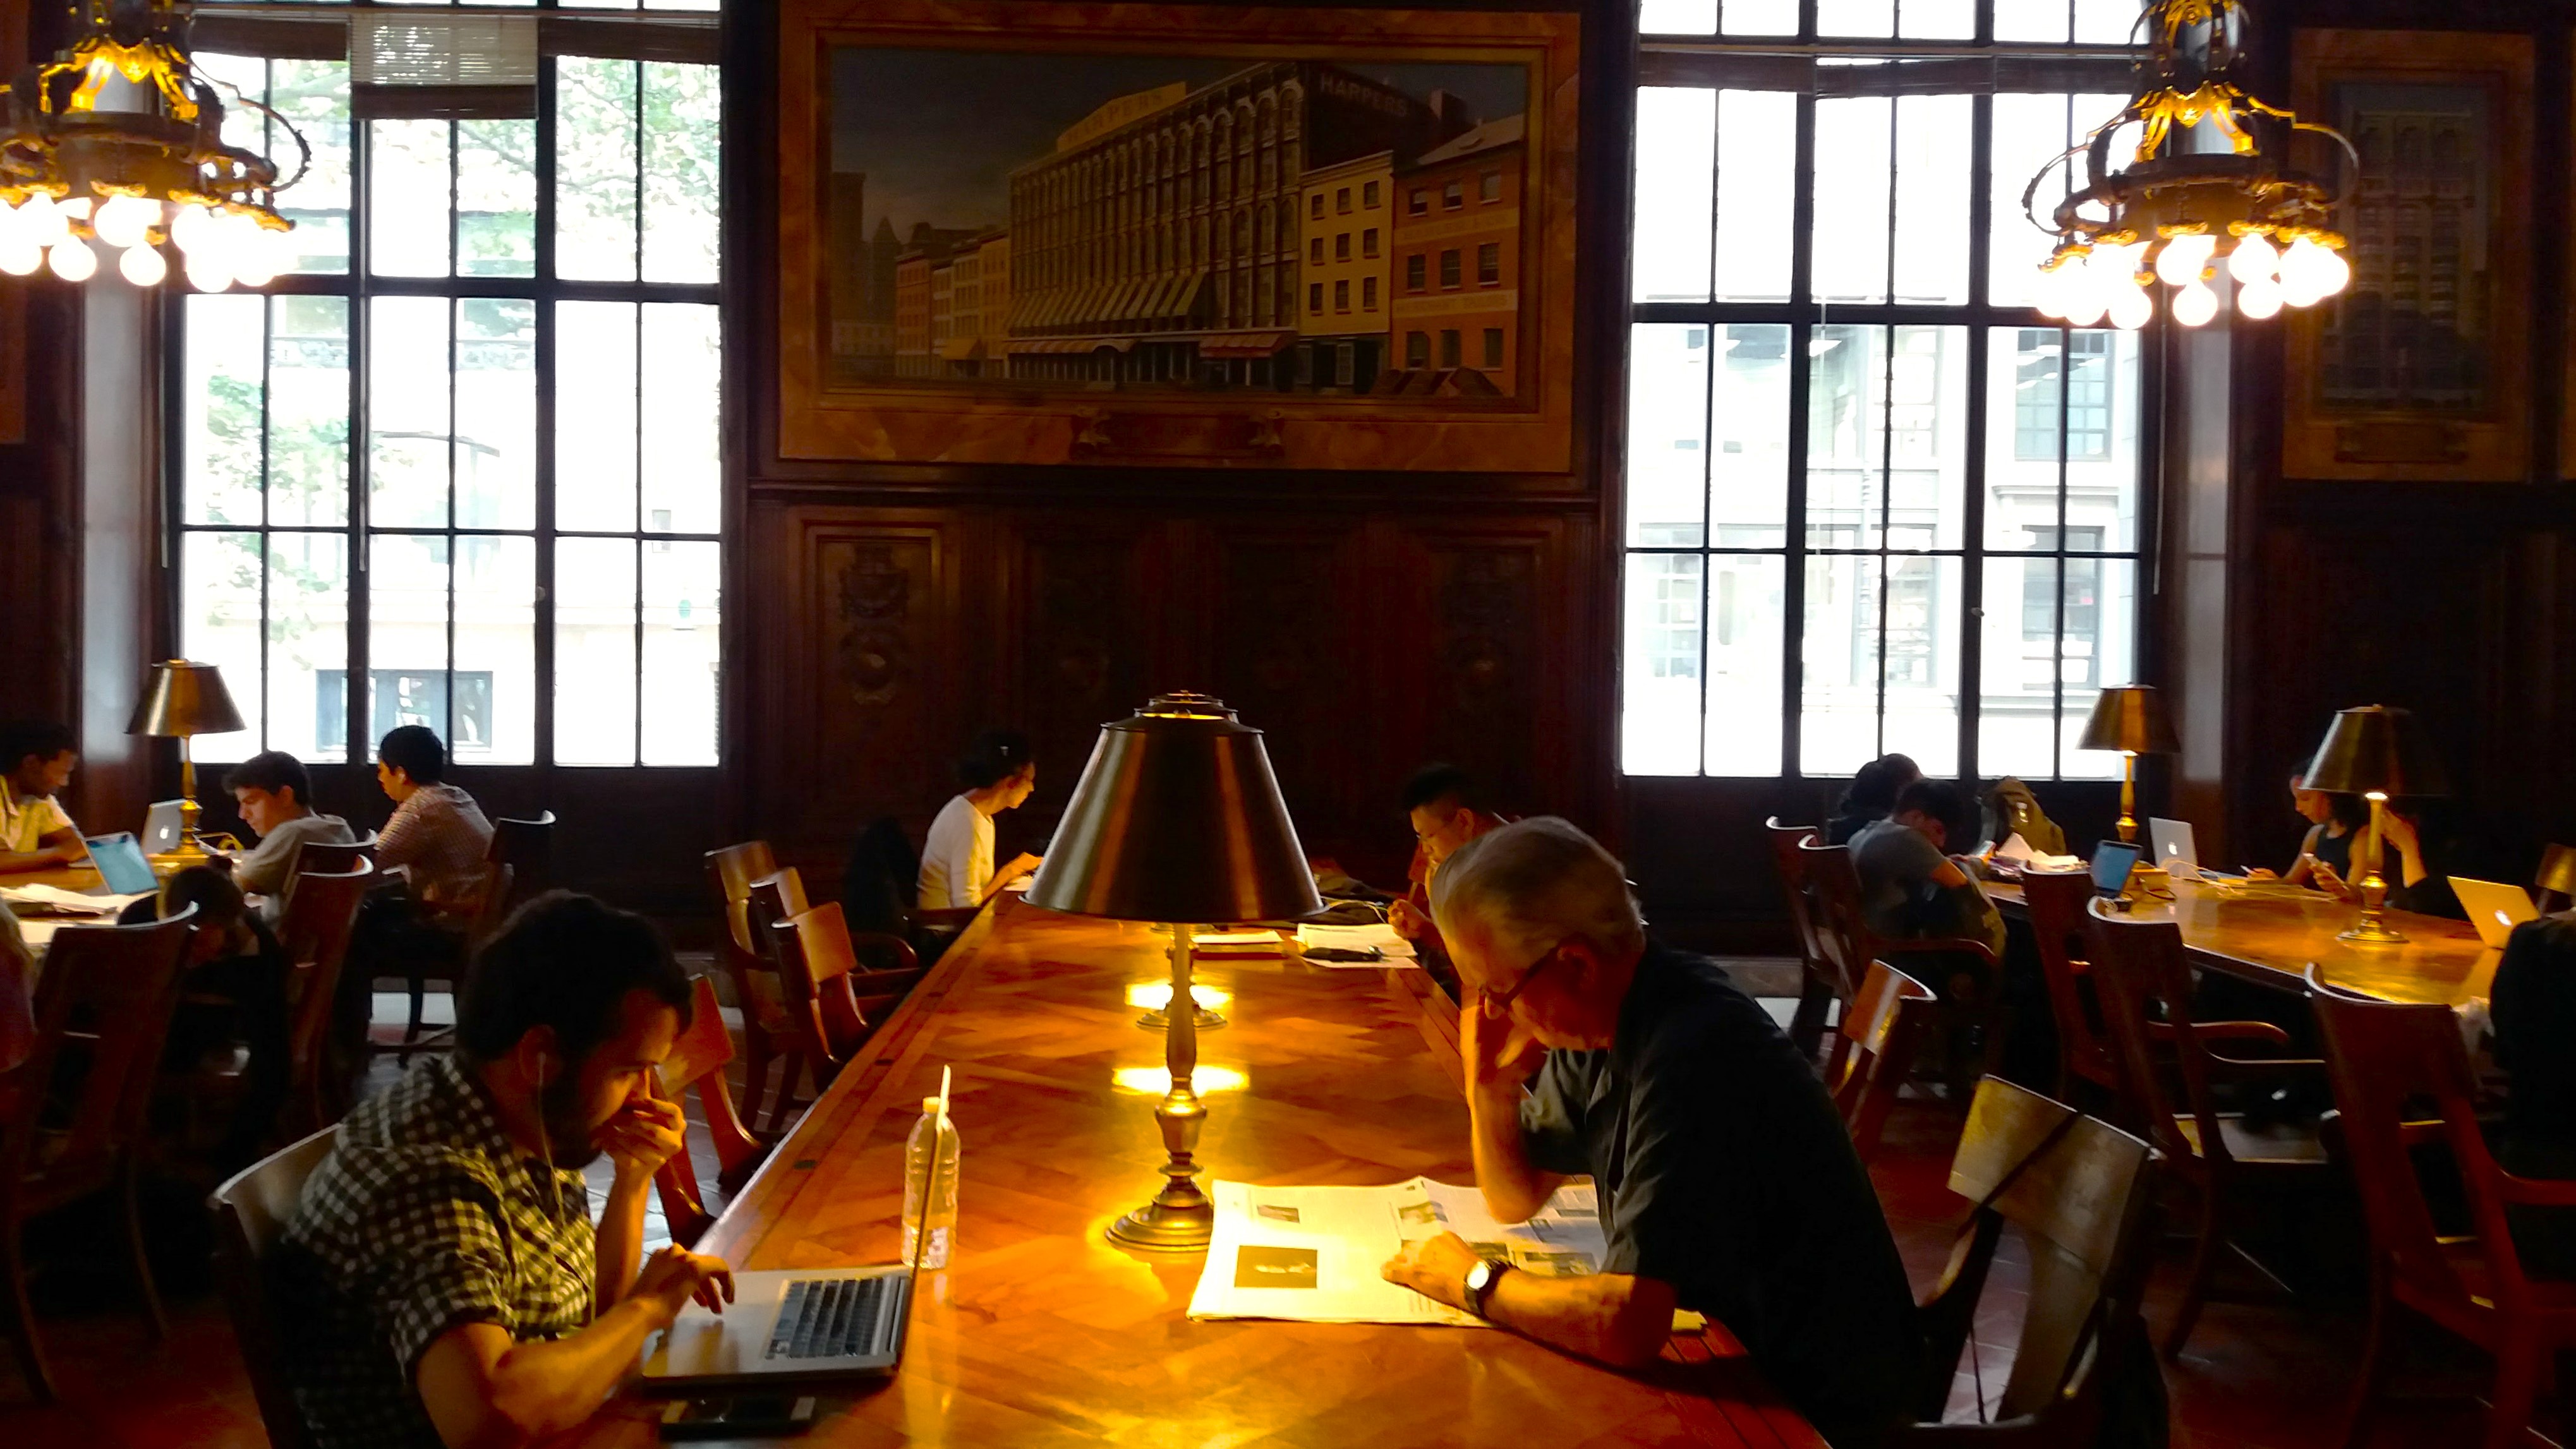
    NYC Public Library tour (https://www.nypl.org/events/tours/schwarzman) I love libraries in general, but the NYC main library is by far the best I’ve seen. I didn’t appreciate how special it was until I took the free tour that took us behind the scenes and throughout all the areas you wouldn’t normally see. My husband found out that the tour guide won’t tolerate talking in the library as he got “shushed” more than once. Especially now as libraries and censoring our books is a real issue, go to the NYC Public Library and celebrate this amazing institution of learning and culture.

    Little Island Park Home – Little Island is fairly new and located in Hudson River Park. It’s a great place to take a walk, enjoy the view of the Hudson and perhaps catch a concert if you’re lucky. Great pit stop when exploring the High Line and Chelsea neighborhoods-clean and plentiful public bathrooms!

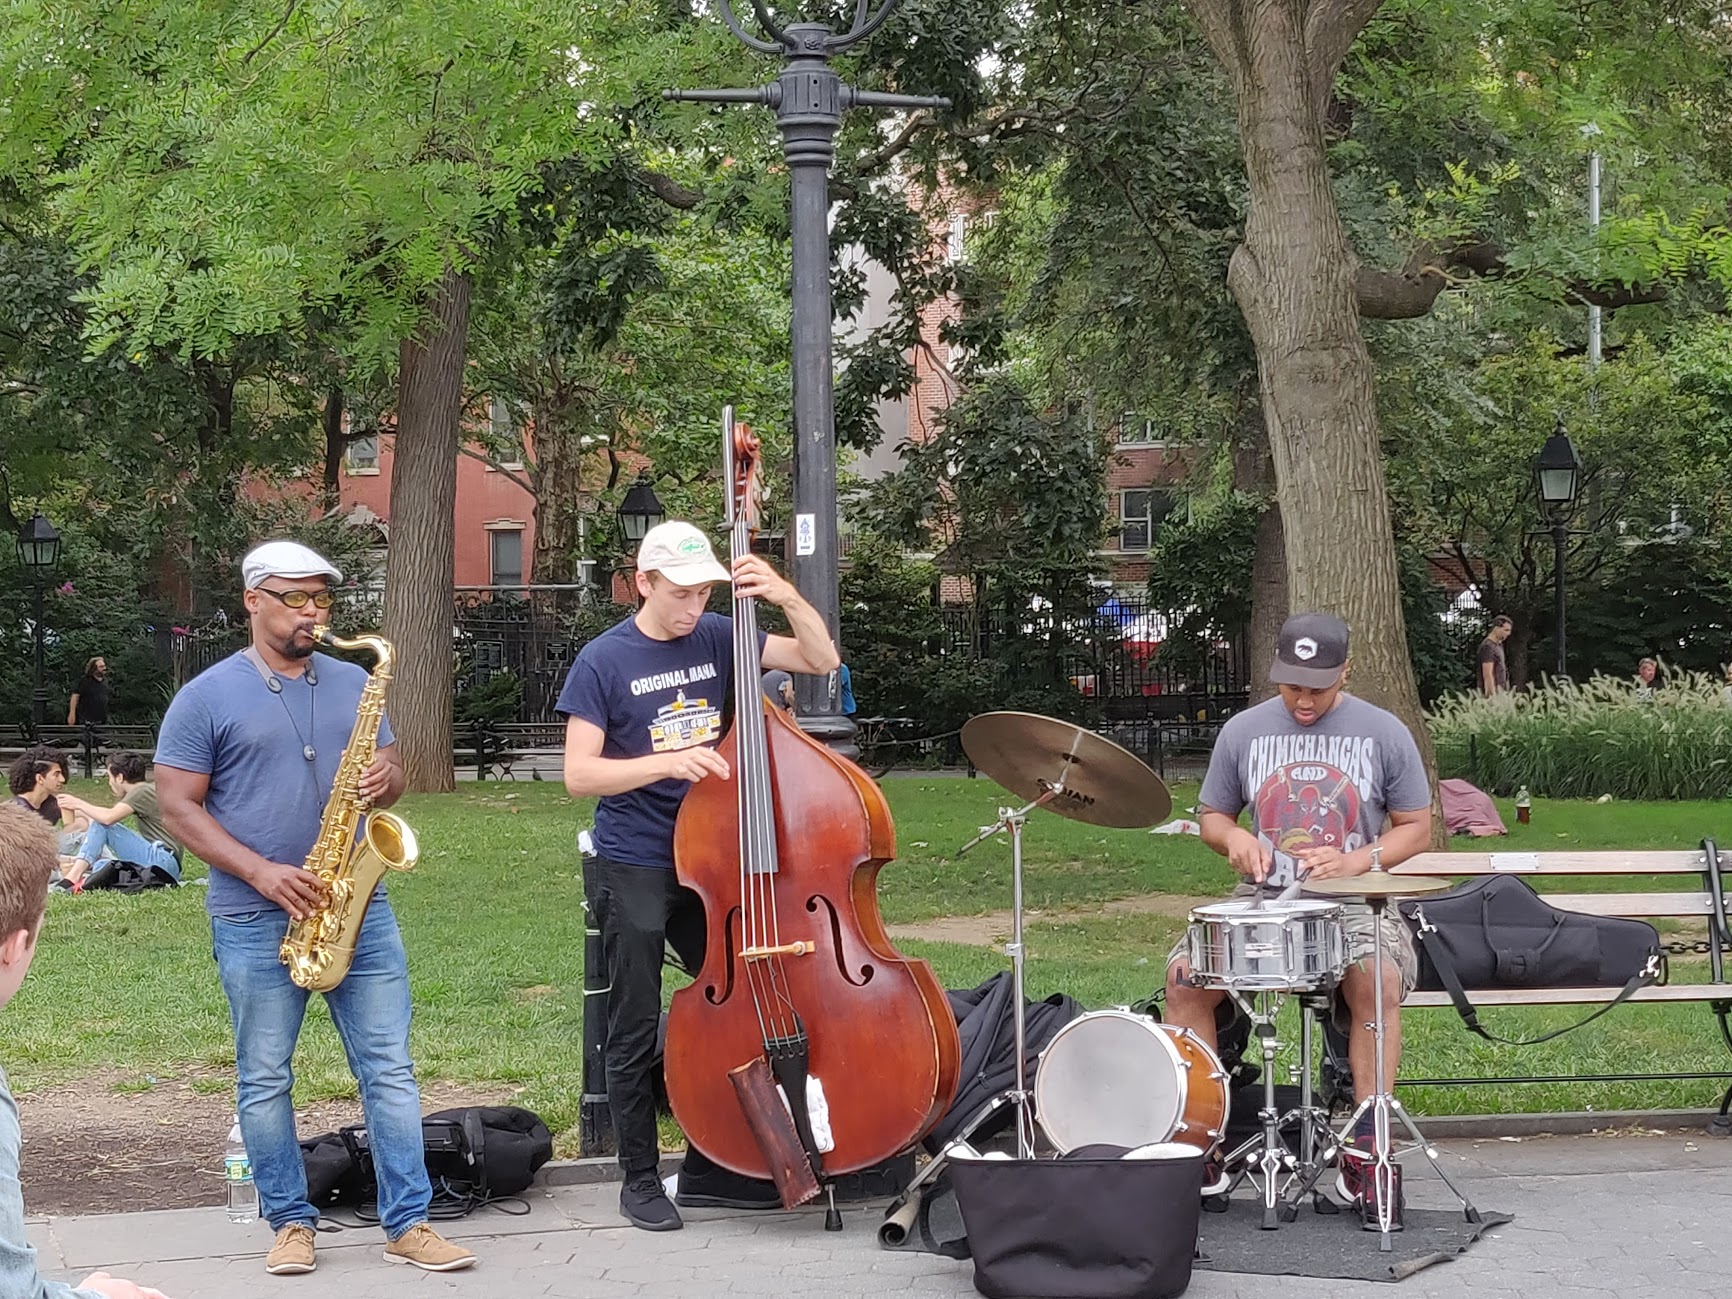
    High Line Walk Home | The High Line Enjoy a stroll on this former NYC railroad line. Great for people watching AND exercise. Open daily from 7 am to 10 pm. Maybe you might even stumble upon some cool street music like the picture above in one of the local parks in the neighborhood. We even saw a grand piano one time being played in a park. Awesome random experiences like that happen all the time in NYC and is one of the many reasons I love this city so much.

    Grand Central terminal Grand Central Terminal – Be Transported Open since 1913, this terminal is not only a transportation hub but an iconic NYC landmark. One of Grand Central’s main attractions is the four-faced opal clock that sits in the center of the Main Concourse above the Information Booth. Grab a cocktail at The Campbell Bar, restored to its original grandeur on the balcony level or try the Oyster Bar, the oldest restaurant in the terminal. Cheers!

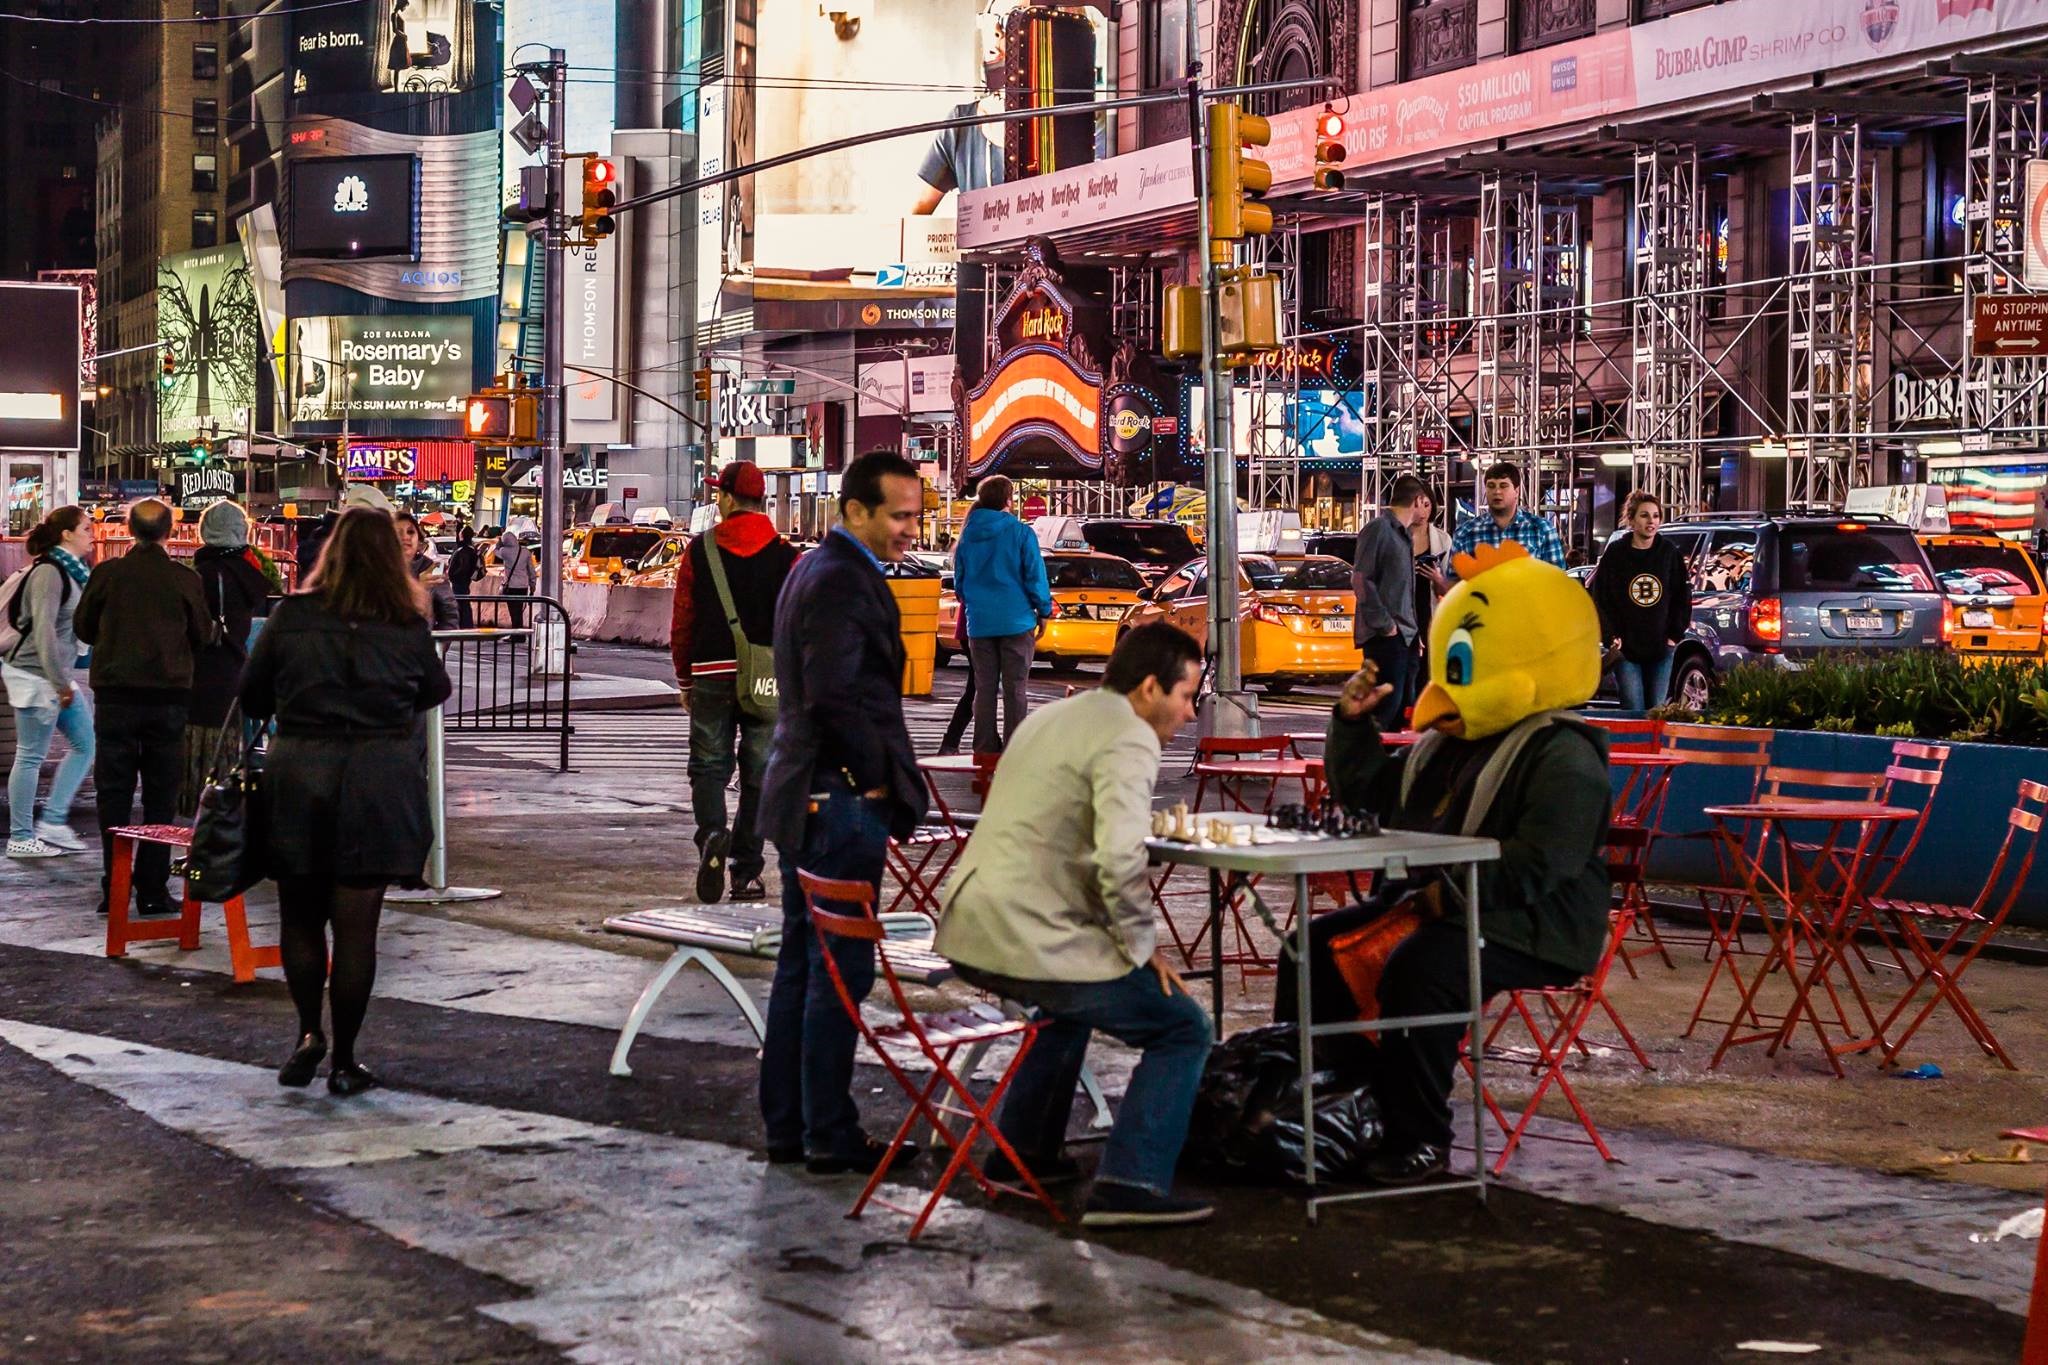
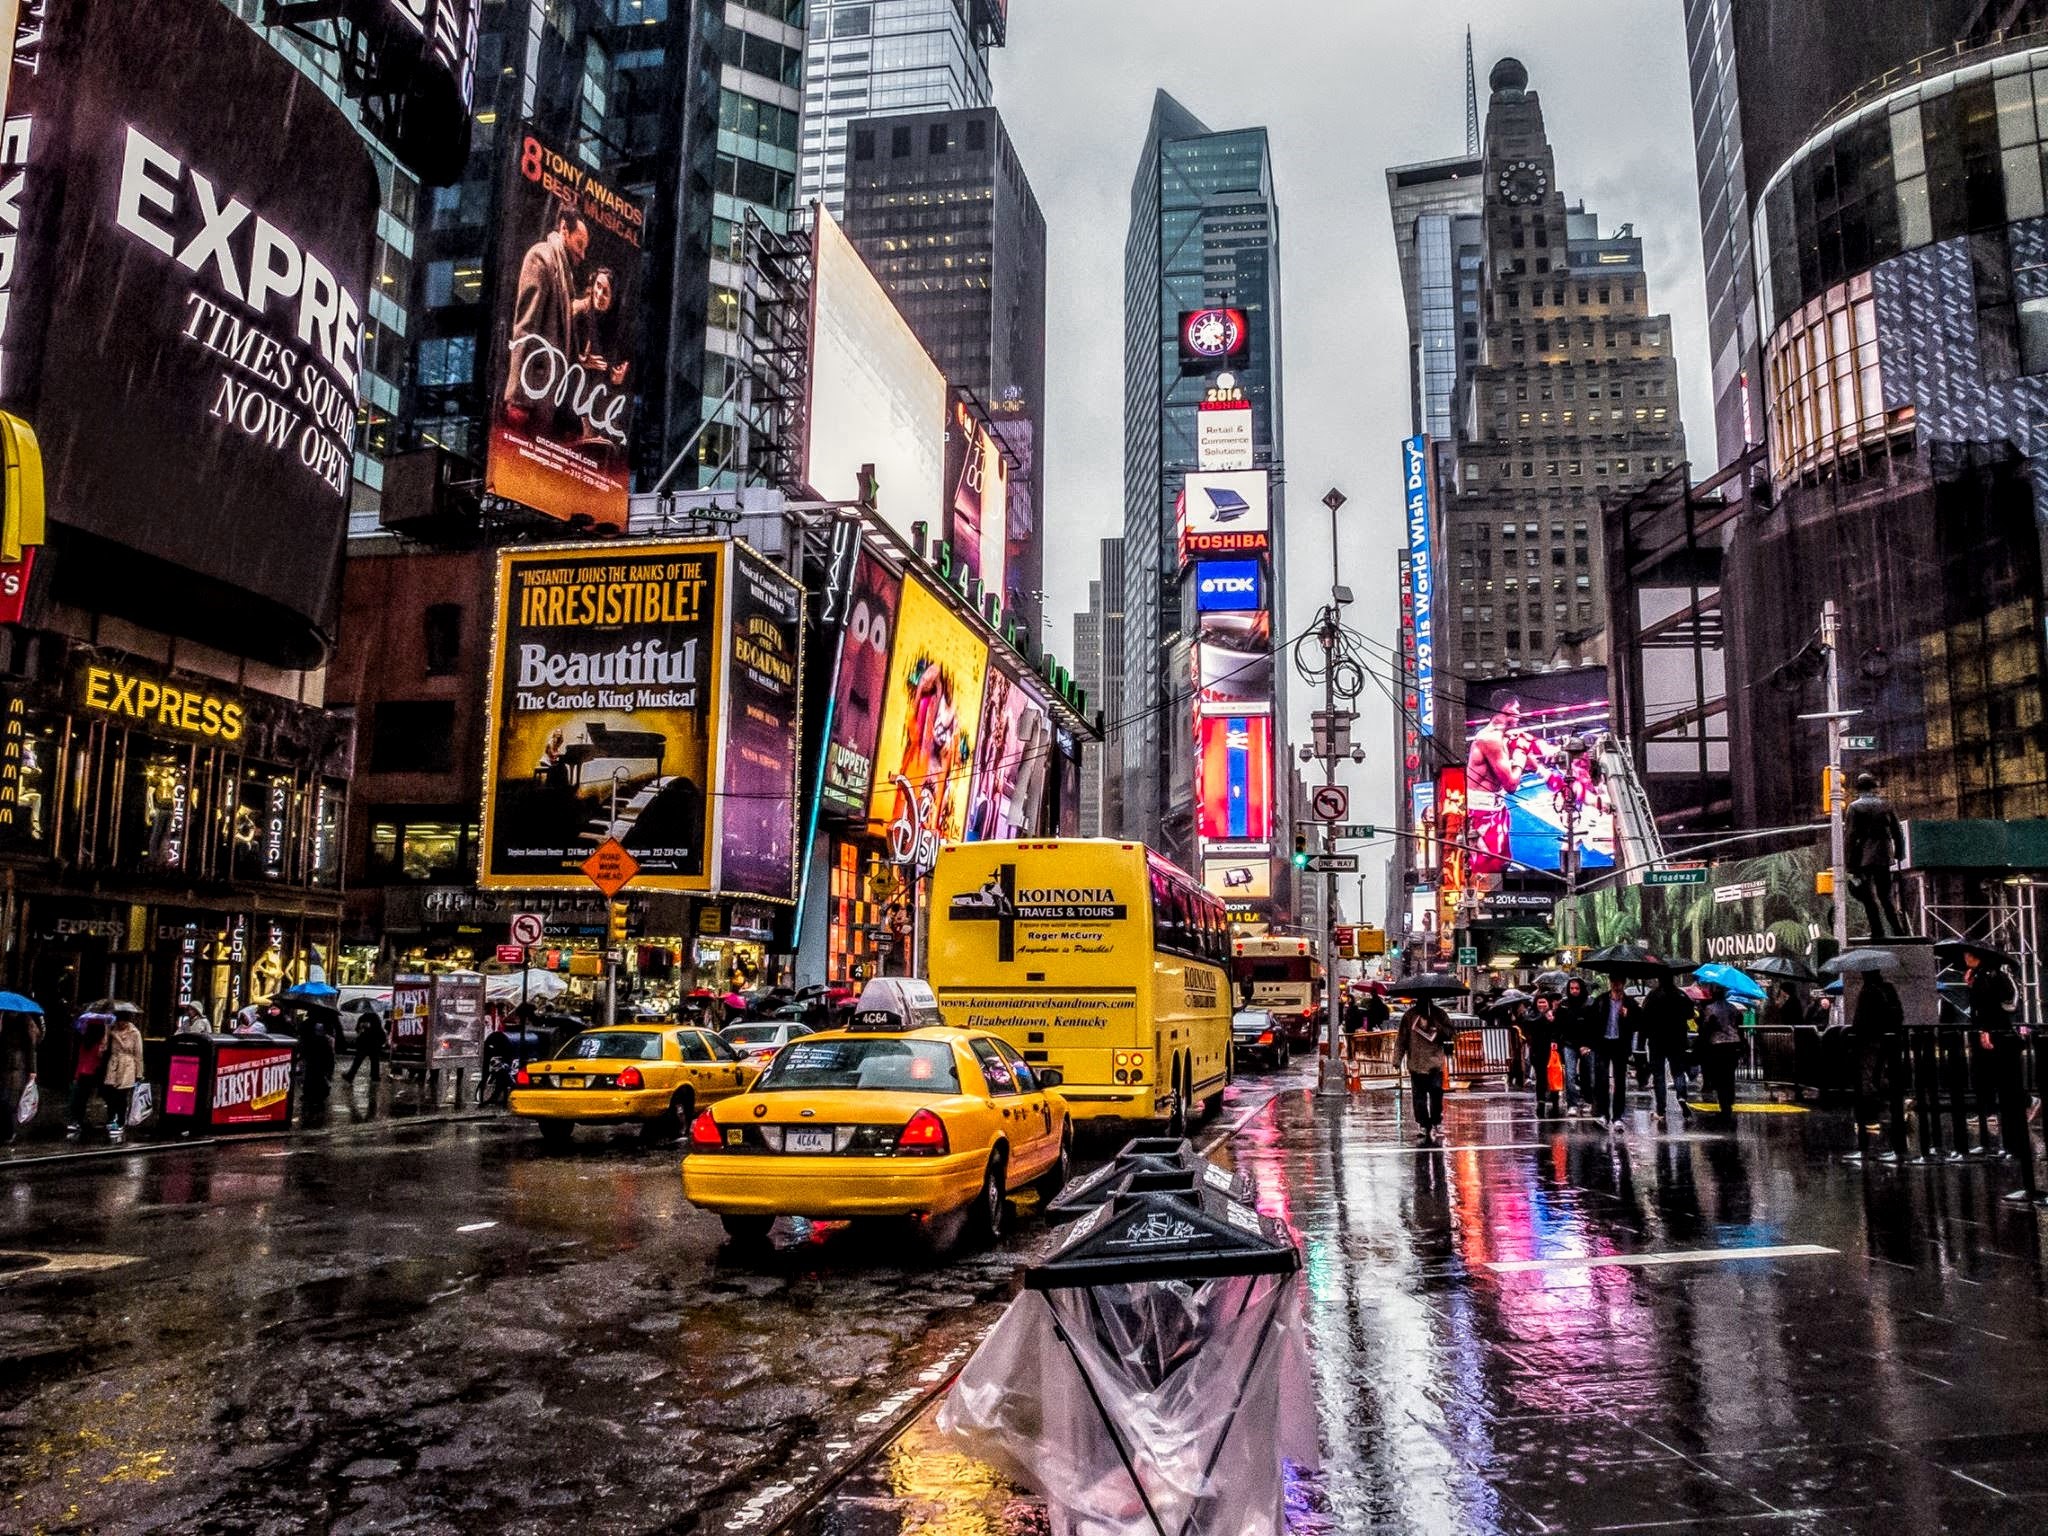
    Times SquareTimes Square NYC When in NYC, you have to at least walk through Times Square to gawk at the bright lights in the big city. Word of caution-don’t touch the many characters walking around-who knows the last time that costume was washed! If you take pictures with them, they expect to be paid. You’ve been warned. Look but don’t touch!

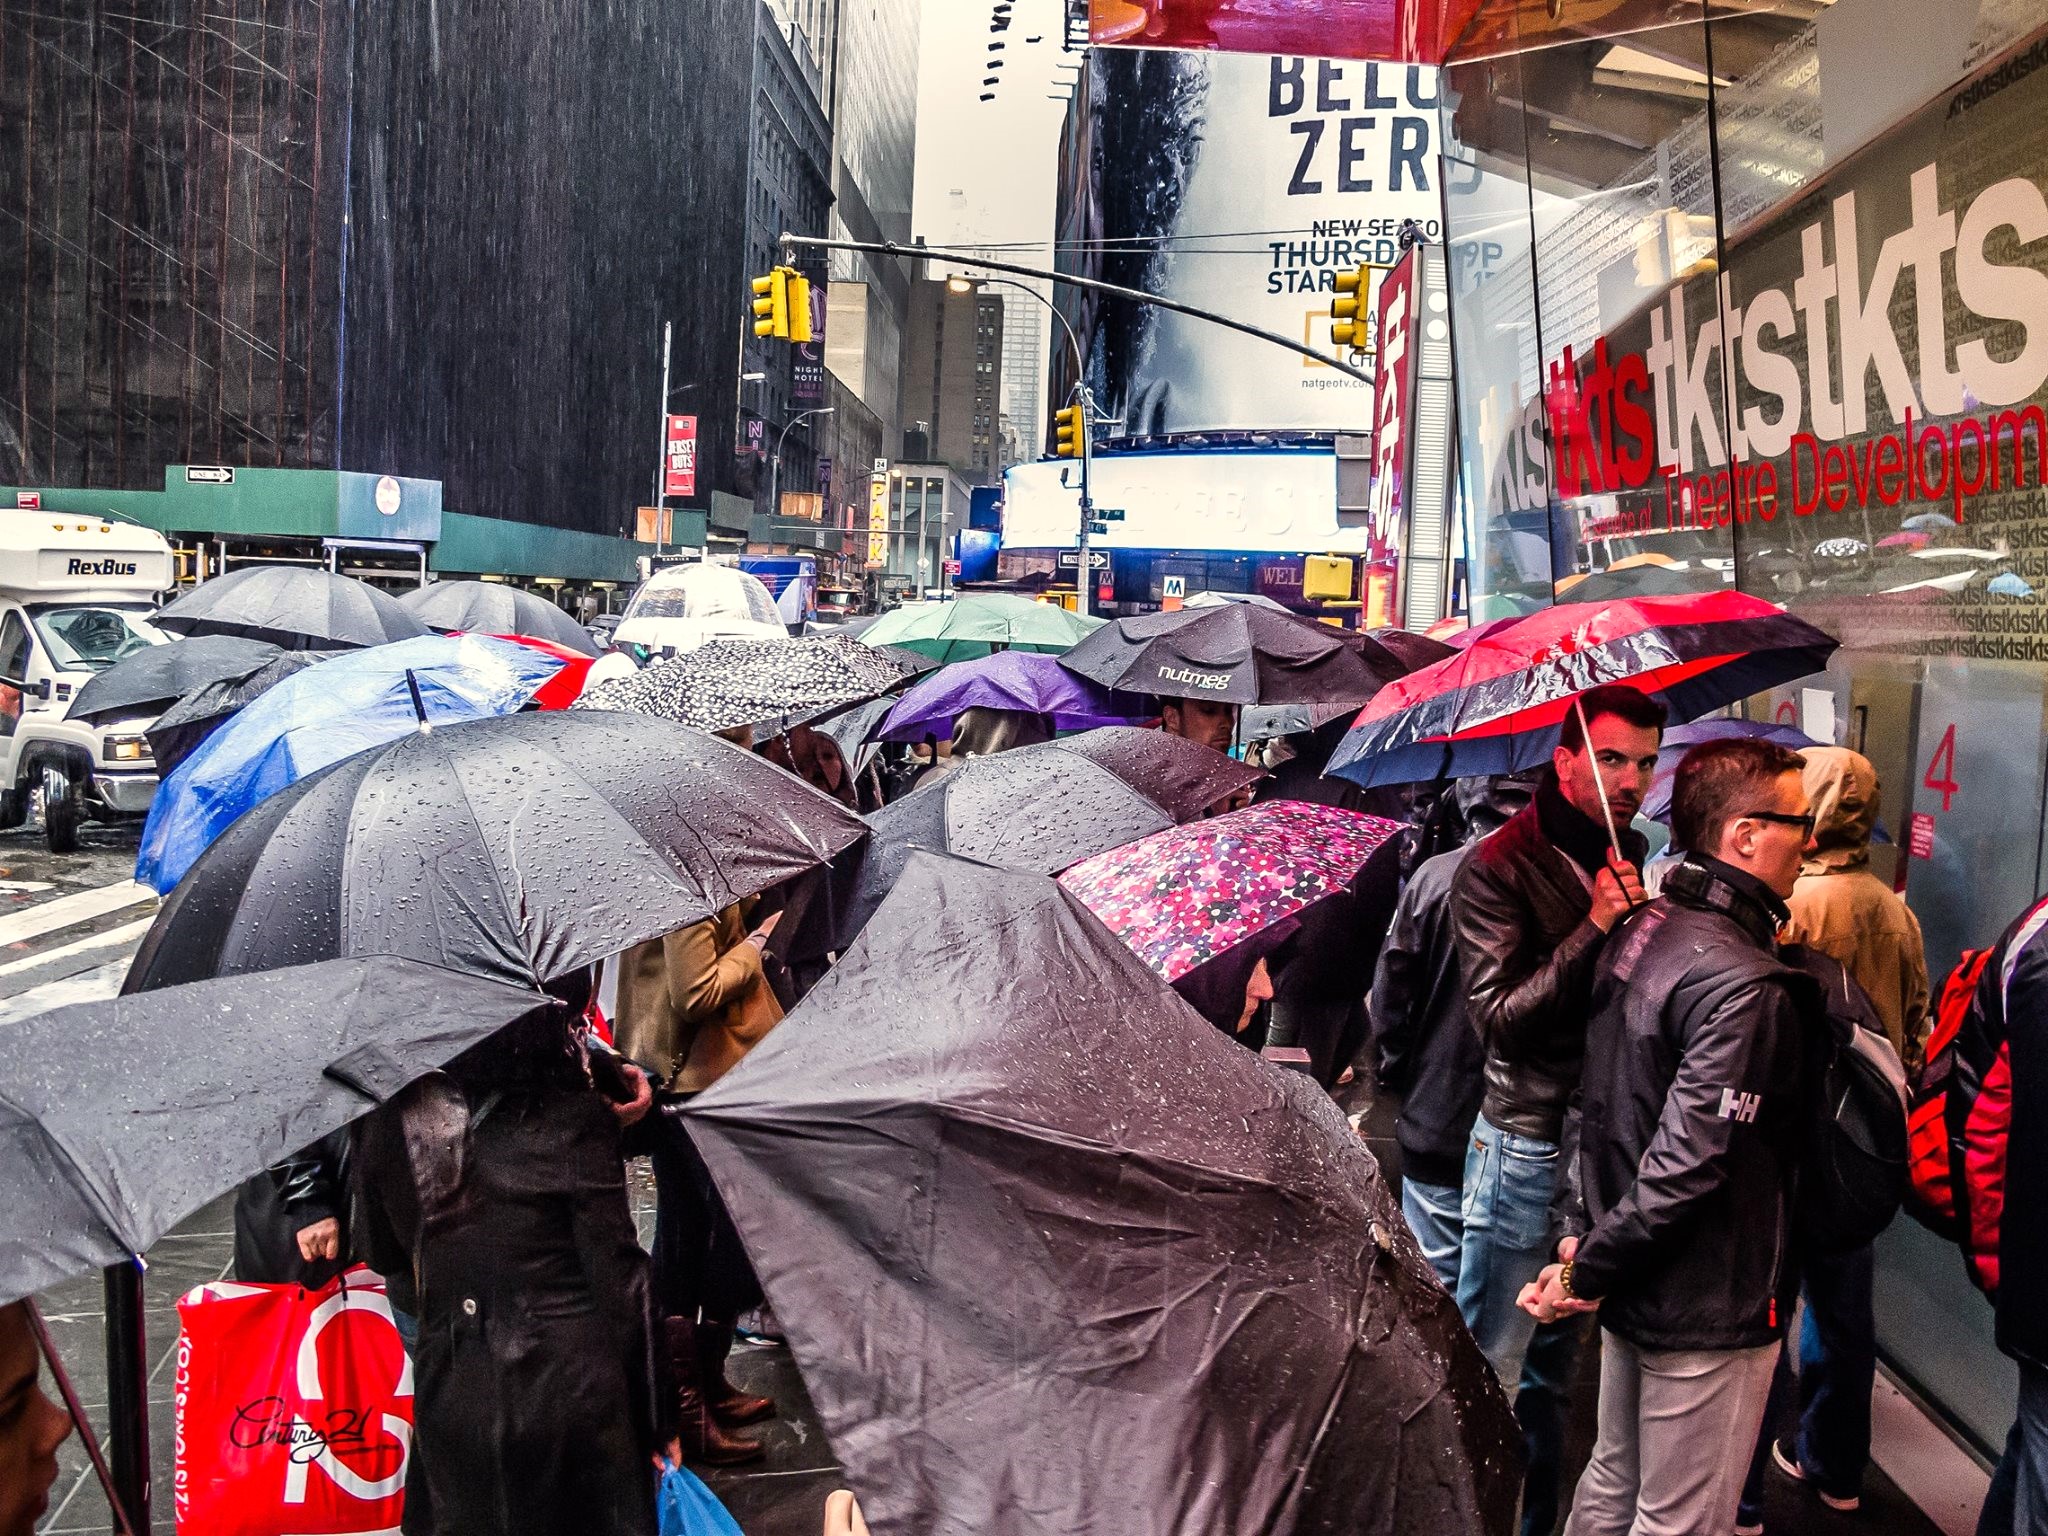
    Visit the TKTS booth here if you want to see a Broadway play that night and spend 30-50% less than the ticket price. Our jam was going to Broadway when we lived there and once a week we would line up and see whatever was available that night.

    Museums-below are the “free” details but always check on the museum website just before you go to make sure there haven’t been any changes! More details here: Free Museum Days or Pay What You Wish | NYC-ARTS Here are some of my NYC favorites:

    Metropolitan Museum of Art aka The Met The Metropolitan Museum of Art (metmuseum.org) It is always “pay as you wish” so make a donation or walk in for free-up to you! When we lived in NYC, we got a membership and went at least once a week. My favorite rooms are the Temple of Dendur and the rooms that are exclusively Monets everywhere you look-heaven! Check out the Cloisters (part of the Met) north of the city. Worth the subway ride to get to.
    Morgan Library The Morgan Library & Museum, New York, founded by Pierpont Morgan free every Friday from 5-7 pm! Libraries are my happy place and this mansion filled with books is a shrine to the written word from the Gutenberg Bible to Mozart’s scores to fabulous art.

    Museum of Modern Art (MOMA) MoMA For NYC residents, the first Friday of every month from 4-8 pm is free but you still need to book tickets online-it gets busy! Children 16 and under are always free. MoMA offers one free admission to active members of the US military with valid ID as well as free admission for military families with dependent cards. Tickets are available at the Ticketing Desk.

    Governors Island Park is a 172-acre park in New York Harbor. A des­ti­na­tion for trans­for­ma­tive pub­lic art, unfor­get­table events, cul­tur­al and edu­ca­tion­al pro­gram­ming and recre­ation­al activ­i­ties for all ages-check the website Governors Island (en-US) (govisland.com) for more details on event programming. Wear comfortable shoes and go on a nice day to enjoy the island and the beautiful view of Manhattan.  We had the place to ourselves when we went as it is not a well-advertised tourist site. Hidden gem!

    Open 7 am to 6 pm daily. Free ferry ride to get there on Saturday/Sunday before noon. Nominal fee at other times-buy tickets online: PURCHASE TICKETS (govisland.com)

    Free, guided walking tours (not in the winter), departing from the Soissons Landing Welcome Center every Saturday and Sunday at 10:45am, 12:45pm, 2:45pm.

    Concerts in the park in the summer – it’s a party! If you are travelling in the summer to NYC, enjoy the free musical and theater concerts in the parks. Check the event calendar here: Free Summer Concerts : NYC Parks (nycgovparks.org) We’ve enjoyed so many shows-some were planned to attend and others we just stumbled upon when we were walking around the city. Plan ahead and pack a travel blanket so you have a place to sit.

    Neighborhood Walking Tours-Flatiron district When I lived in NYC, this was my neighborhood. From Madison Square Park where we would take our dog to the dog park to run wild with his pooch friends to gazing at the Flatiron Building to shopping at Fish Eddys, it was spectacular. Take a walking tour and find out the history of this magical place. Especially for architecture buffs, this 90-minute tour also include these landmarks: the New York Life Building, the MetLife Clock Tower, and the Appellate Courthouse. Tour is free but tip the guide! Every Sunday at 11 am, rain or shine. No RSVP or registration required.

    Top 10 travel tips for flying

    As I head out tomorrow on my 5:30 am (boarding at 4:50 am) flight, I am thinking to myself, “WTF WAS I THINKING!!!” It always seems like a good idea at the time you book, but these AM flights are killer even if they do get you from the West Coast to the East Coast before dark. I would just caution you to really think through your flight times as well as your layover times before you book. If you are going to arrive tired and cranky or have to run through a crowded airport to make a tight connection, maybe rethink your flight plans.

    If you haven’t already, download the airline app on your phone for whatever carrier you are flying on. Use the boarding pass on your app to get through security and onto the plane. Set up push notifications to your phone within the app for any change to your travel plans. Gates change, flights are delayed or cancelled, and you need to be the first to know. Heads up-more and more airports are not making overhead announcements so the notification on your phone from your airline might be your only warning. If you have a flight cancel or are delayed too long that you will miss connections, jump on the airline’s app immediately while walking to the customer service desk to rebook. If you are travelling with a companion, have them call the airlines customer service at the same time. You never know where you’ll get the fastest service, so you have to try several options simultaneously because everyone else on that delayed flight is also trying to reschedule. Below are my top 10 travel tips for flying, accumulated from personally travelling all over the world. Enjoy the journey!

    1. Try to get on the first flight out in the morning even if it means getting up early (but maybe not as early as I’m getting up tomorrow!). These flights are far less likely to cancel. Later flights are subject to weather issues and cascading flight cancels as delays cause flight crews to take breaks every 16 hours they work. Getting TSA Pre-check for US travel is worth the time and $78 expense. I would never consider travelling without it as I typically get through TSA much faster and without taking liquids out or shoes off. For frequent global trips, get Global Entry for $100 that includes TSA Pre-check. More info on these programs here: Official Trusted Traveler Program Website | Department of Homeland Security (dhs.gov)
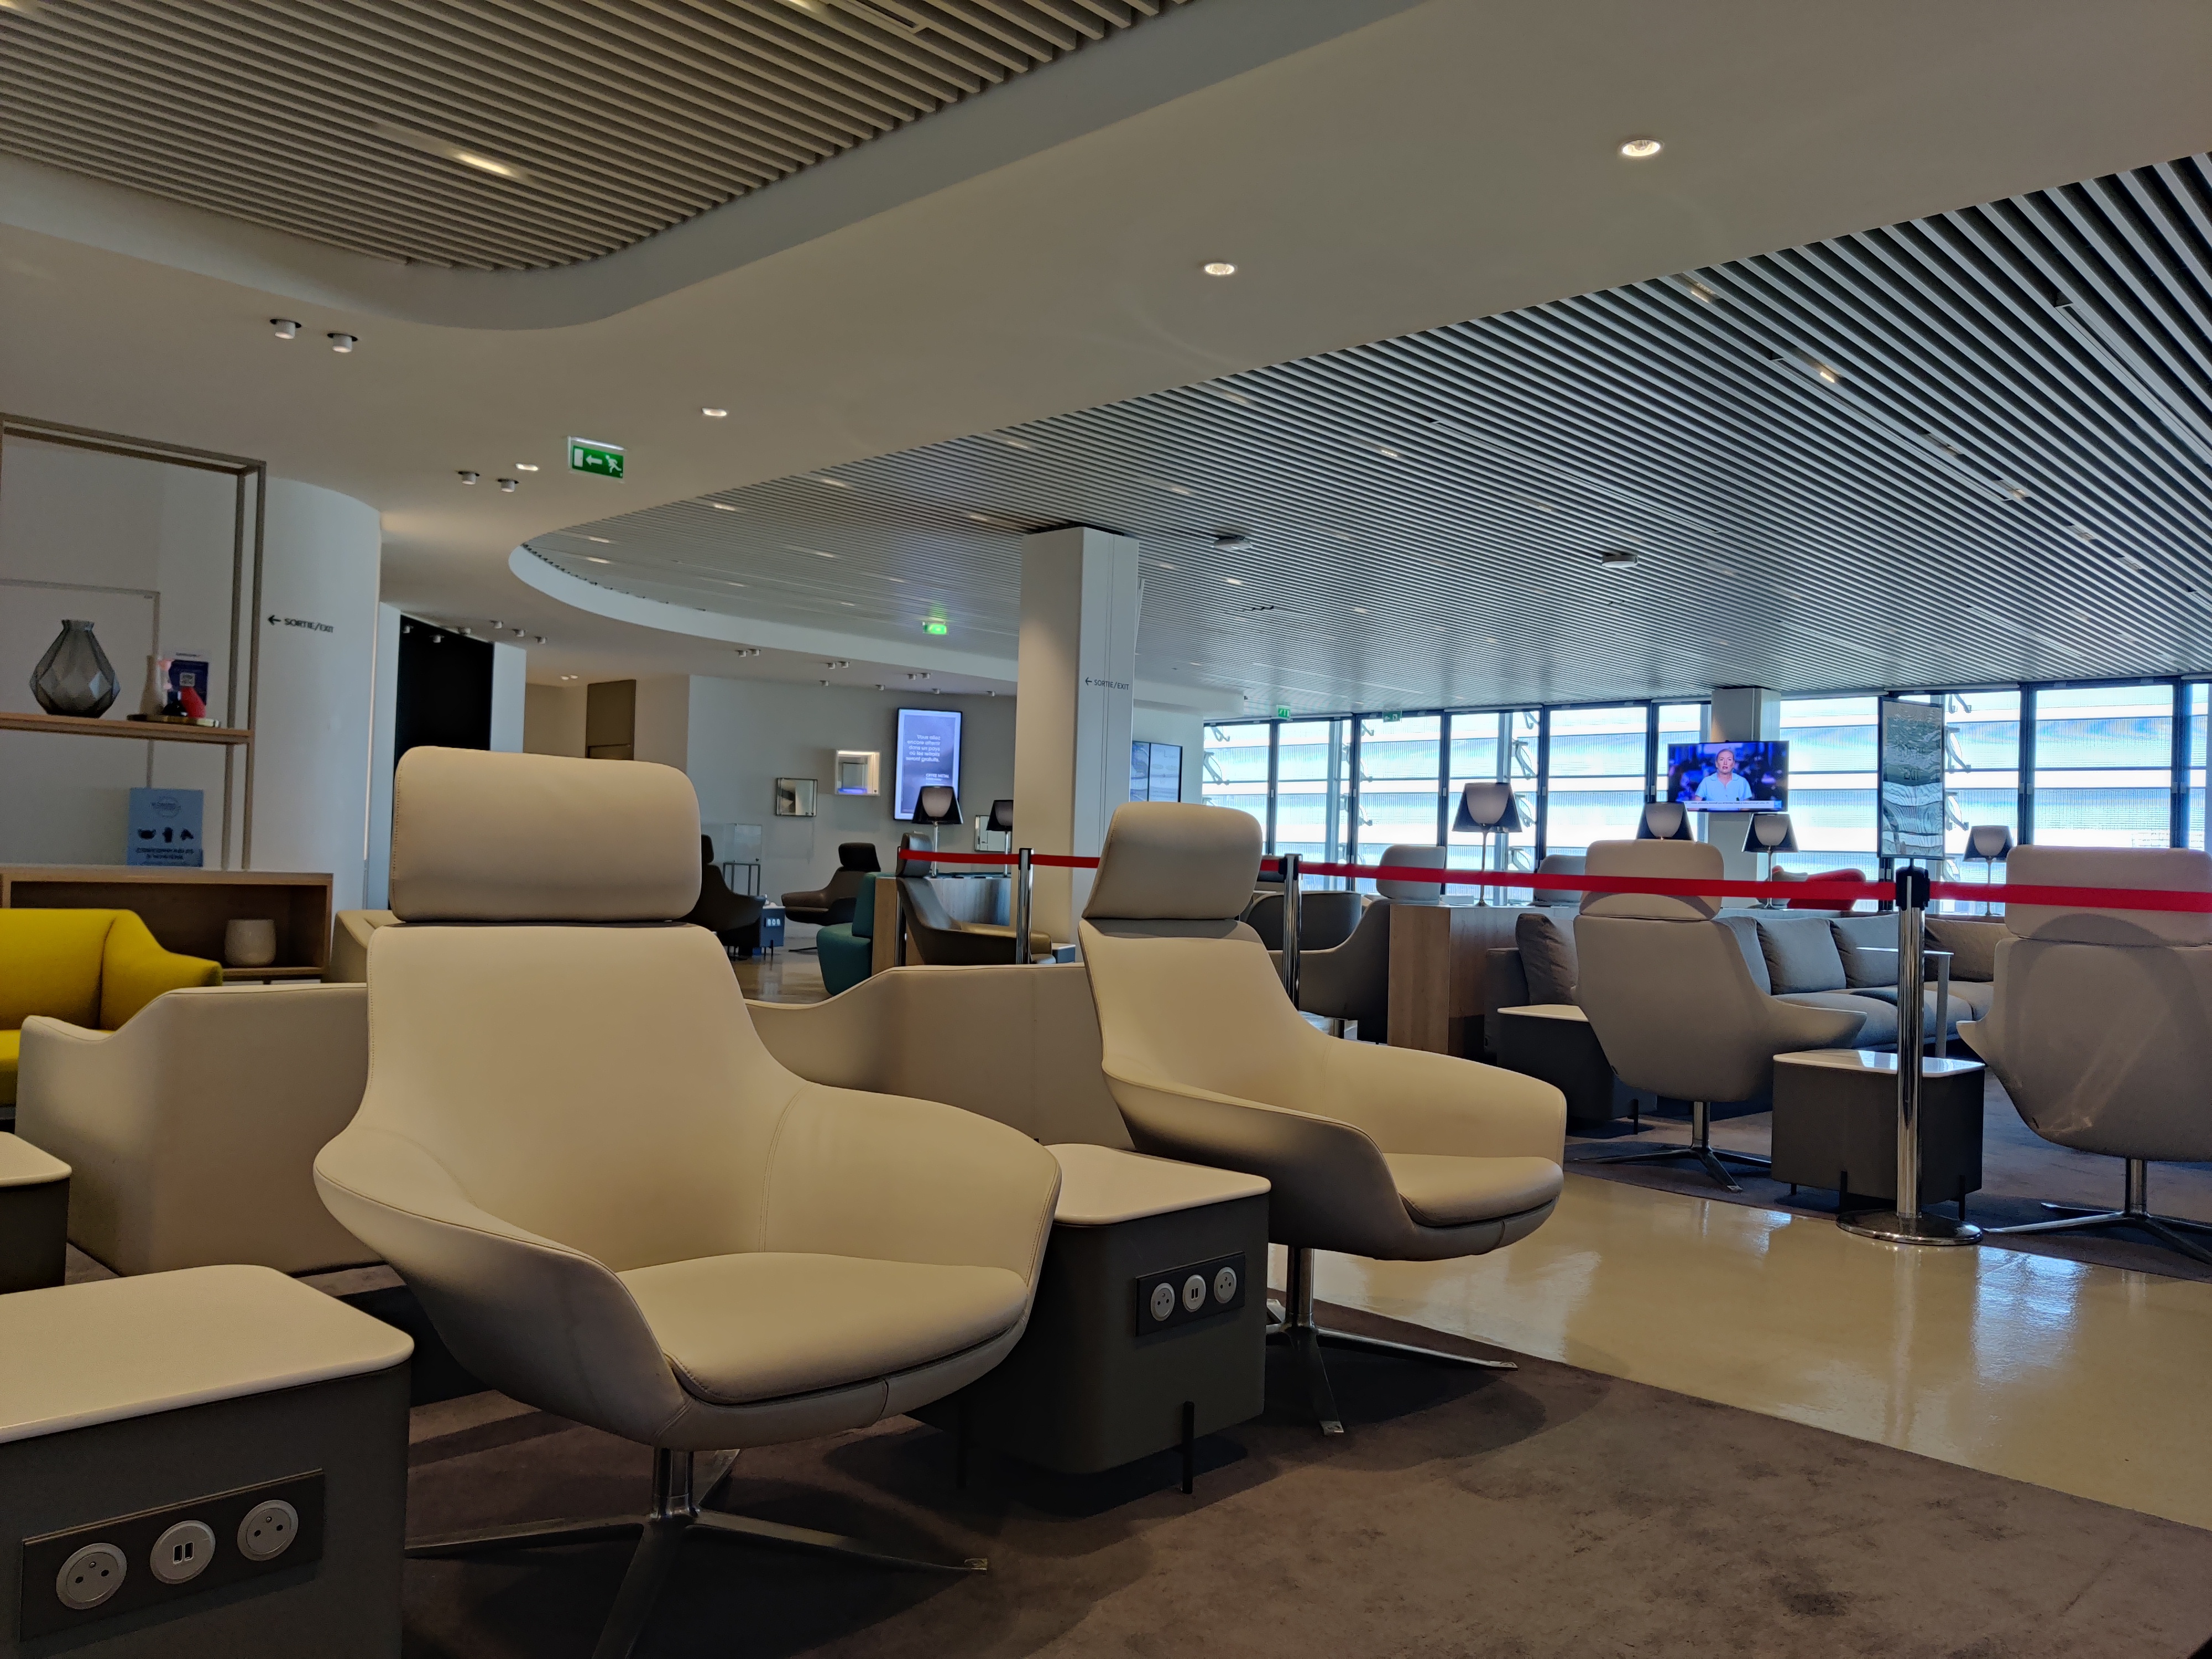
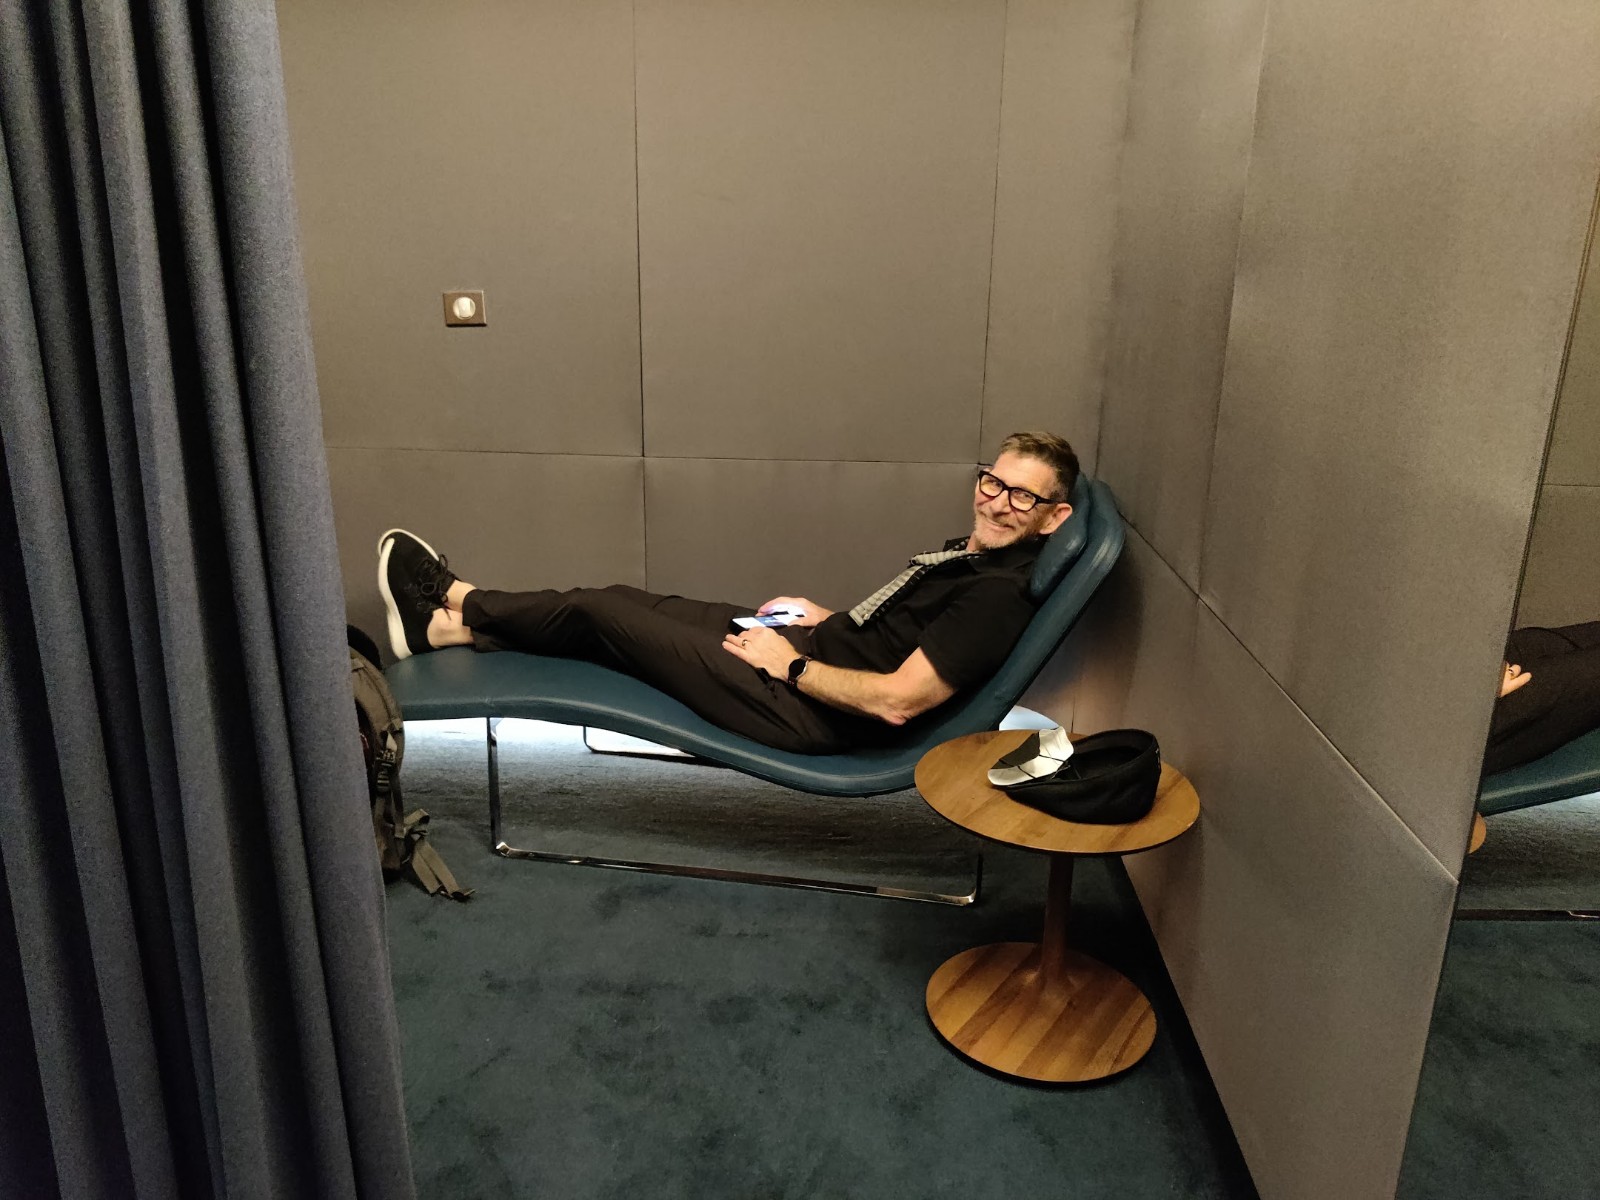
    2. If you have a major event to attend like a wedding, funeral or perhaps a concert, try to arrive at least a day or two in advance to allow for flight delays/cancels. Delays happen! If they do, try to buy a day pass to one of the airline member lounges if you don’t already have a membership. They offer comfortable seating (and even beds at some airports-see pic above of Thom reclining at Delta club in Paris!) and free food/alcohol. I spend extra to have this luxury (look at those big seats in pic above!) because it makes delays and long connections bearable when travelling. Tomorrow, I have a 3-hour layover in Minneapolis, and I’ll be checking out the new Delta club that I hear is fabulous.
    3. When booking, allow for several hours between connections. You may think that the airlines sites are showing connections that are 30 minutes when you do searches so it must be alright but that is not the case. Especially at large, busy airports and those in other countries that may require you to go through customs, you need three hours minimum between flights. Really anywhere for both foreign and domestic flights, allow 90 minutes at least between connecting flights.
    4. Always check out carefully where you are sitting on the plane. Don’t be near the bathrooms or in seats that don’t recline. Speaking of awful seats-see pic above of weird wall that was in front of my husband’s seat instead of a video screen on the seat back in front of him. This wall wasn’t showing when on the map when seats were booked. On overnight flights, try to be halfway between bathrooms and galley so that it is quieter. If you need to get up frequently, get an aisle seat. Want to lean while you sleep, then get a window seat and hug the wall.
    5. Being drunk on a plane is a federal offense so don’t overdo it. Jet lag is bad enough but jet lag+hangover will negatively impact your trip. If another passenger gets drunk and rowdy, discretely go to the flight attendant and let them handle it-they are trained and will be better equipped than you are to take care of any situation.
    6. If flights are full and people have to get bumped (yes, it happens and it’s not fair if you have a ticket, but it happens), the first people to get bumped are those who paid for the tickets not directly from the airline site. So, for example, you book your ticket through a third-party site like Expedia vs. a person who bought through the Delta site, then you, as the Expedia customer, will probably be bumped. Even better, if you are a loyal frequent flyer on one airline and get status, you have the edge over others with no status. Be loyal! Sign up for the frequent flyer program at the airline you will use most often. For me, it’s Alaska for regional travel and Delta for everything else. As far as the low-cost carriers like Southwest, you get what you pay for. Southwest has had multiple systemwide issue failures causing travel havoc. Save up and fly on a better airline.
    7. Don’t bring stinky food to eat on the plane. Not only will those around you hate you but the flight attendants will too. Don’t be that person eating the taco or tuna fish or a hardboiled egg. Yuck! P.S. Also bring along Lysol wipes and thoroughly clean off your tray table and armrests-you know the plane crew doesn’t probably have time to do a good job on every single tray table for every flight. I have a vivid memory of seeing a mother bounce her baby (clad only in a diaper) on the tray table to get them to calm down. Think about that-the residue left behind from that bouncing diaper-clad bottom….and clean, clean, clean before touching your tray table.
    8. Drink water to stay hydrated. Don’t get ice in your water or drink. Various studies show ice can be contaminated with bacteria. I don’t chance it. Your choice.
    9. Bring noise cancelling headphones OR listen to the guy next to you snoring or telling you conspiracy theories or the baby crying for hours. Also, some airplane still use the headphones with jacks to watch free movies. Carry a spare pair just in case.
    10. Dress in layers to fly. I always wear pants (shorts on a plane are just stupid-sorry), a l/s top, jacket and scarf. BTW, keep your shoes on while you fly. Please for the love of God. Wear compression socks to increase circulation and reduce swelling in your legs and feet. P.S. That’s not water on the bathroom floor on the plane in case you take your shoes off and decide to use the facilities.

    I’m off to go to bed at 8 pm so that I can rise at 3 am and get to the airport for my unholy early morning flight tomorrow. The good news is that I probably won’t have a travel delay and I’ll get to Indianapolis for my family visit before it gets dark. I’m homeward bound to walk down memory lane.